
Updating Our Kitchen with Faux Marble Contact Paper
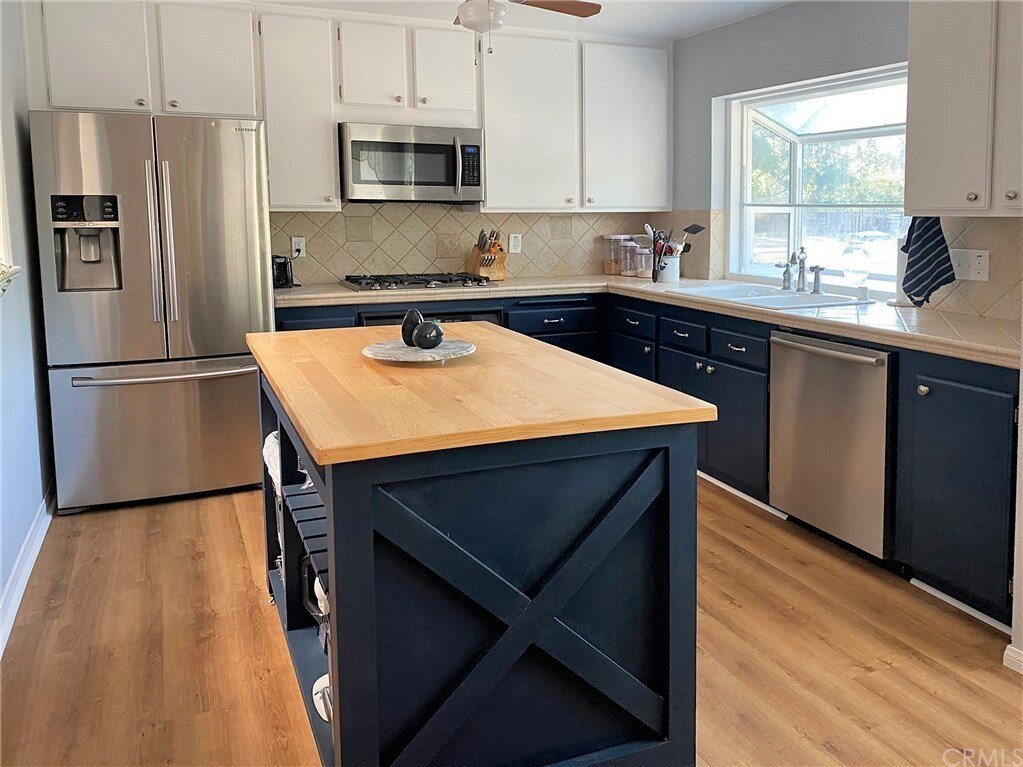
There are some things I like about our kitchen. I like how open it is to our dining and living space, which is great for entertaining, and I like the layout – it’s functional and easy to cook in. But, our countertops are another story. The main countertop is made of a heavily textured tile with deep grout lines. It’s hard to clean, so I avoid using it as prep space as much as possible. Realistically, the kitchen needs a full overhaul, which will be a big and expensive project, so for now we’re updating what we can.
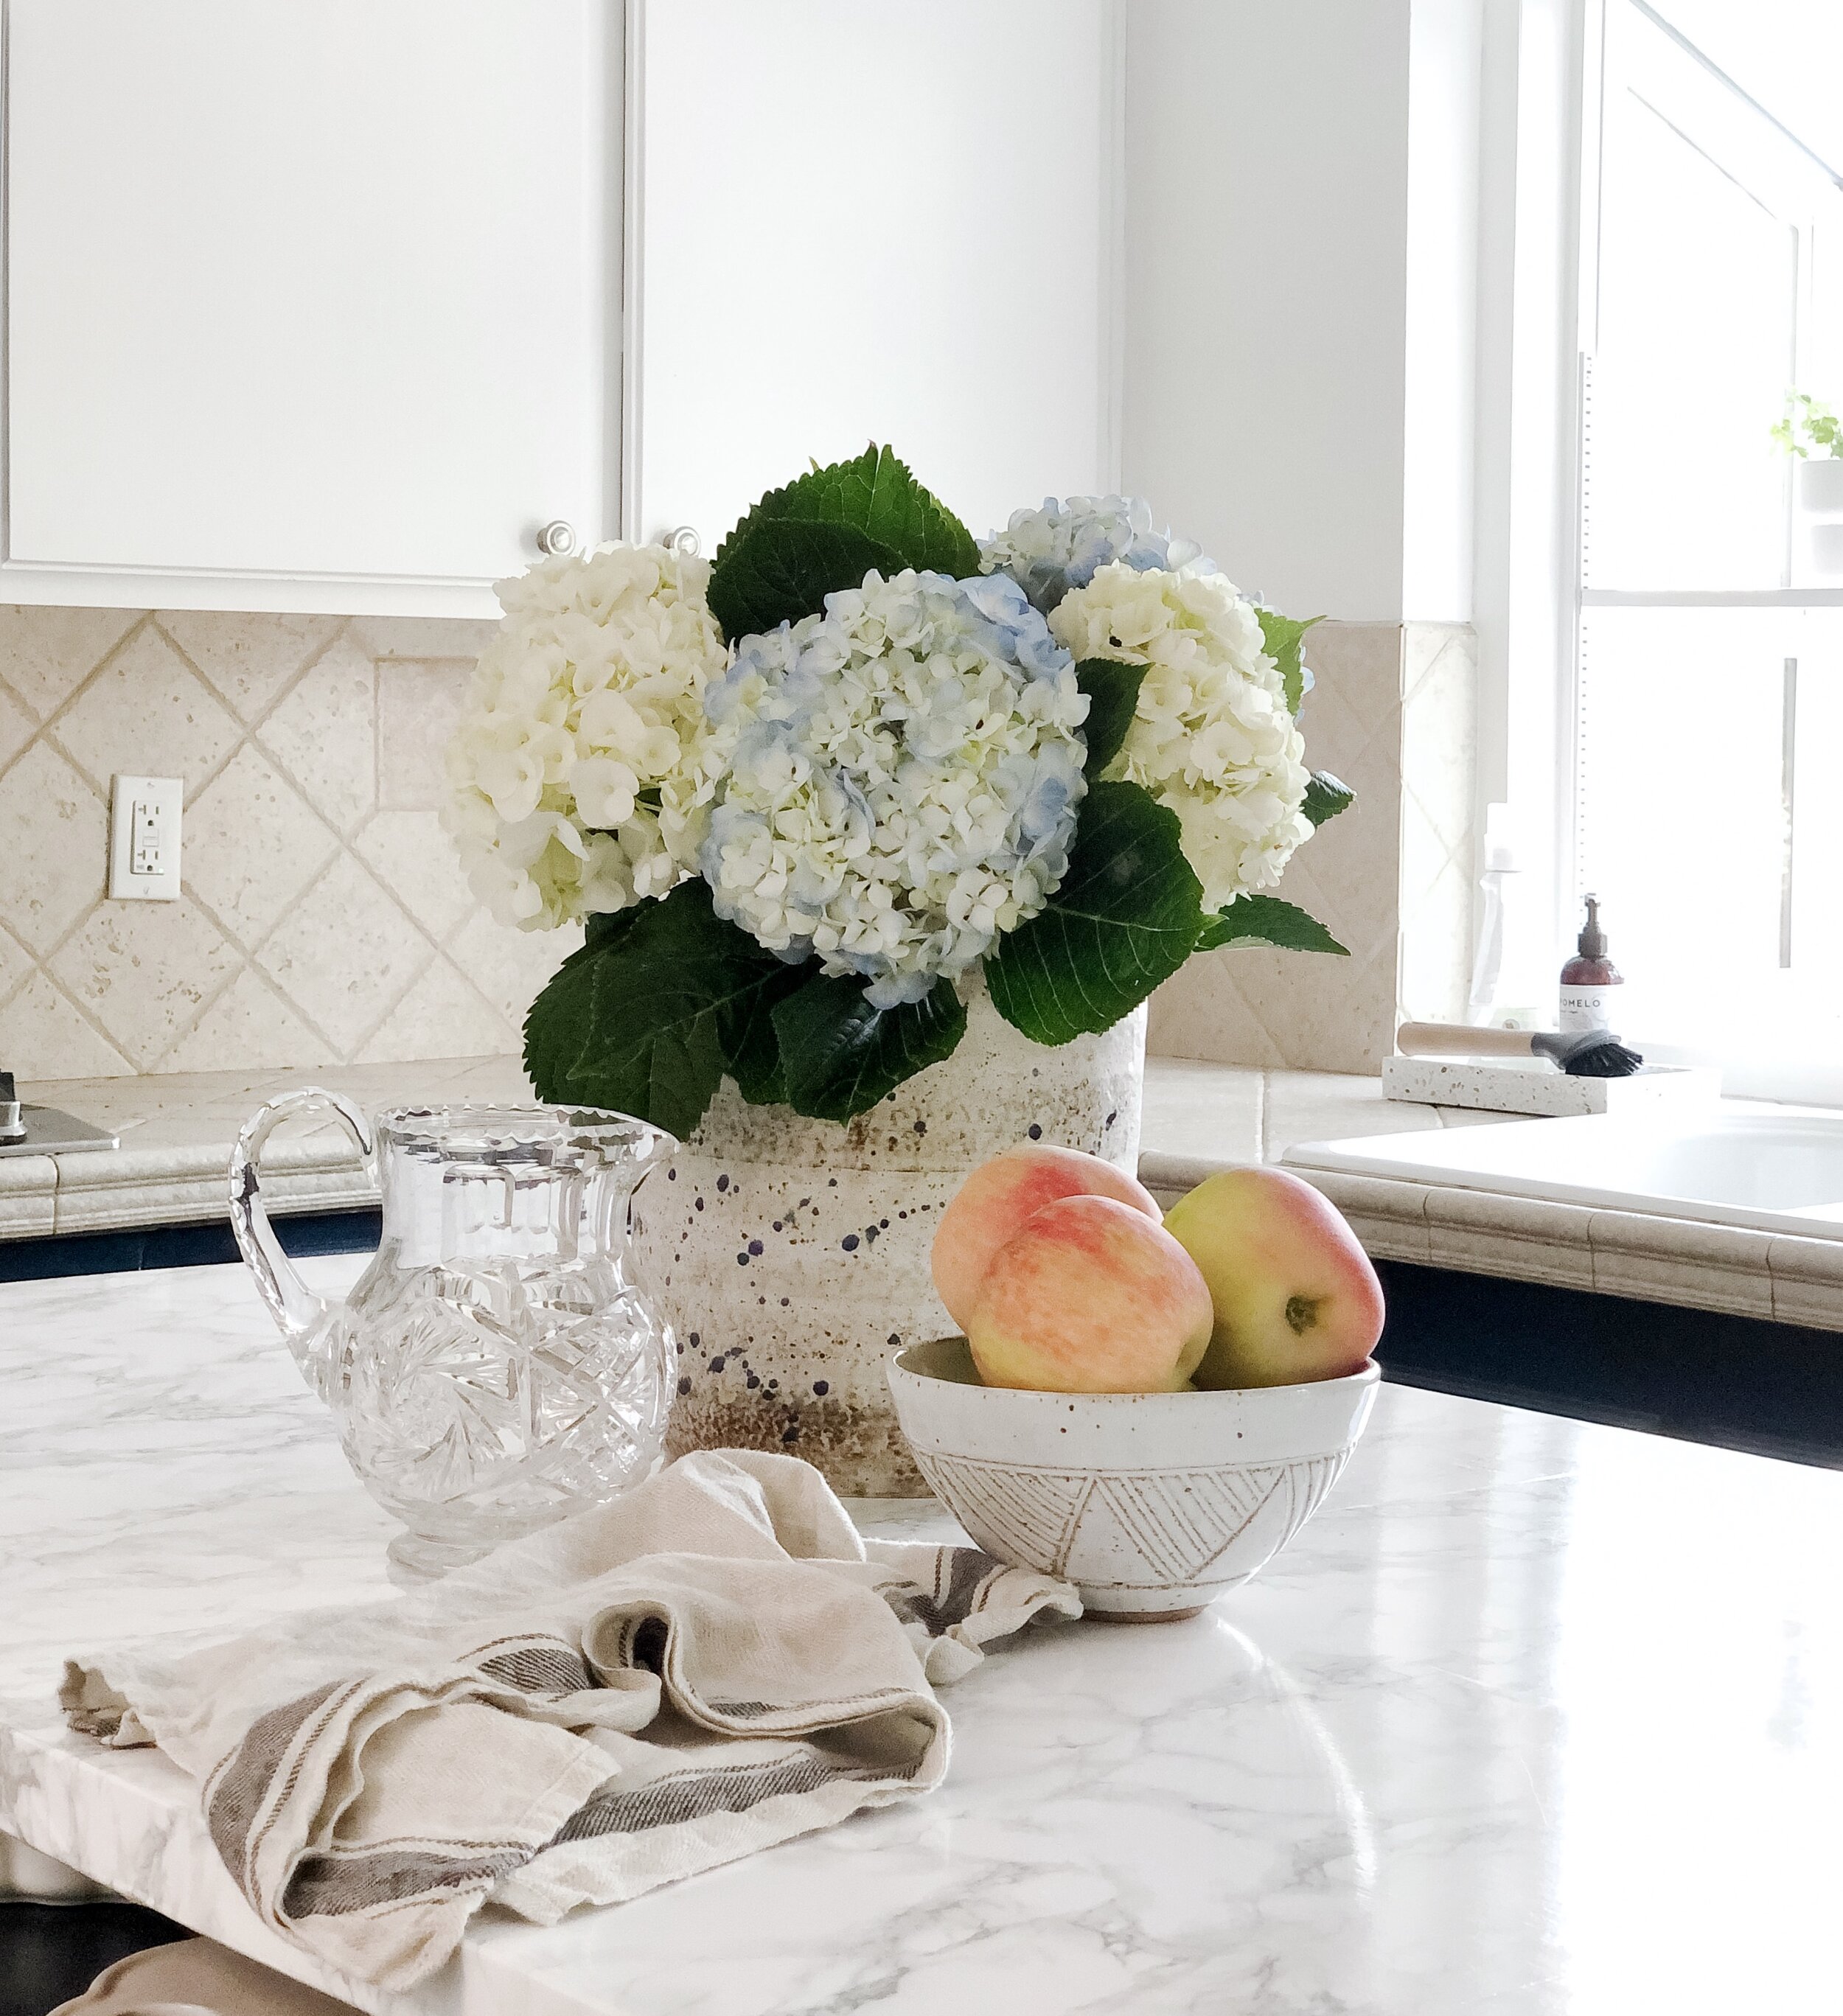
The island is where I do most of my prep work, but the countertop is also less than ideal. It’s made of thin planks held together by brackets underneath. It was hard to clean, yellowing, and not exactly the dream backdrop for pretty photos.
It did, however, present the perfect opportunity to try a fun DIY project: marble contact paper.
I had seen this done a few places, but honestly didn’t have high hopes for how it would turn out. Also, would it hold up? I figured for the low price, it was worth a shot. I ordered this from Amazon. When it arrived, it looked cheap and plastic-y – like contact paper. Go figure. But I moved forward.
Here’s what I used and what I did:
Materials
· Water + rubbing alcohol in a spray bottle
· Clean rag
· Contact paper
· Credit card
· Hair dryer + extension cord
Process
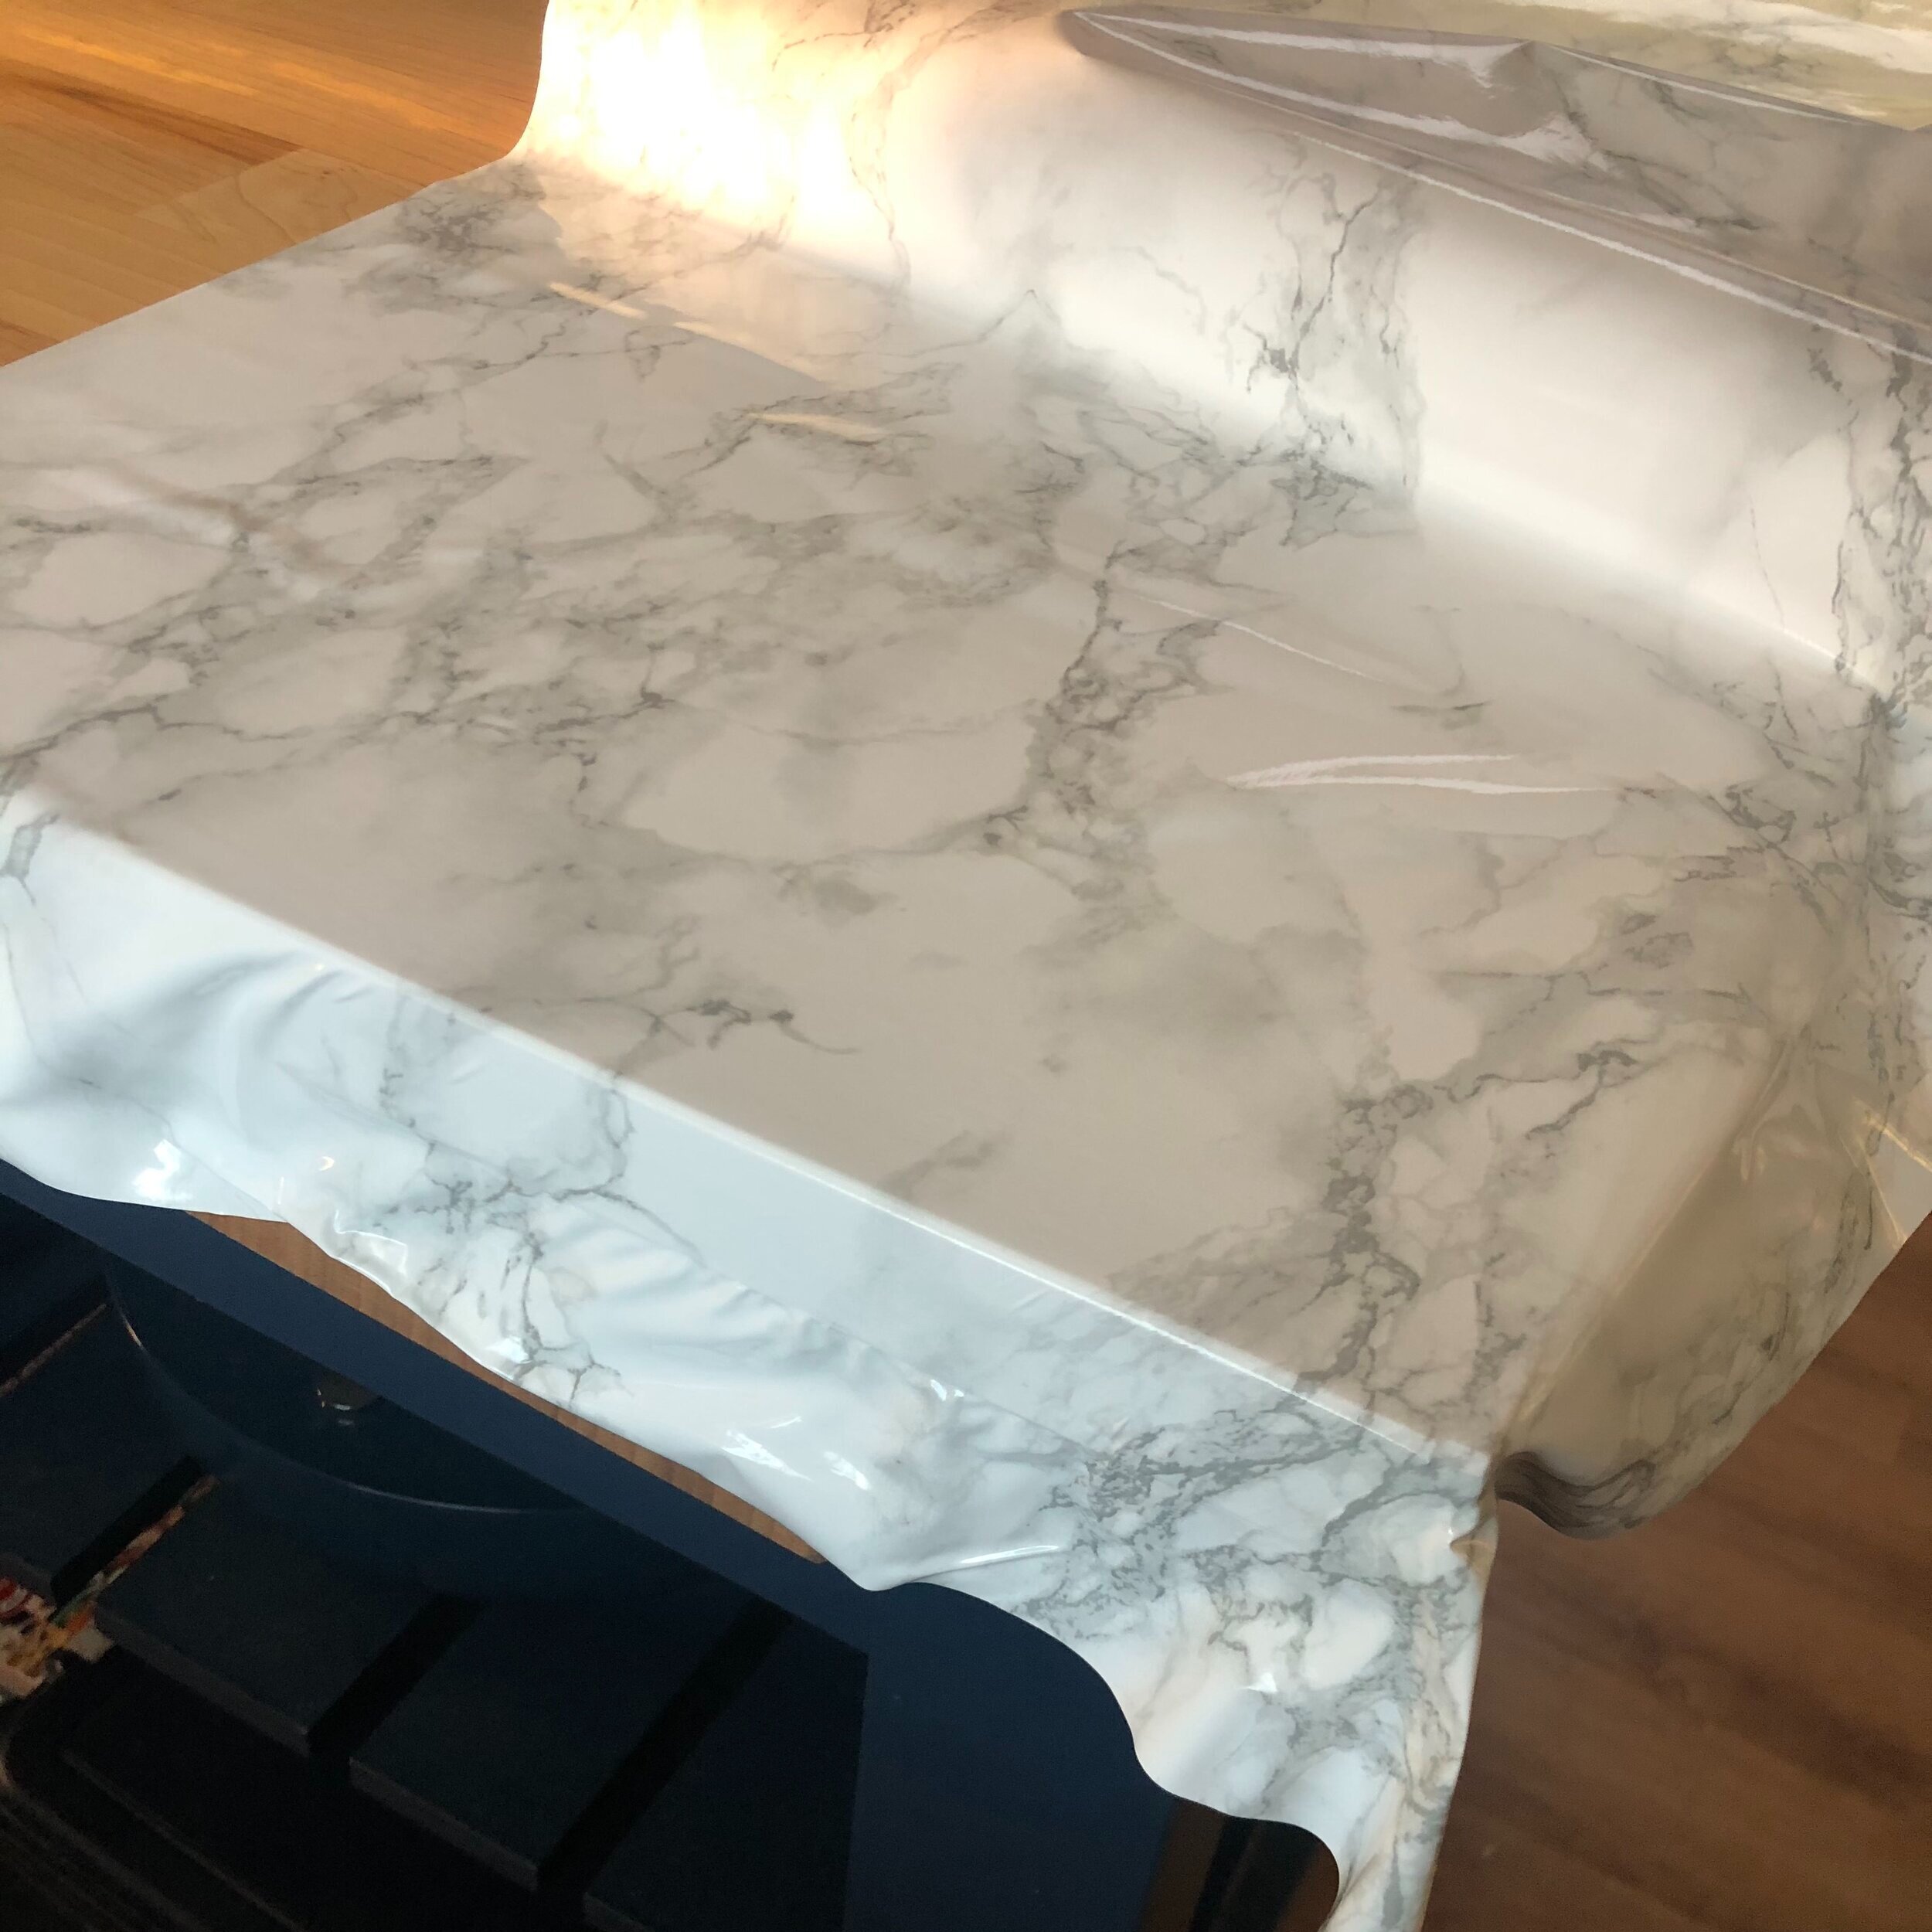
I started by cleaning the wood countertop, then wiping it down with a mix of water and rubbing alcohol. After letting it dry, I began applying the contact paper. The roll was unfortunately a little too narrow for two strips down the long end of the countertop, so I had to use three cuts across – resulting in two seams.
I started on one end, applying a small part of the contact paper, smoothing out air bubbles bit by bit with a credit card. When I got to the corners, I fired up the hair dryer like in this video. It took a bit of practice, but the contact paper was forgiving enough to where I could lift it and reposition it a few times.
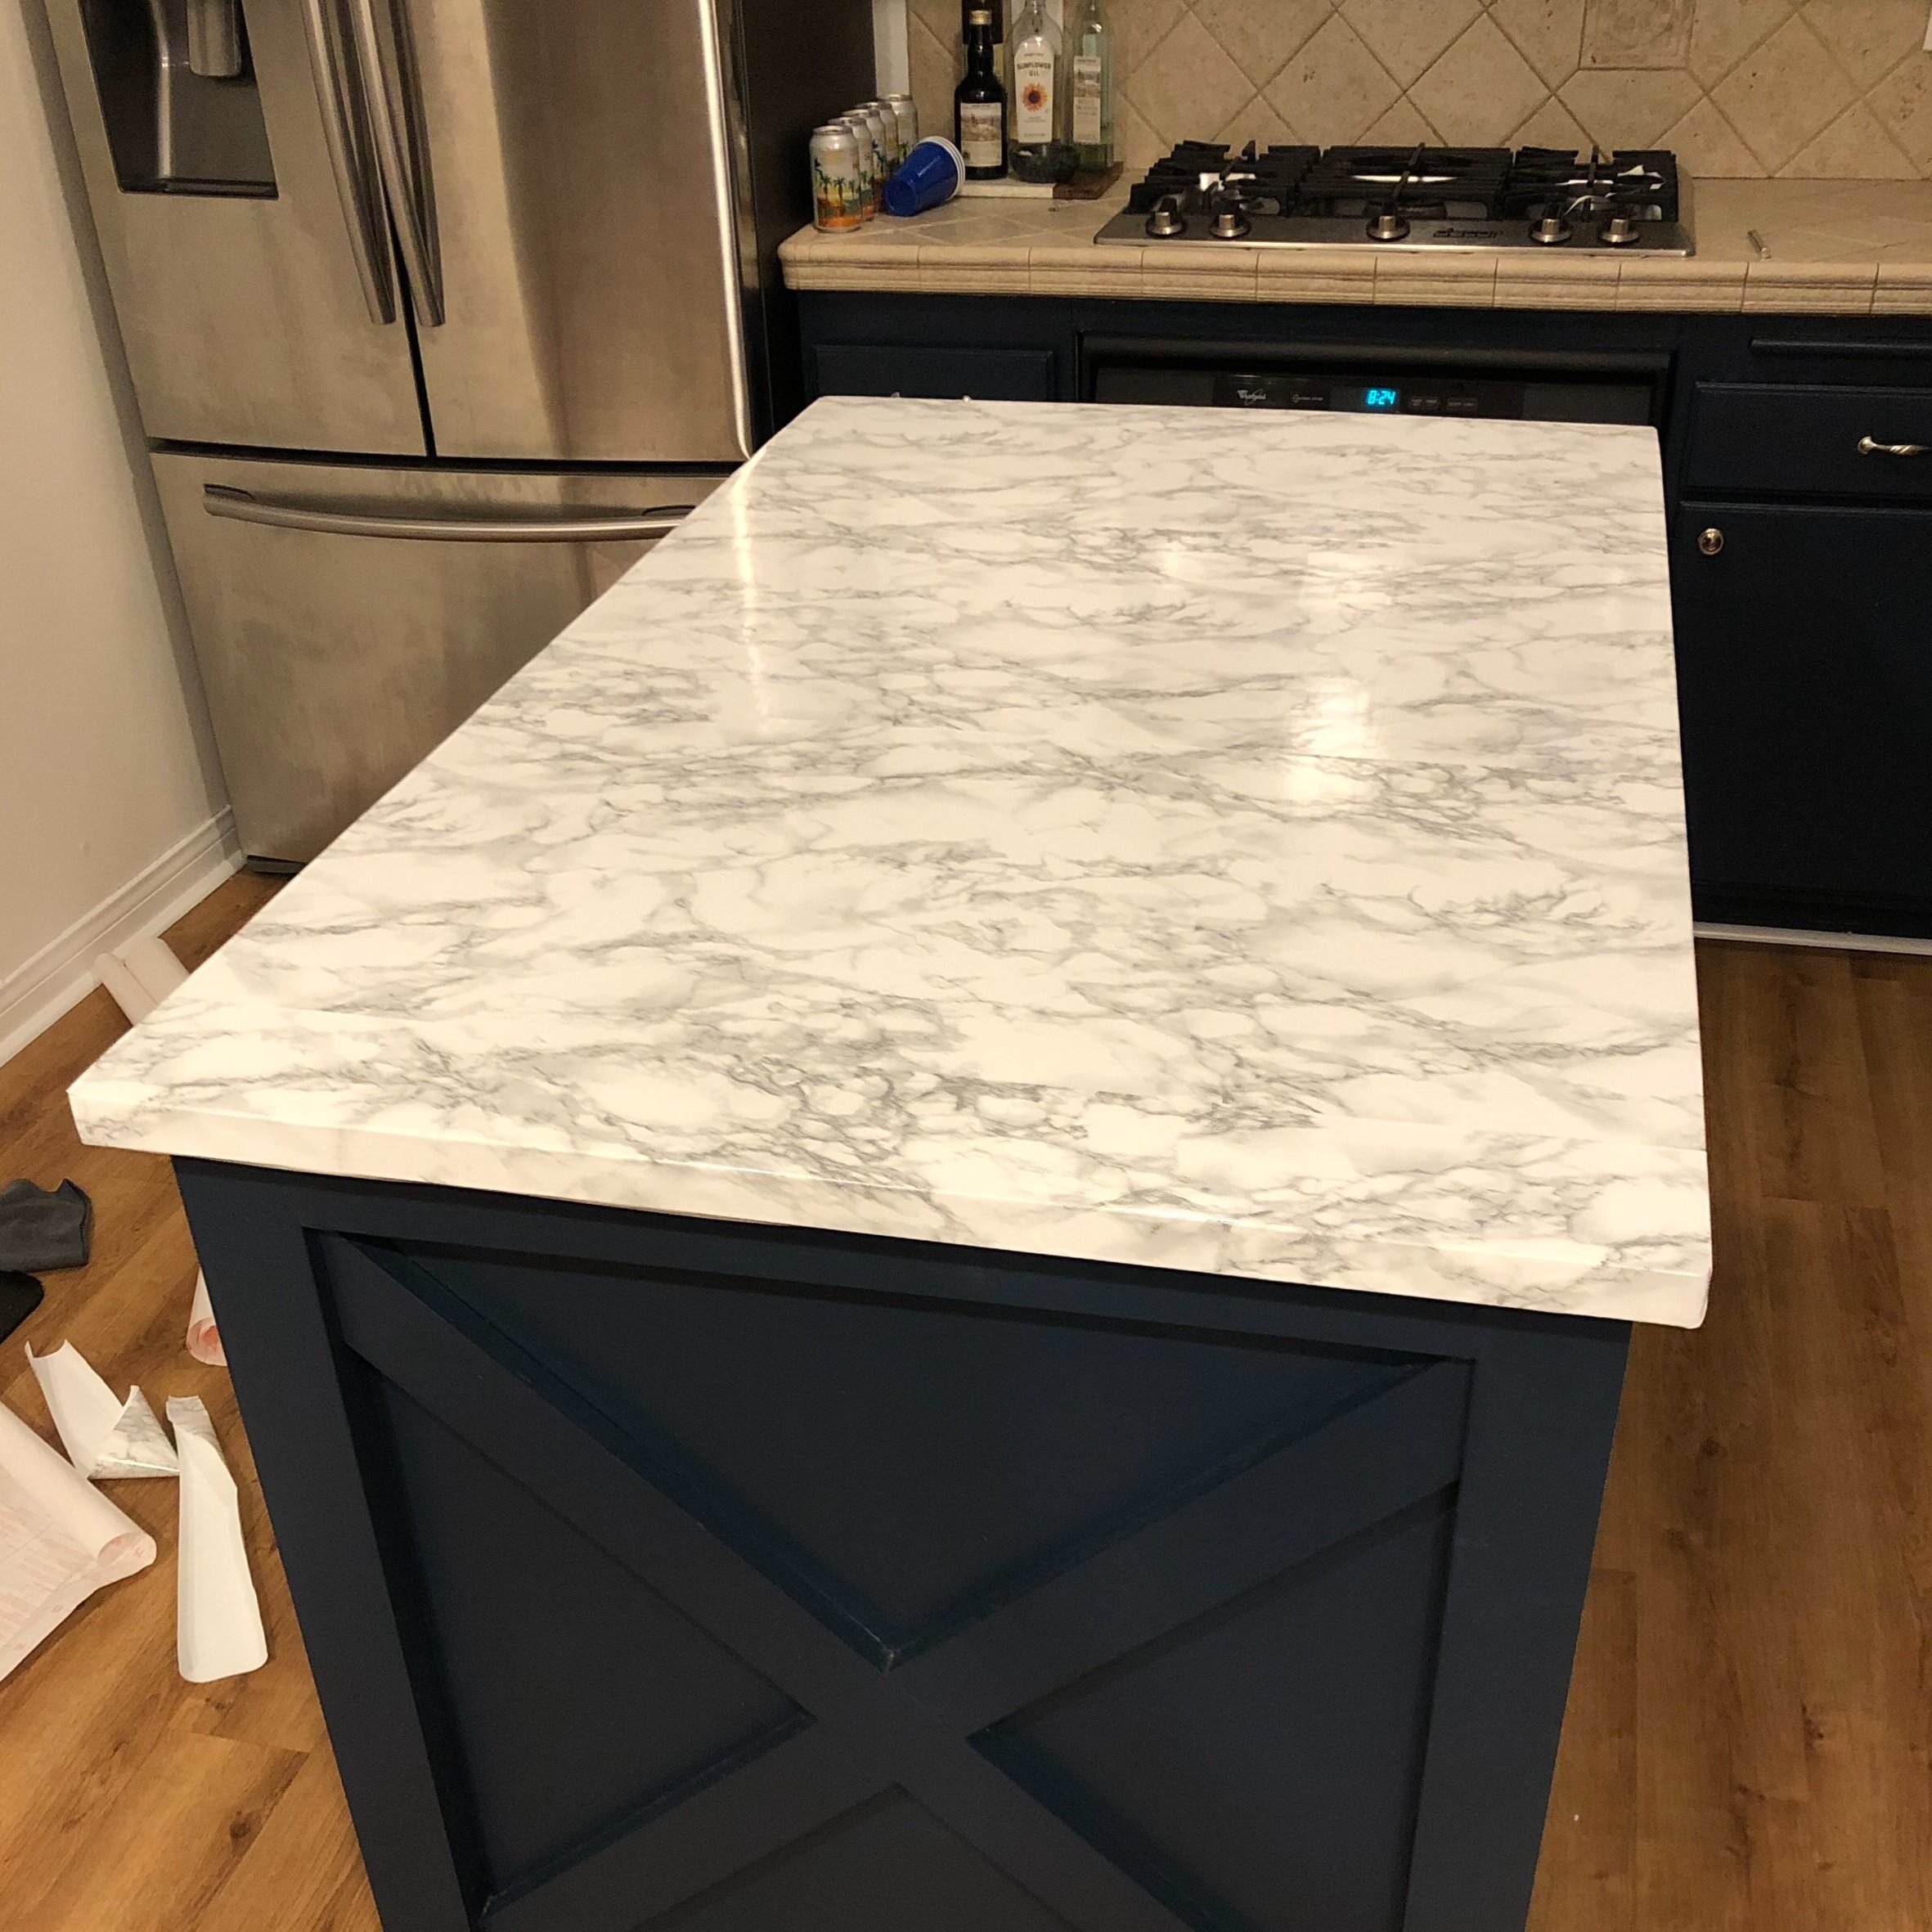
I then applied the middle piece, which was easy because there were no corners. I was feeling confident! Lastly, I applied the final piece, but quickly realized I should have started on this end. The seam ended up being a bit further to the side and more noticeable. Oh well.
I stepped back to admire my work. Ben walked in and was impressed! It looked pretty dang good.

Six Months Later
It’s now been almost six months since I installed the contact paper, and I would do it again in a heartbeat. It’s easy to clean and it looks much better than the yellowing planks. However, the corners are definitely not perfect and there are two seams. These things are hardly visible unless you’re looking for them though.
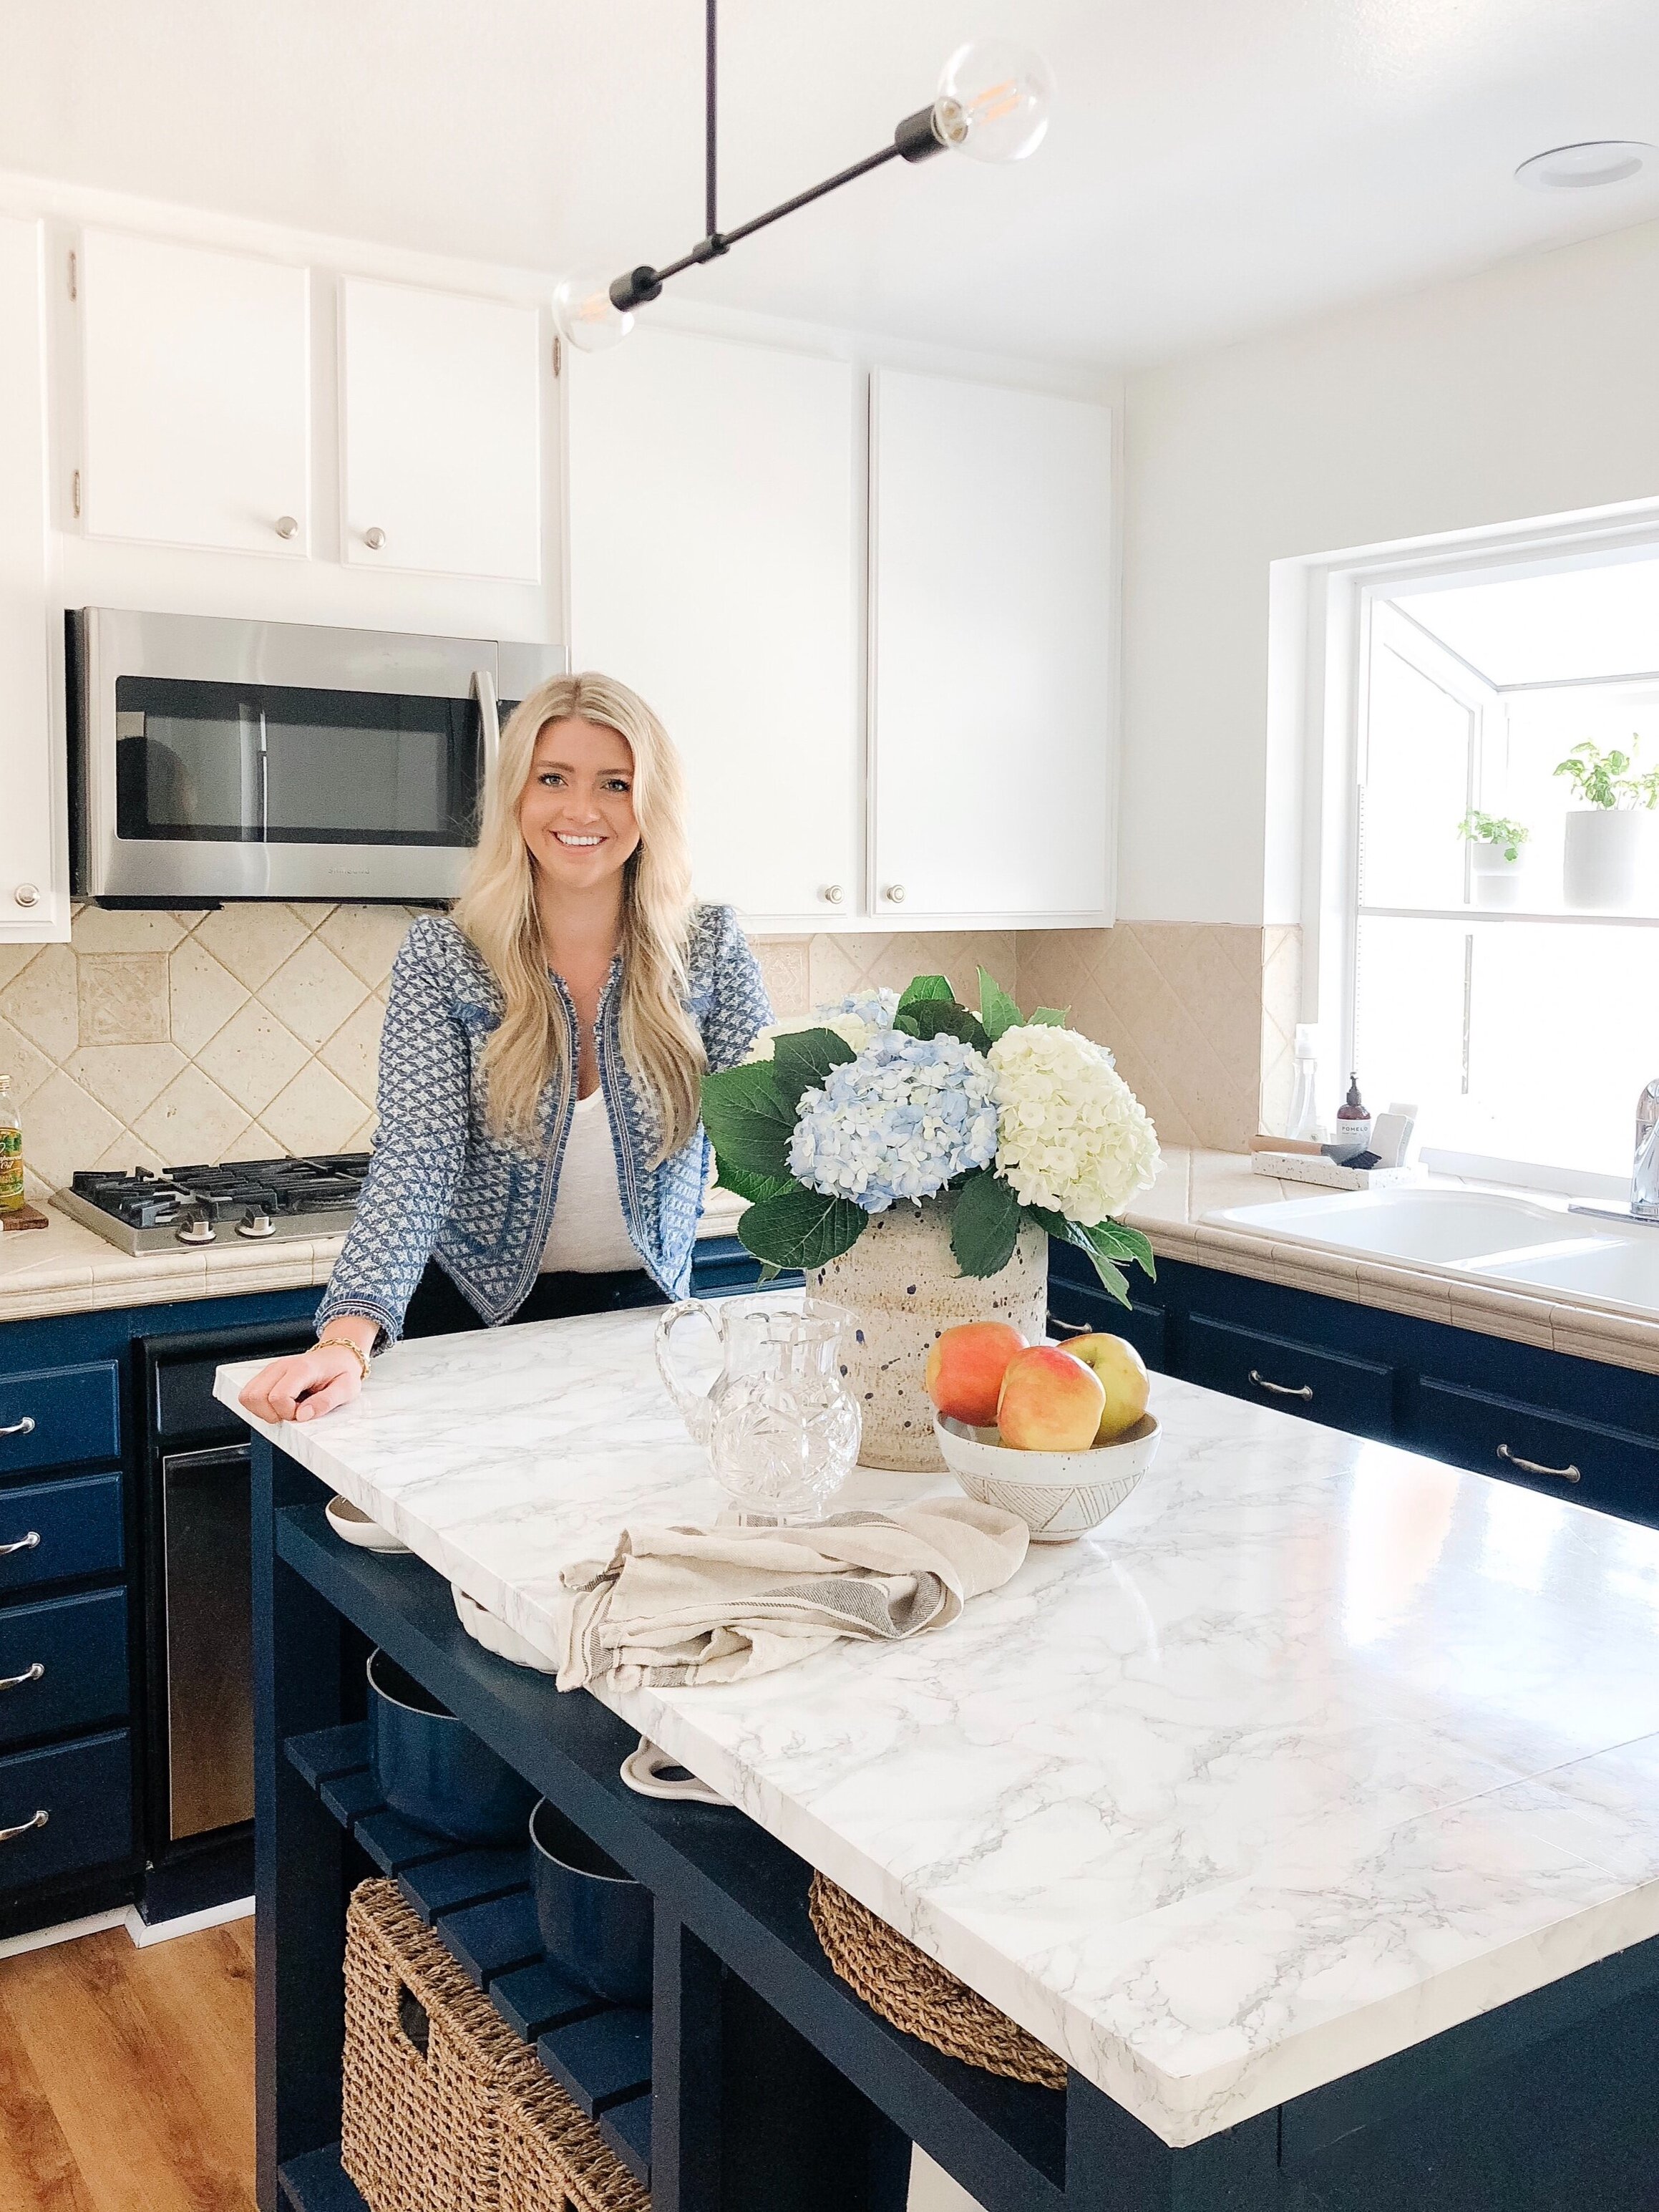
We eventually plan to upgrade the kitchen and will likely get a slab for the island, but for now, I am very happy with this budget DIY improvement!
Would you try it? I’d love to hear from you in the comments!