How to Stencil a Tile Floor and Spray Paint a Faucet
Transform Your Bathroom on a Budget
I don’t think our guest bathroom had been updated in decades besides a coat of paint on the walls and the vanity, but with a limited budget it wasn’t even near the top of our list of projects to tackle (that list is long).
However, after we gave the guest bedroom a weekend makeover, the dated tile and 90s builder grade light fixture became glaring. So, I decided to attempt some DIYs to modernize the space – without breaking the bank!
Swapping the Hardware
I knew I wanted black hardware in the bathroom, so I quickly swapped out the light fixture with this beauty from one of my favorite small businesses, and replaced the plastic tension rod in the shower with this curved rod. I also added affordable matte black knobs and pulls from IKEA to the vanity and installed two hooks on the wall.
Spray Painting the Faucet
Since the vanity is so old and we might replace it completely in a few years, I didn’t want to spend money on a new faucet. Instead, I decided to try to spray paint it. The process is fairly easy, but a test in patience, and I don’t recommend doing this if you have only one bathroom. But, if you can avoid using the space for a few days, the result for the cost is amazing!

Materials
Sanding sponge
Rubbing alcohol
Clean rag
Rustoleum automotive primer
Rustoleum spray paint, black satin finish
Painter’s plastic
Painter’s tape
Total cost ~ $15
Process
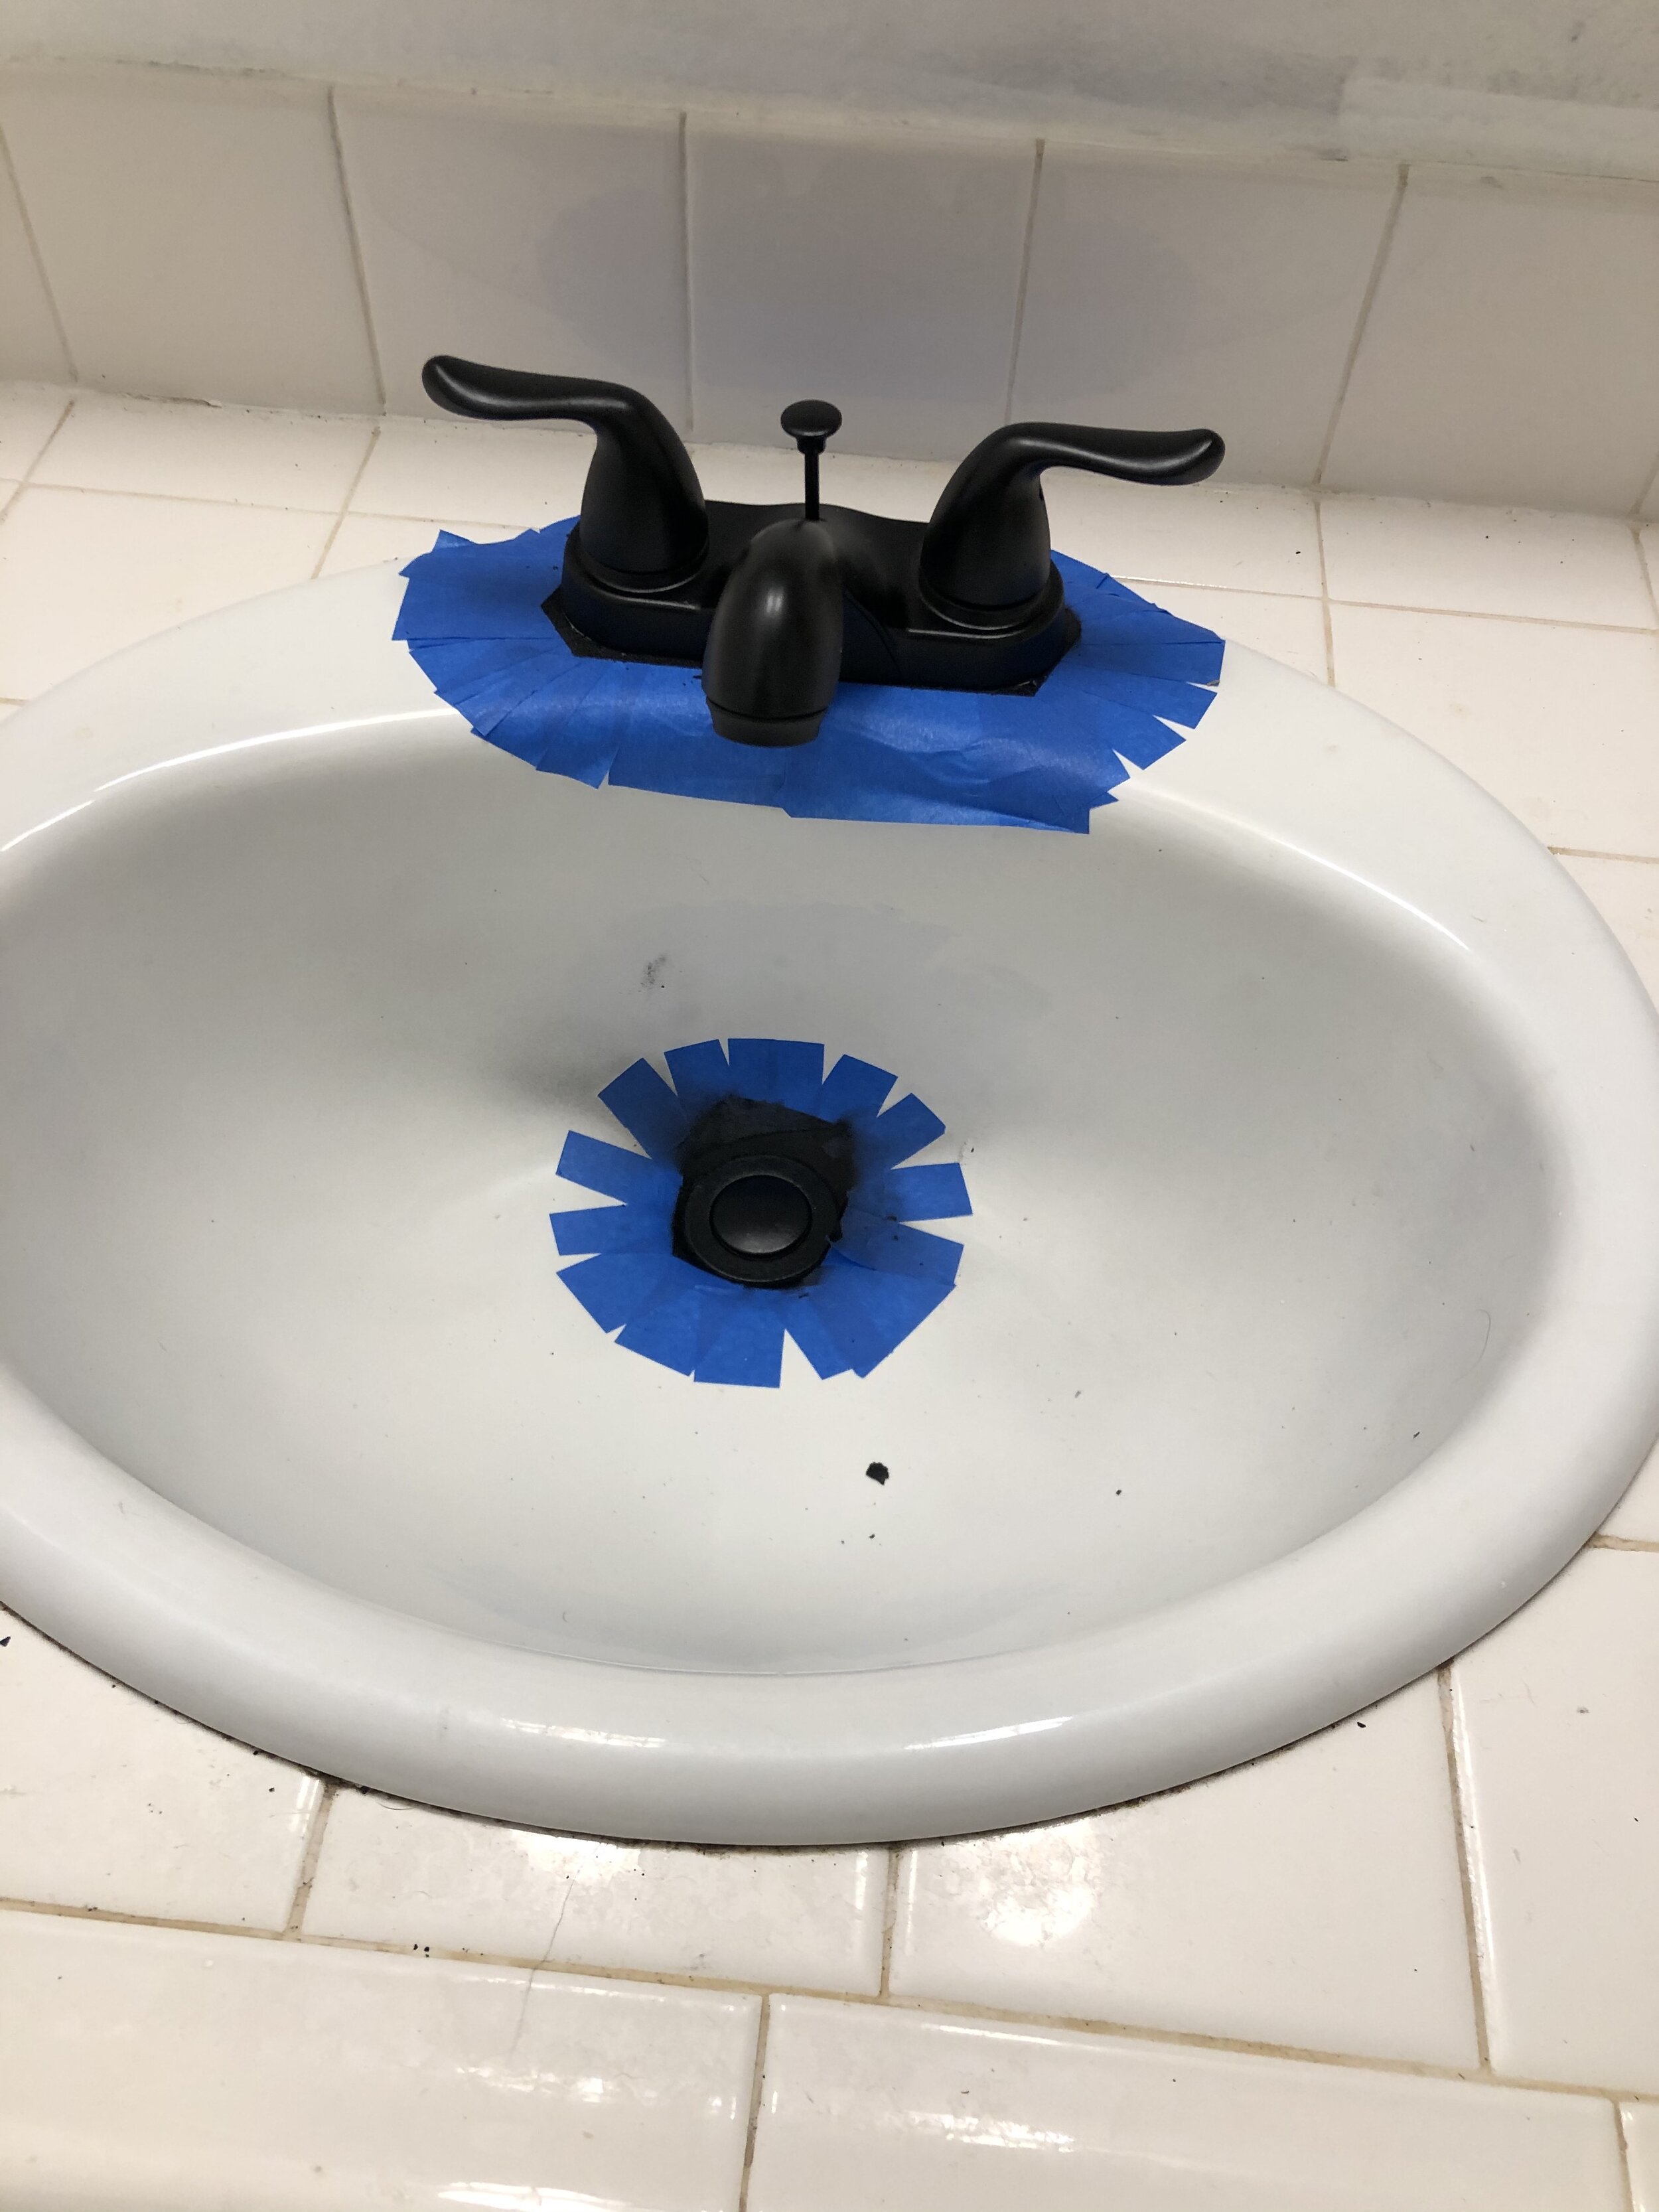
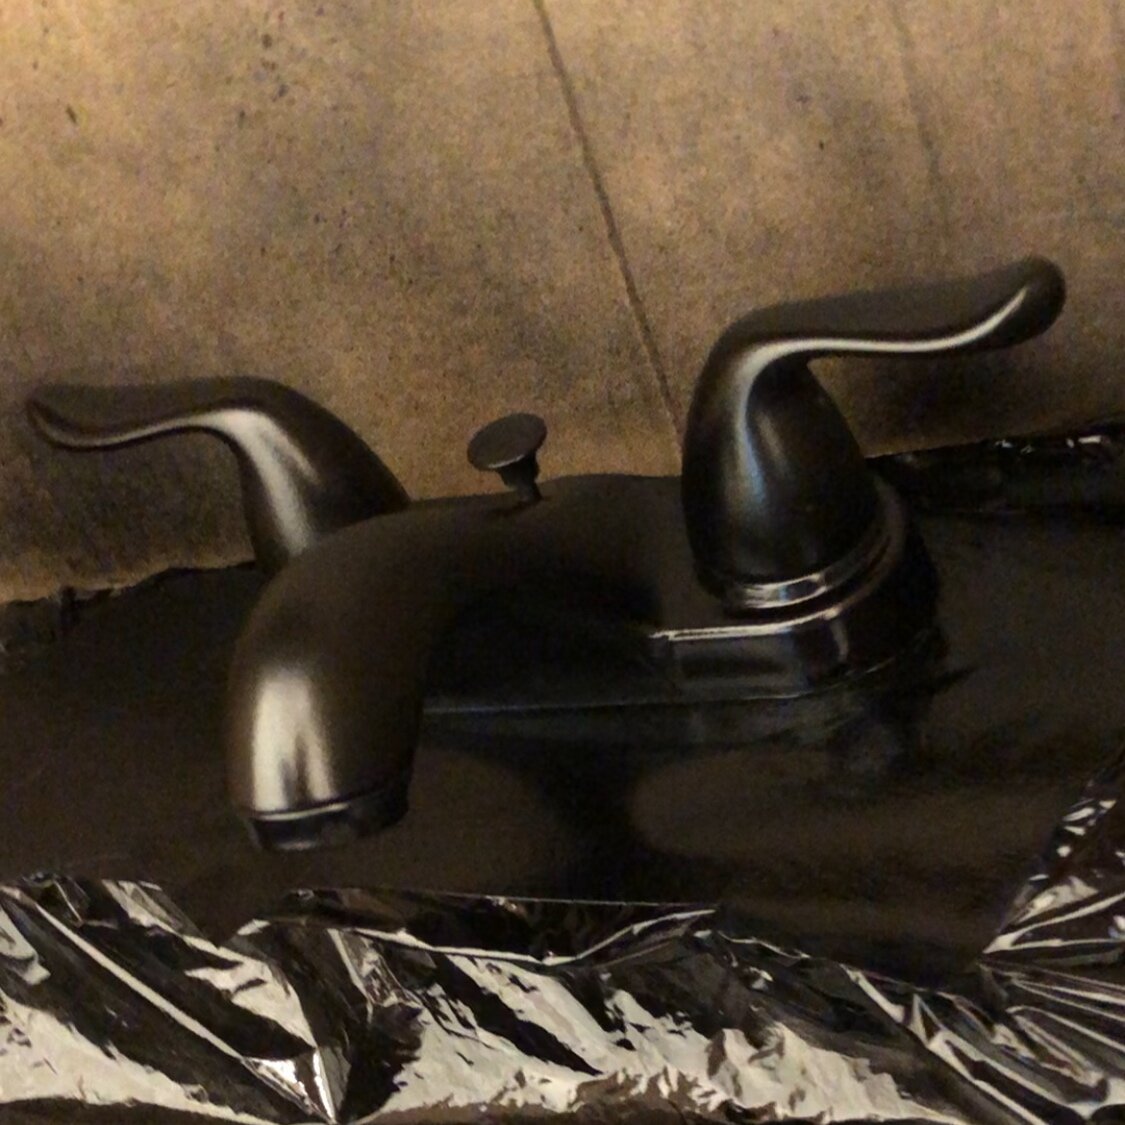
I started by lightly sanding the faucet to rough up the surface so that the spray paint could adhere better, then I wiped it down with rubbing alcohol. I taped carefully around the faucet and drain, and protected the walls, counter and part of the floor with plastic. Then I primed and painted

When spray painting, you always want to follow any directions on the can specific to shaking, multiple coats and drying time. Also, I always recommend testing your can and starting off the object you are painting - and spraying in a continuous, sweeping motion. I applied one coat of the automotive primer, waited the recommended time, then applied my first coat of spray paint. Thin coats are key here. It won’t look perfect after the first one! I applied my second coat and noticed tiny bubbles in the paint. *sigh*
Instead of adding more paint, I listened to my better judgment and stepped away. For 48 hours! See why you don’t want to do this to your only bathroom? After I was sure the paint was completely dry, I sanded it very gently with a sanding sponge and sprayed another coat. It looked great and I was done.
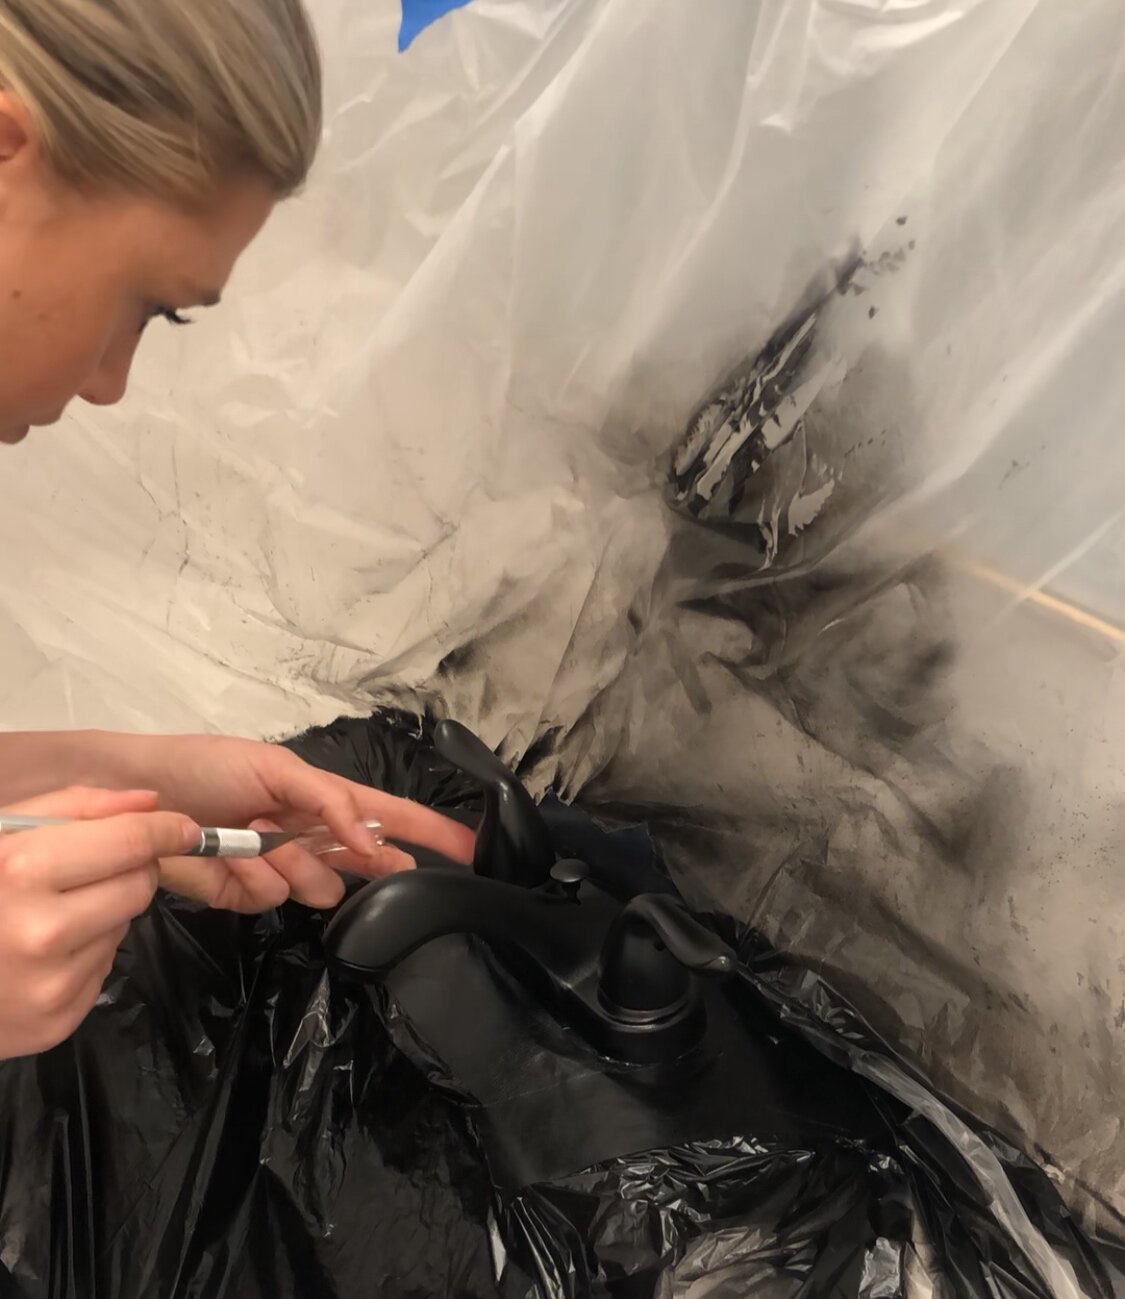
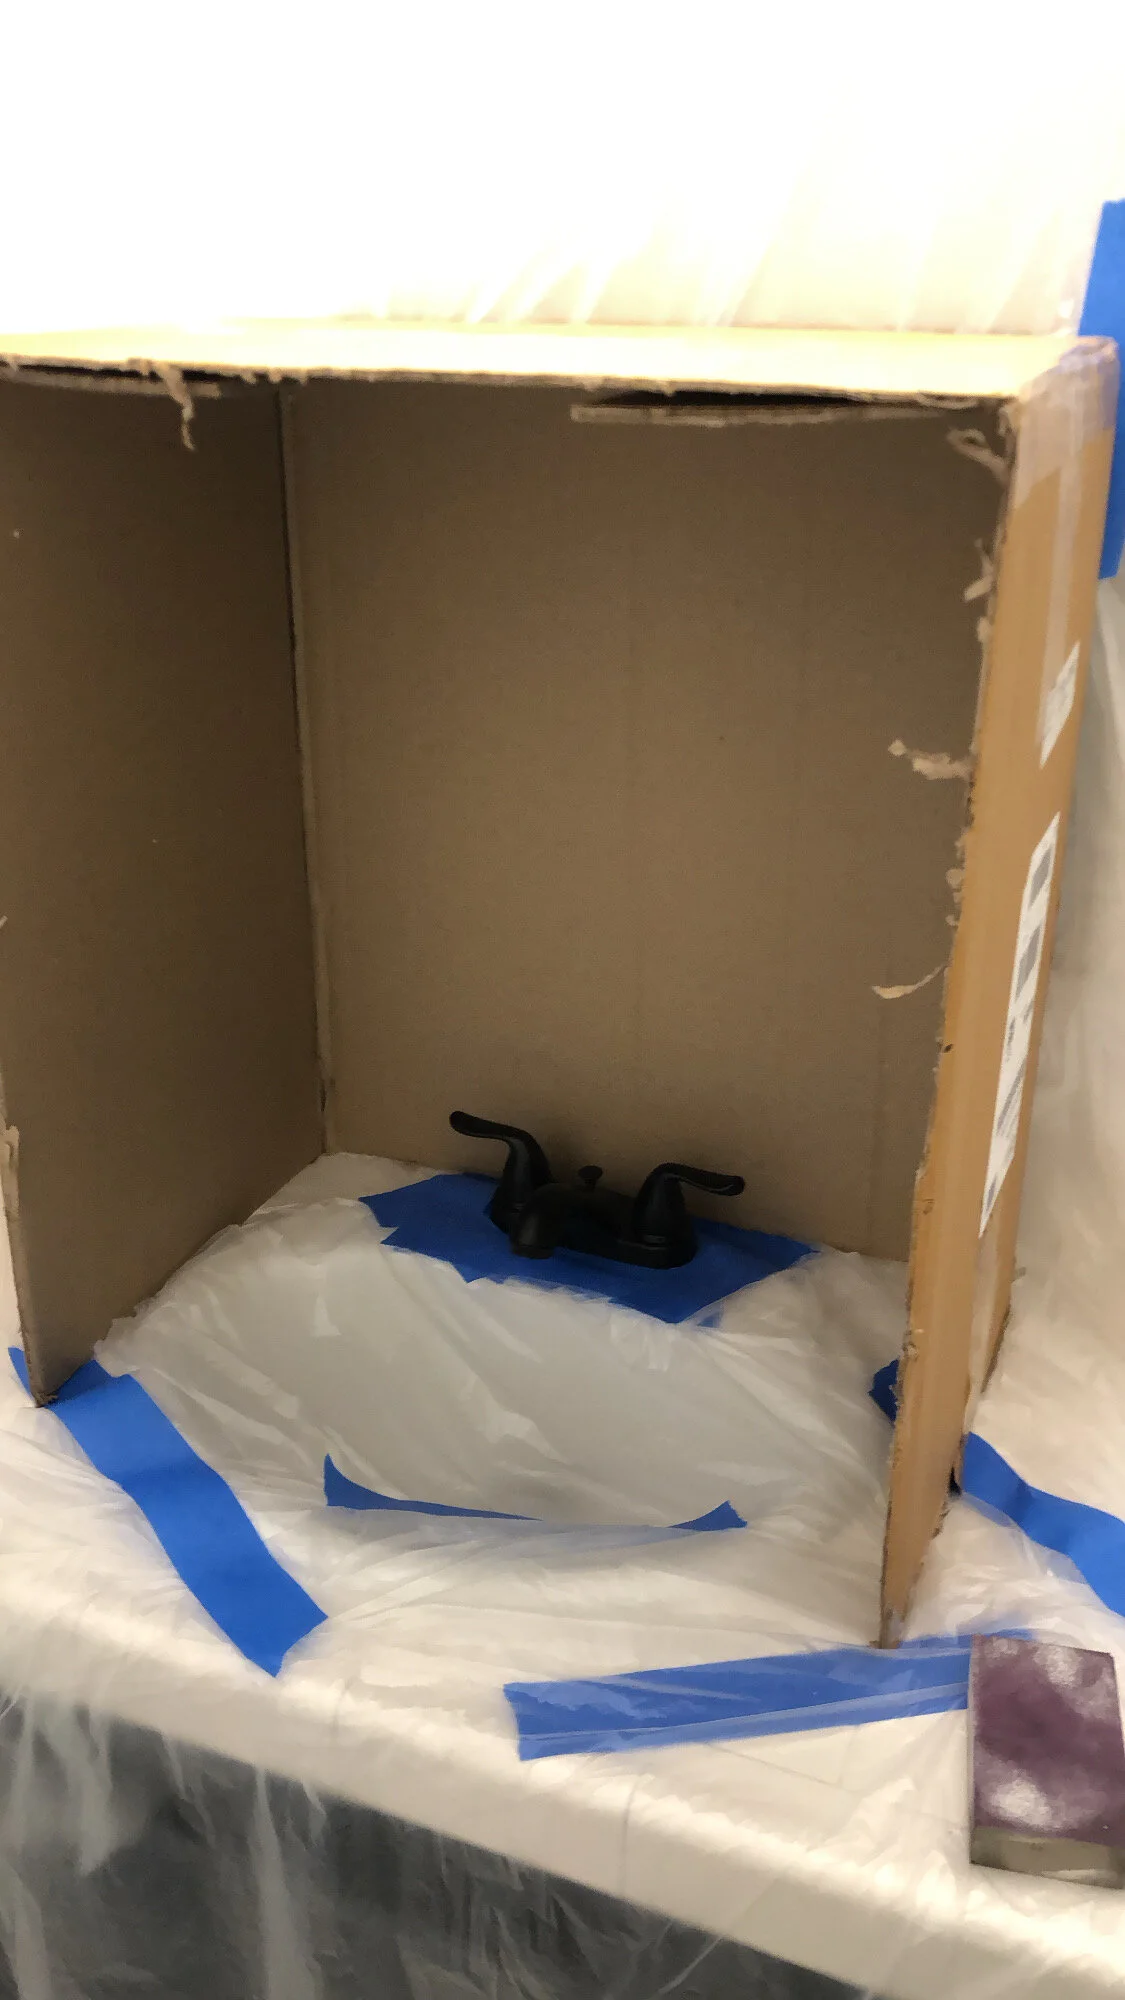
A few weeks later, I noticed I hadn’t completely covered the underside of the faucet... Learn from my mistakes and do it right the first time. I sanded it lightly and prepped the area. This time, I also made a small barrier out of a cardboard box to minimize overspray. It worked like a charm!
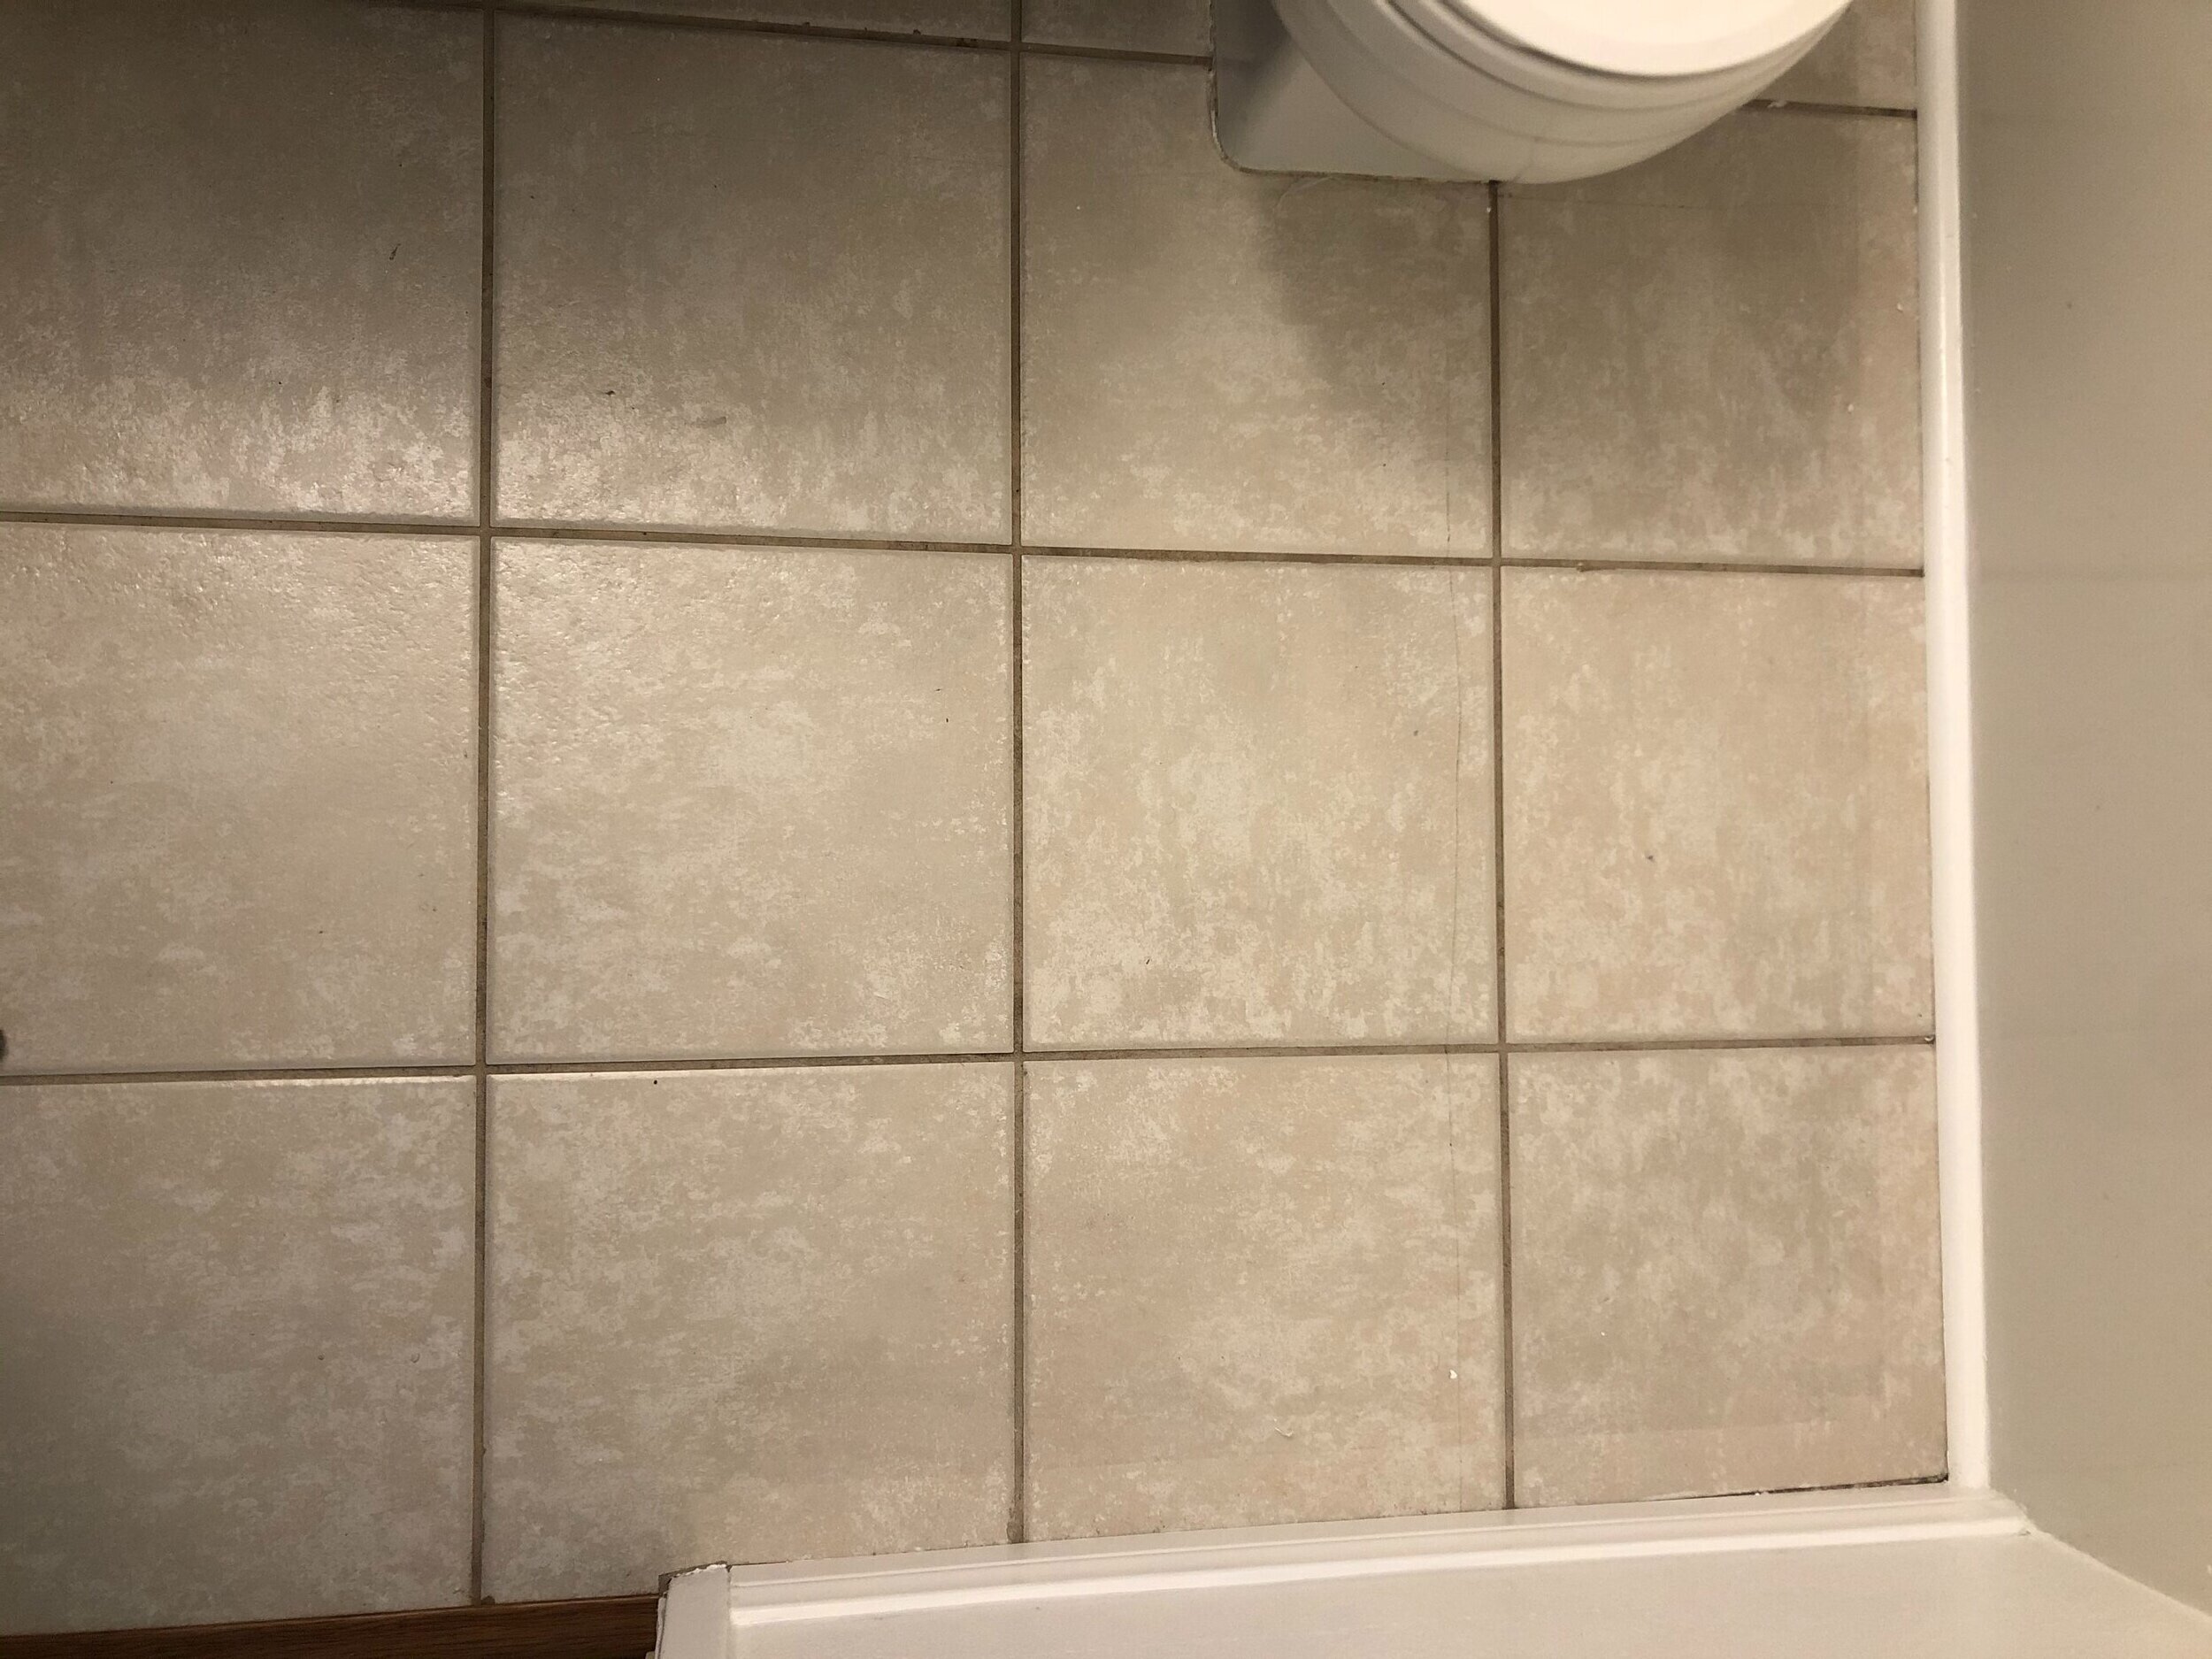
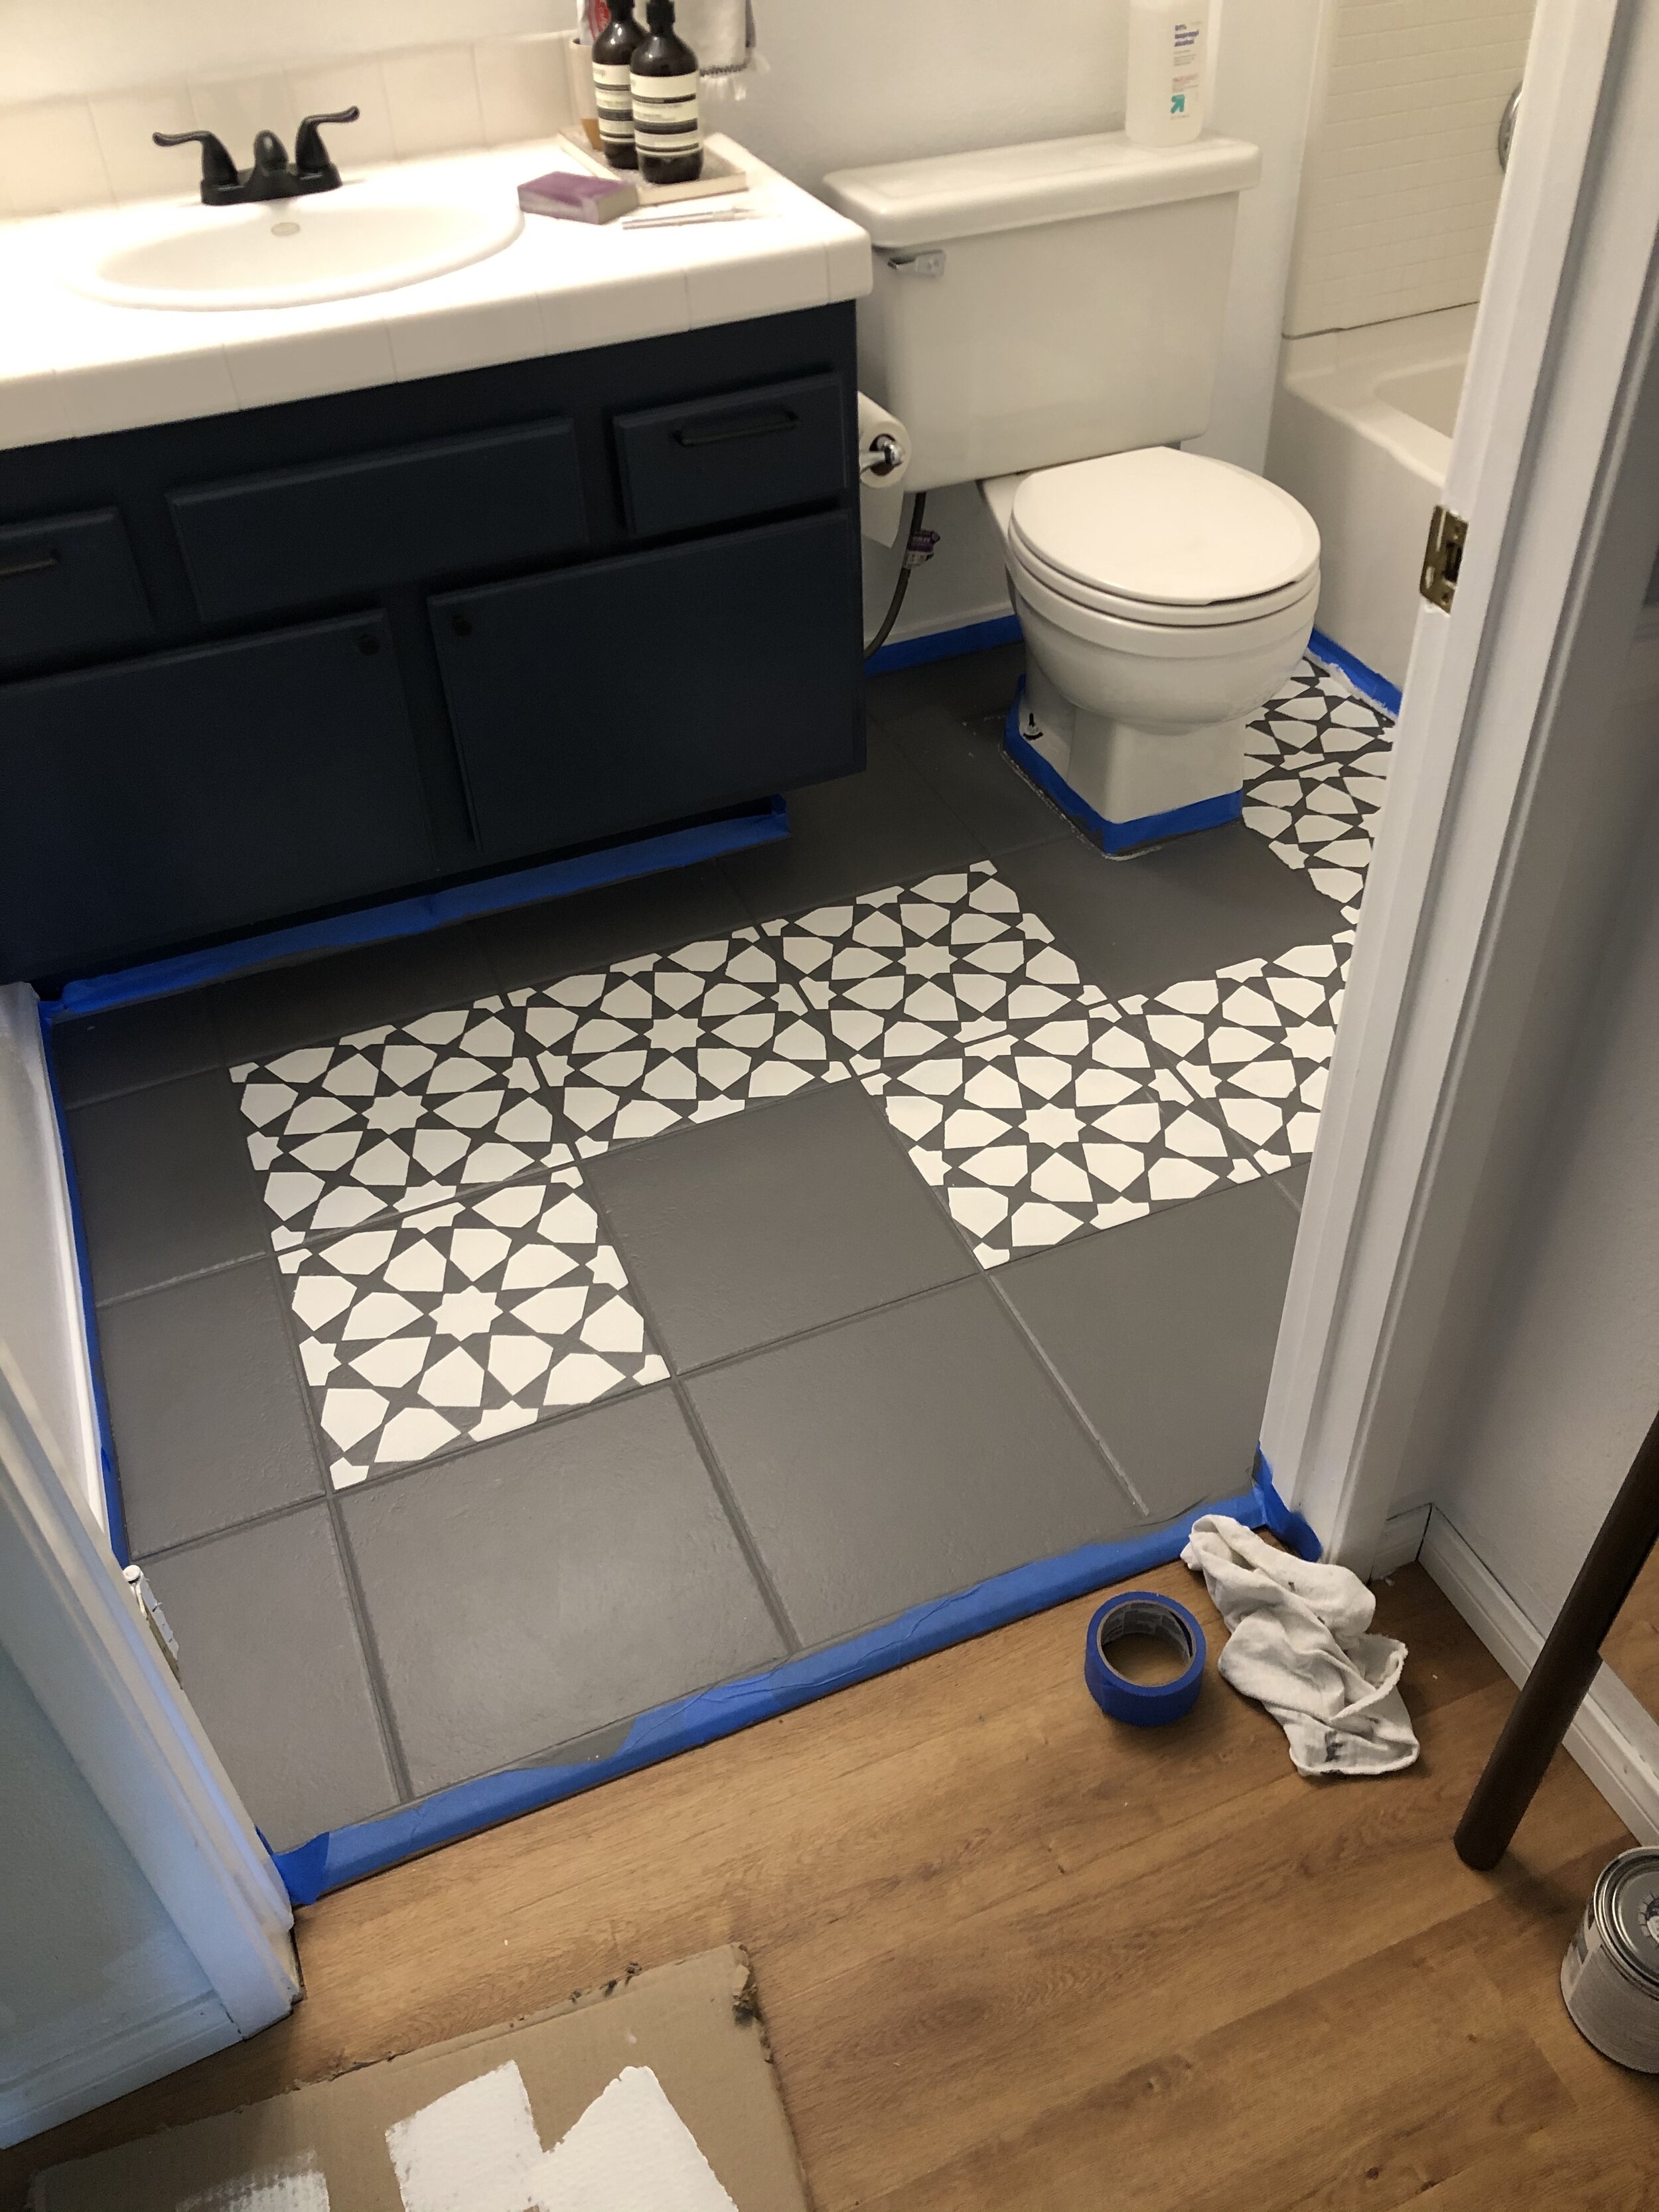
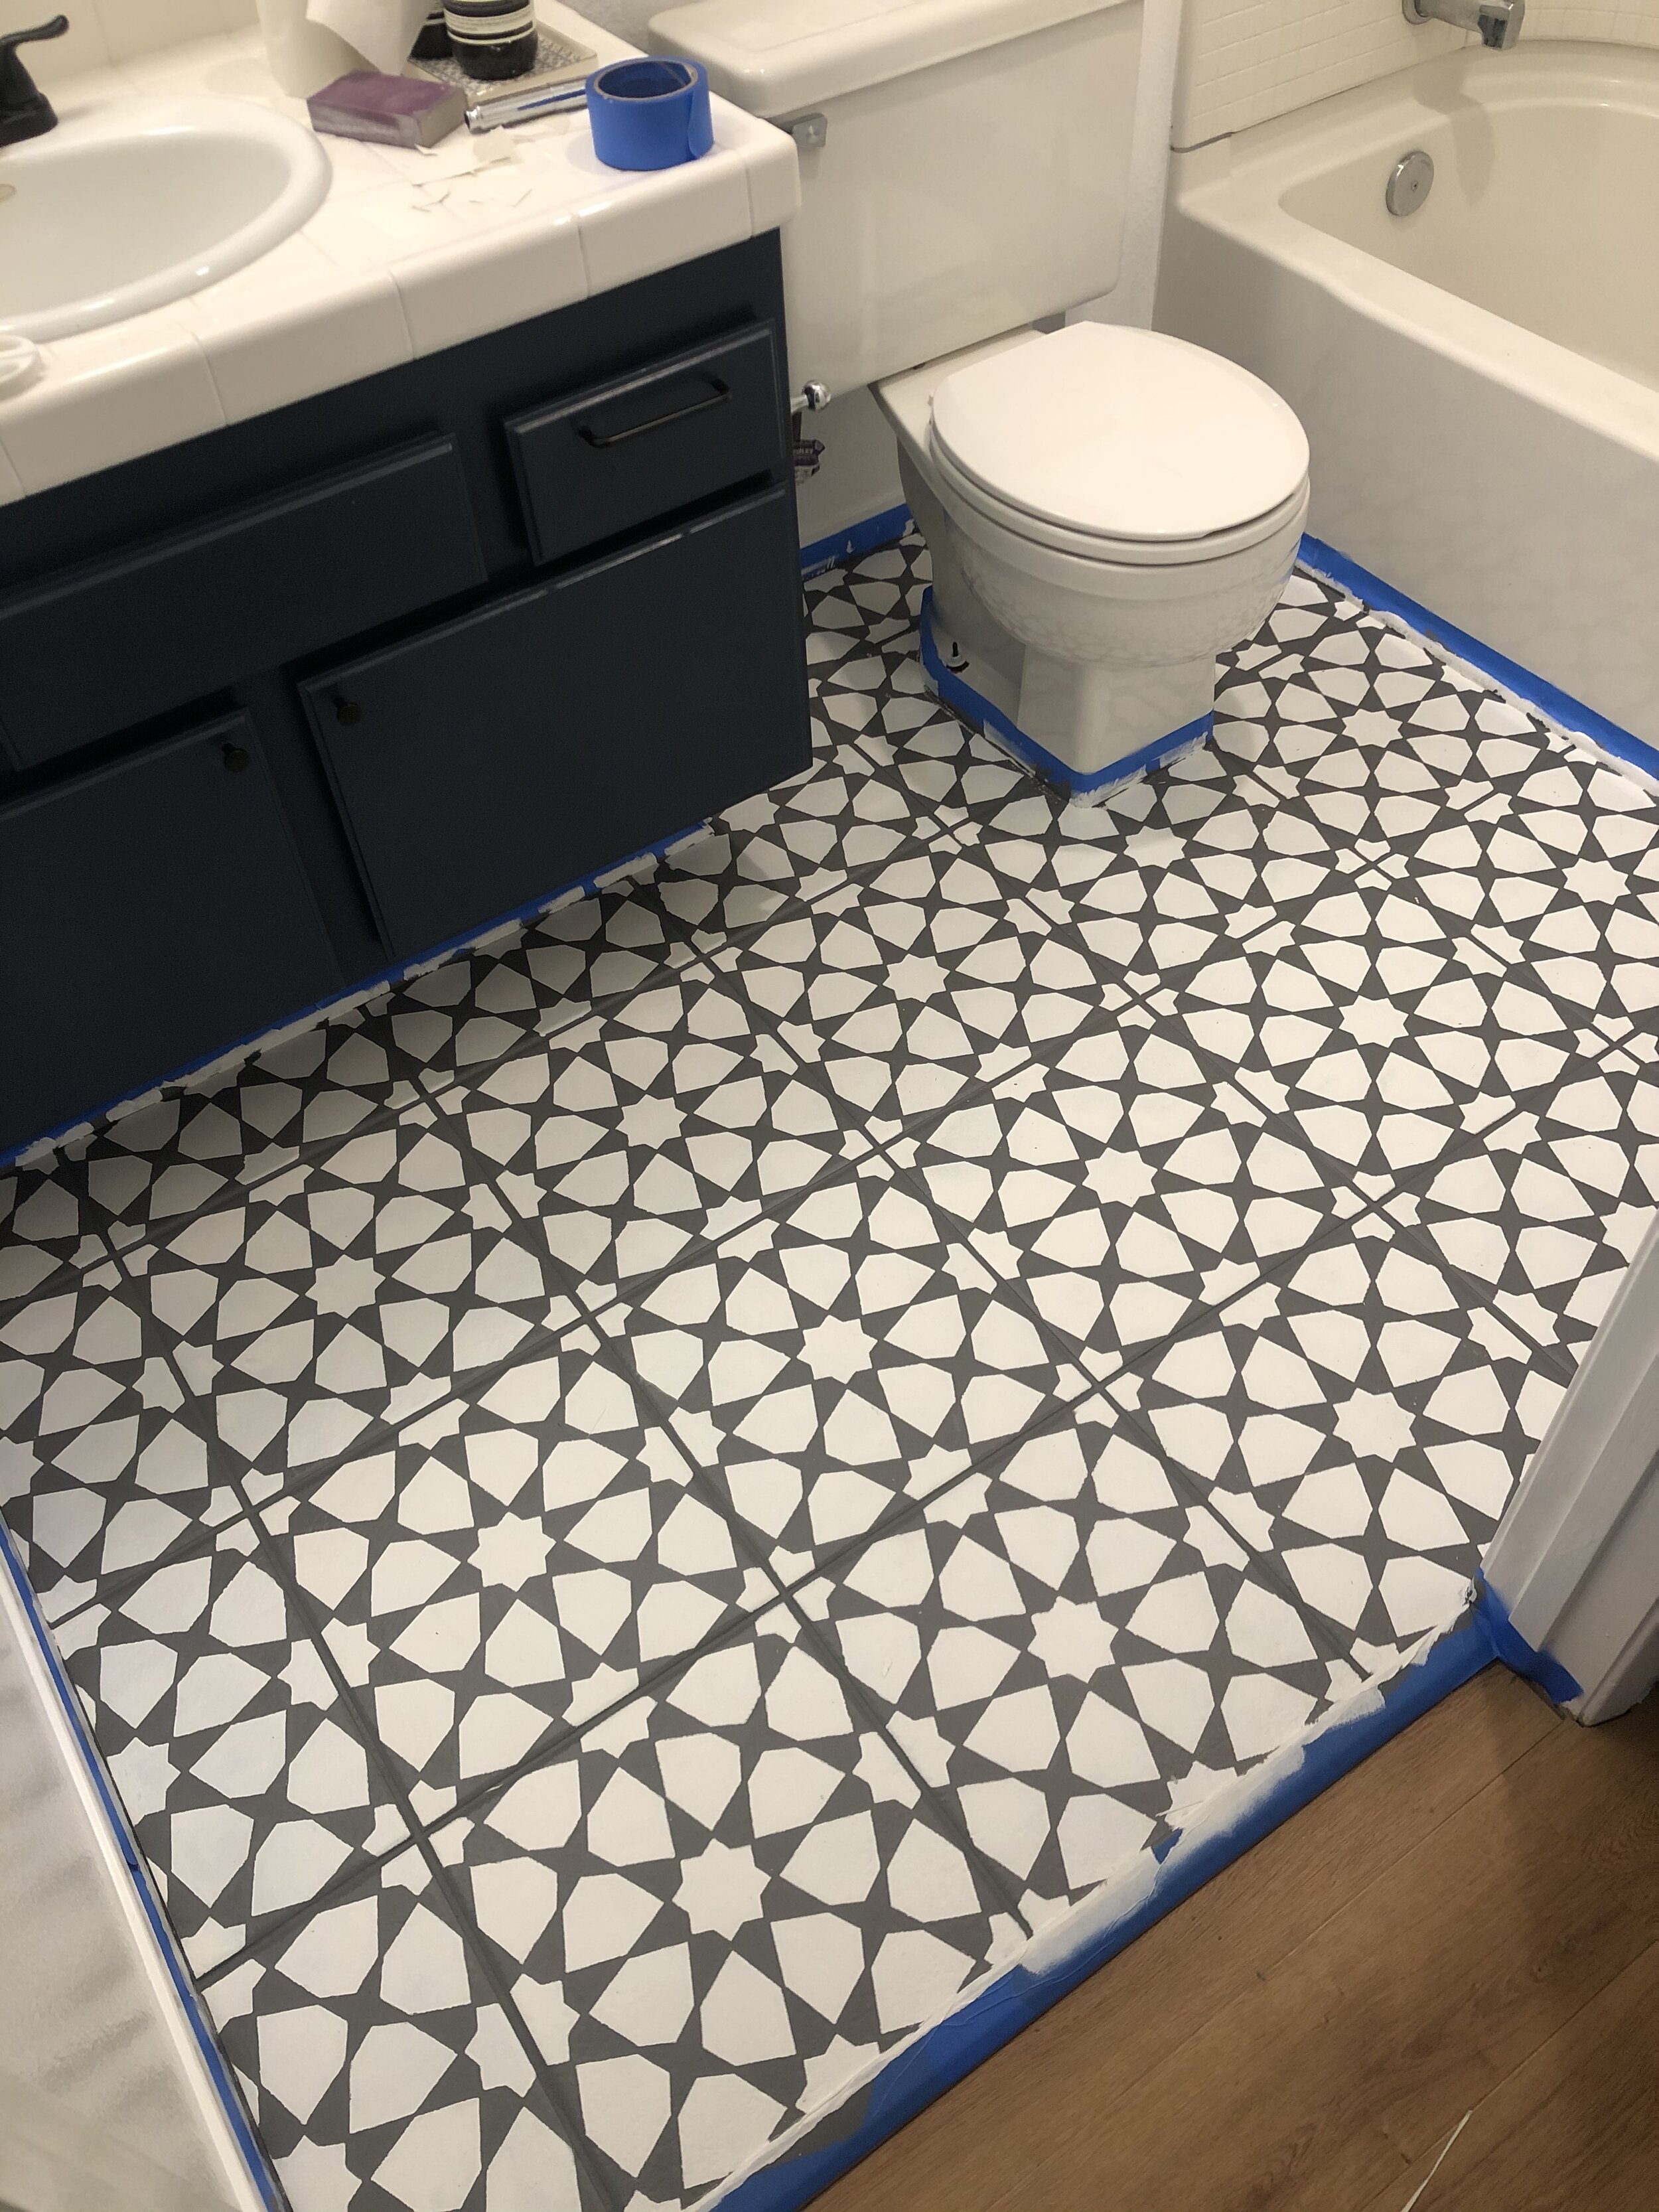
Stenciling Tile Floor with Rustoleum 2-Step Floor Paint
The biggest impact to this small bathroom came from painting the tile. I had seen this DIY a few places, and when I came across Rustoleum’s 2-Step Floor Paint I decided to give it a go. I carefully measured my tile size and had custom sized stencils made by Dizzy Duck Designs.
Materials
Regular-sized roller
4 inch foam roller
Foam brushes
Artist’s brushes
Painters tape
Stencils
Hair dryer
Total cost ~ $100
Process
Rustoleum includes great directions with their product, but here are some additional tips!
1. Tape off baseboards, around your, tub/shower, vanity and toilet
2. Clean the area well with Krud Kutter, let dry completely
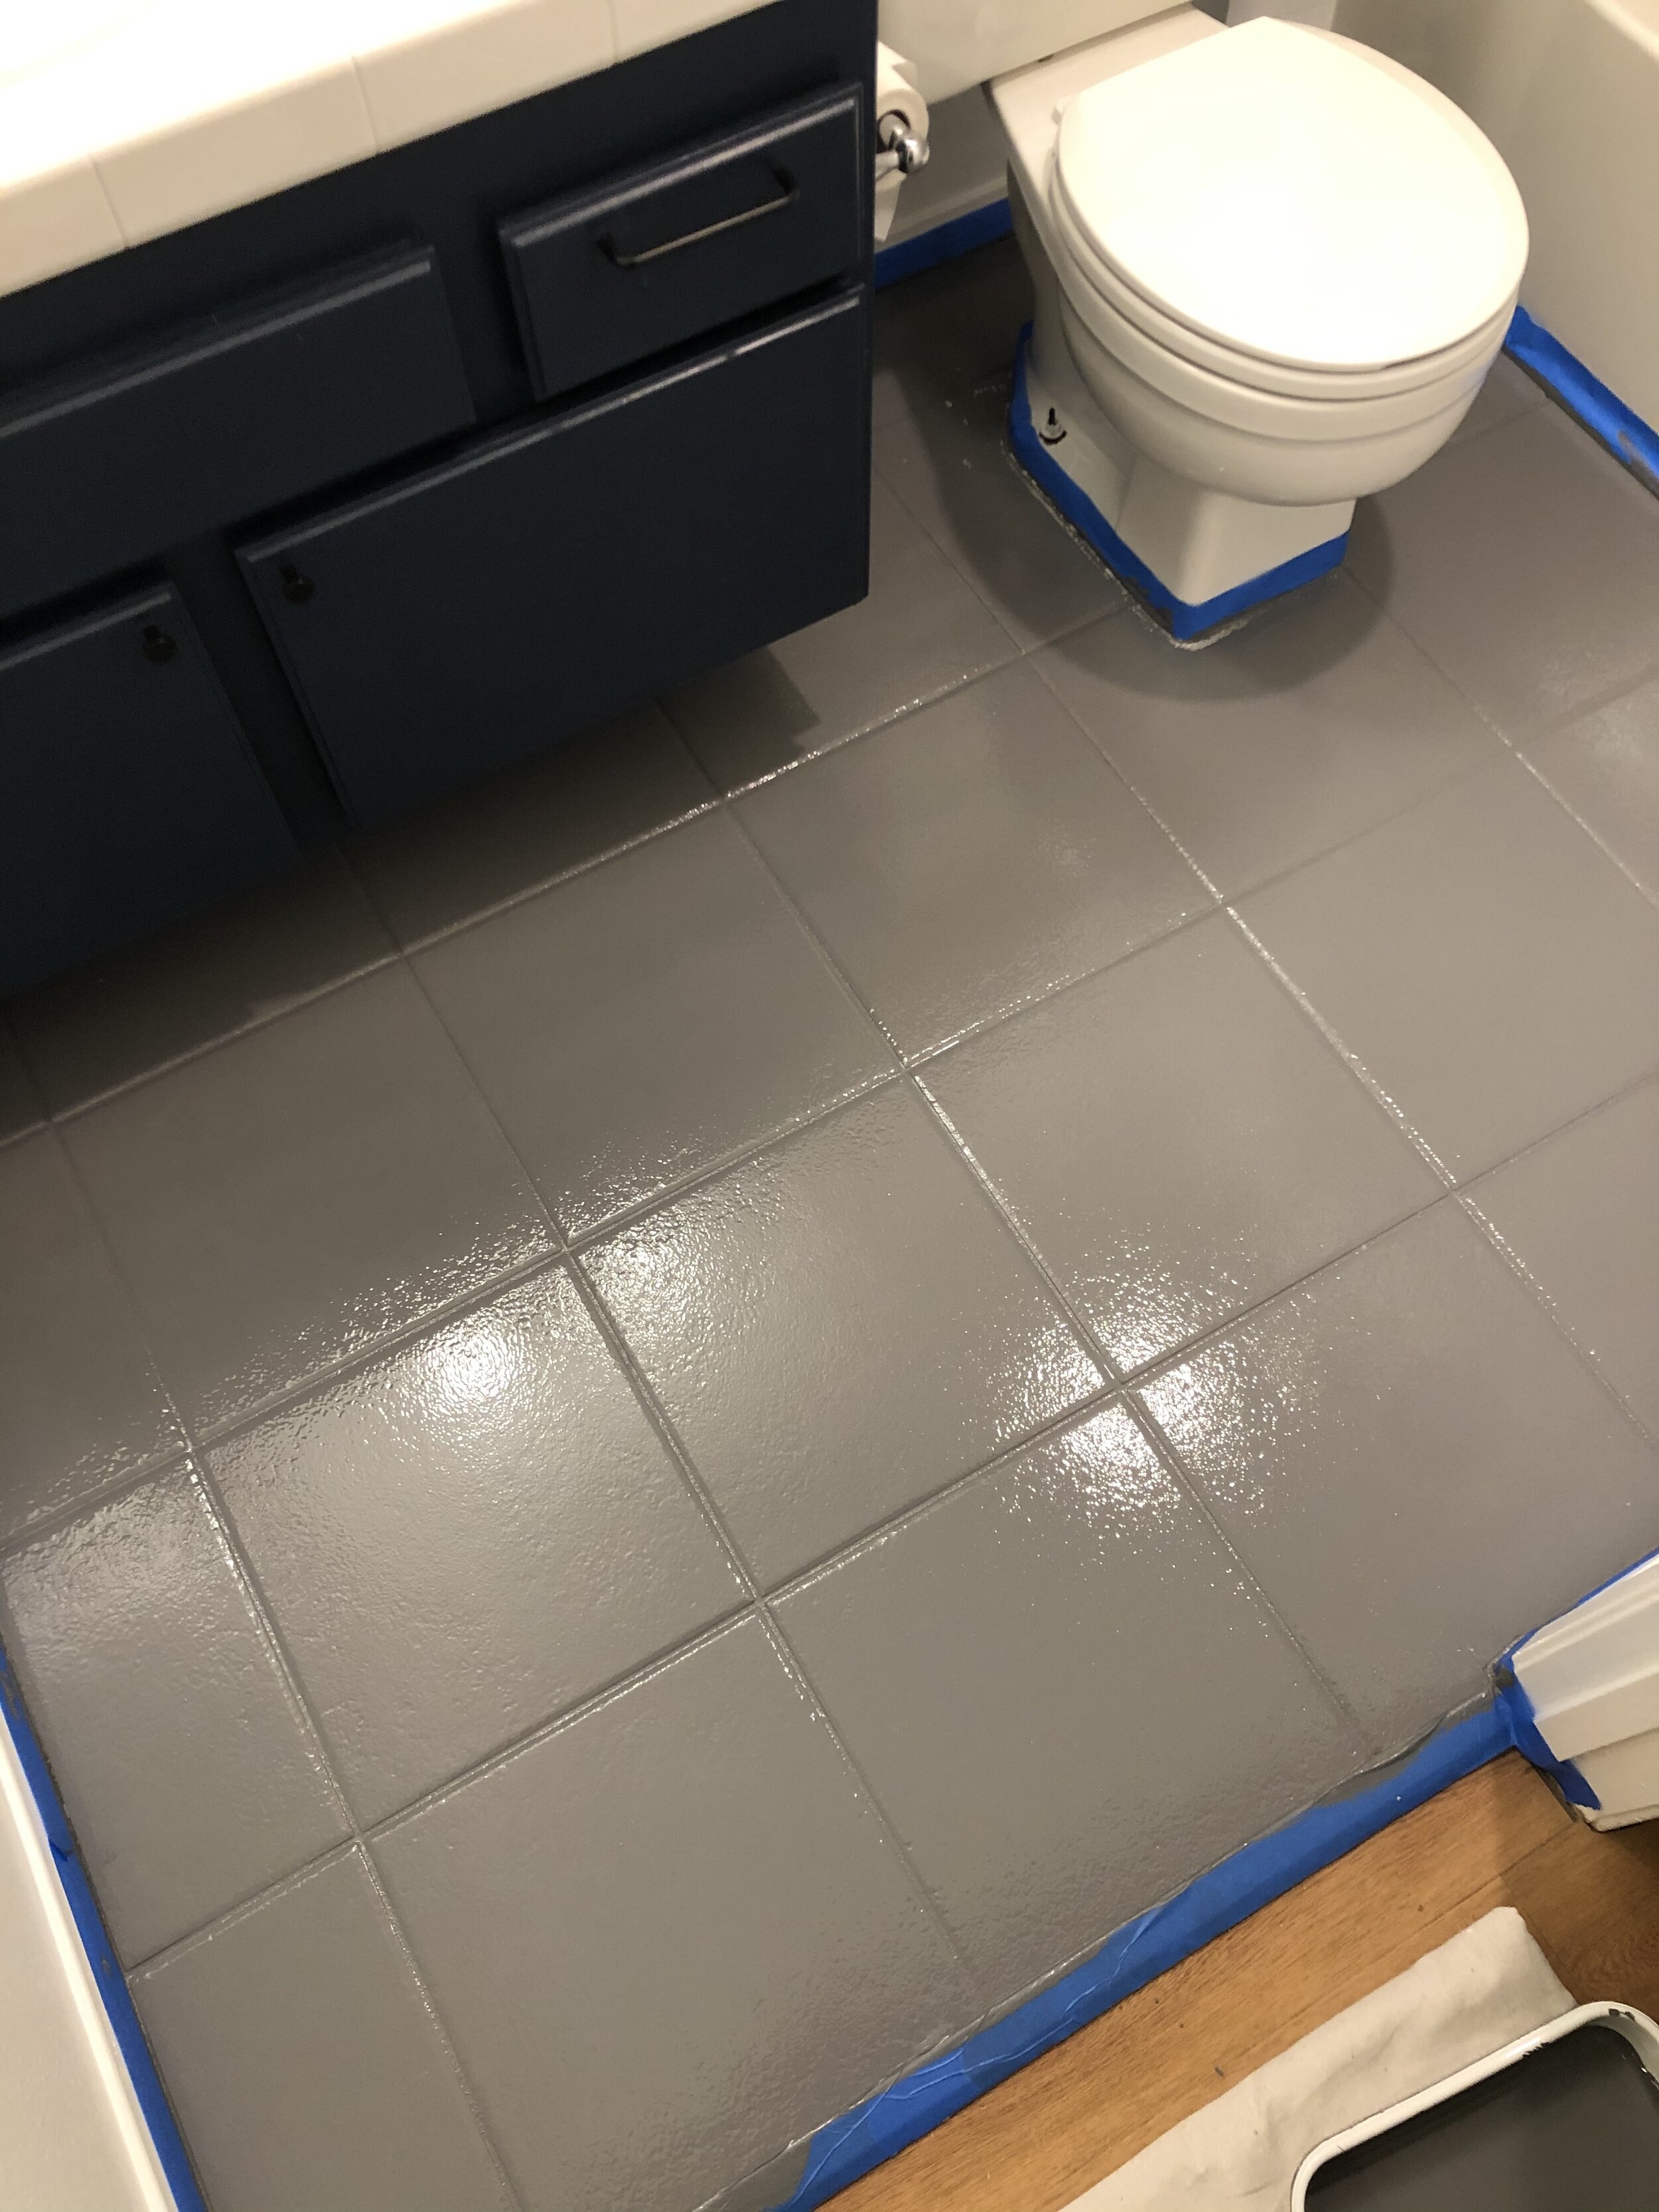
3. Apply your base coat following the instructions on the can
a. For the dark tinted base colors, they recommend one coat only, so be sure to get enough coverage. Apply touch-ups after it dries.
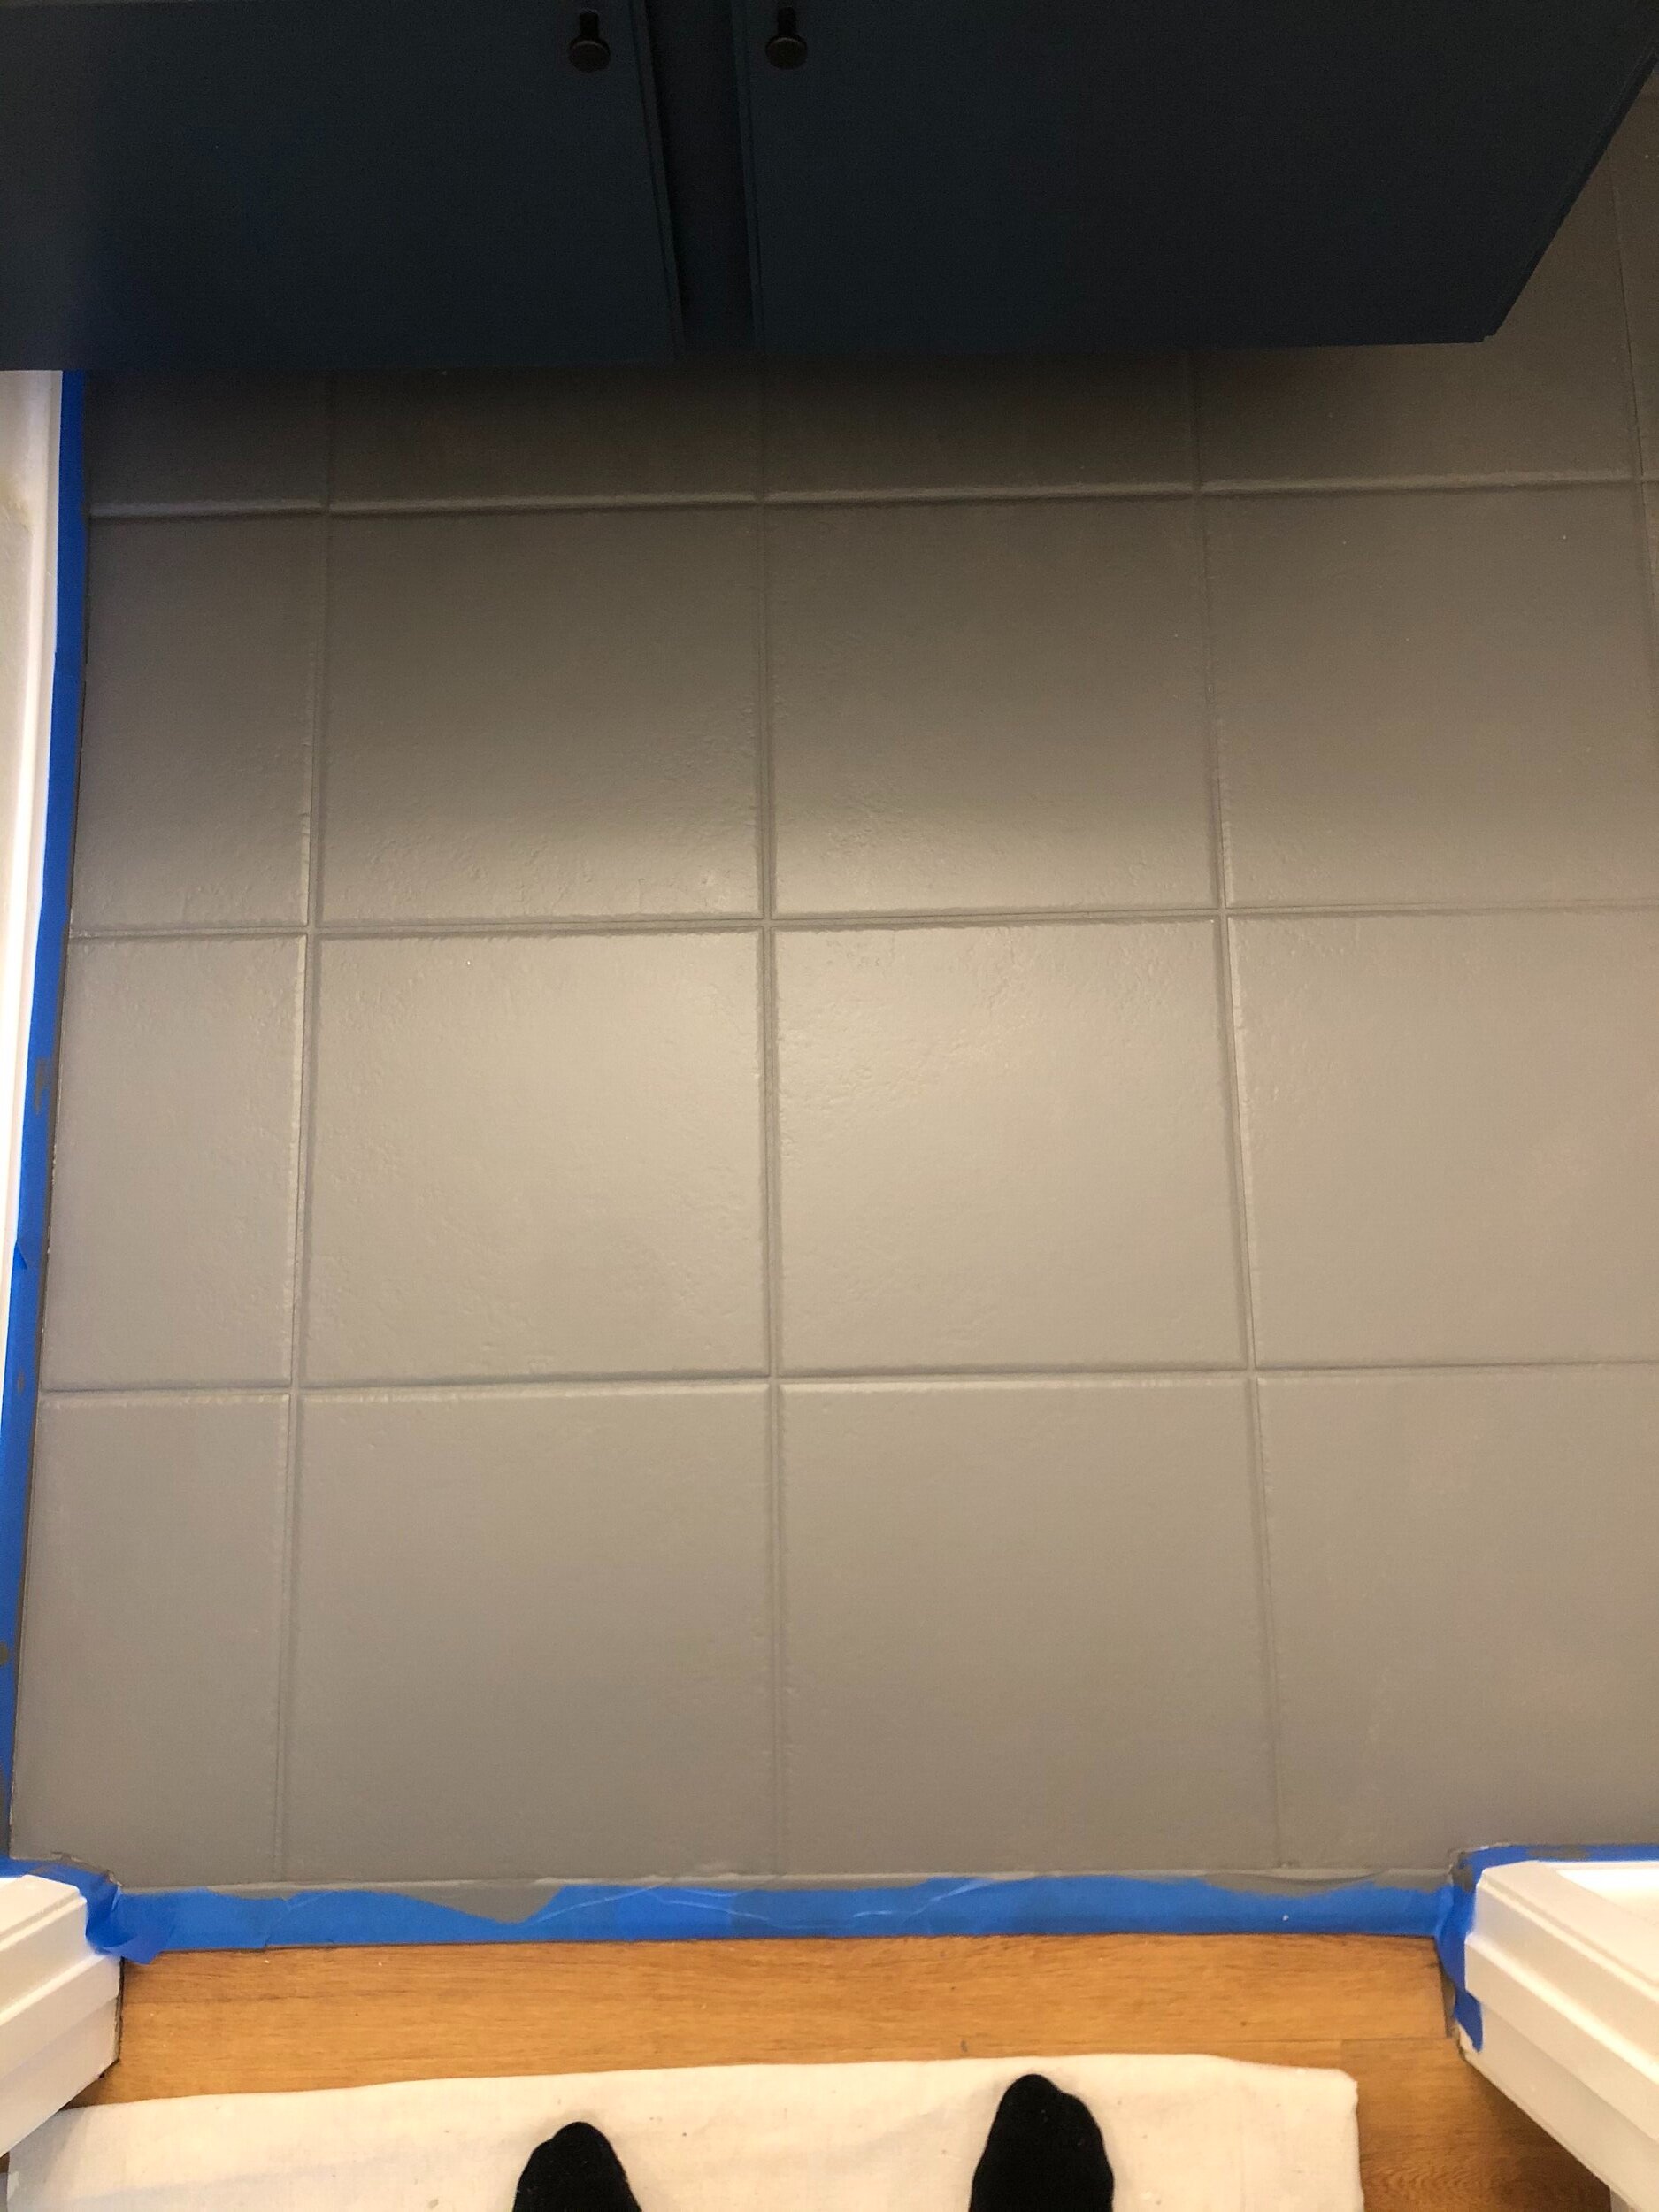
4. Wait at least 6 hours before stenciling. I let the base coat dry overnight.
a. I was nervous stepping onto the freshly painted floor, but it was surprisingly OK to walk on. Wear CLEAN socks, and have a hair dryer nearby to blow away any debris (ahem dog hair) that may have somehow ended up in your space.
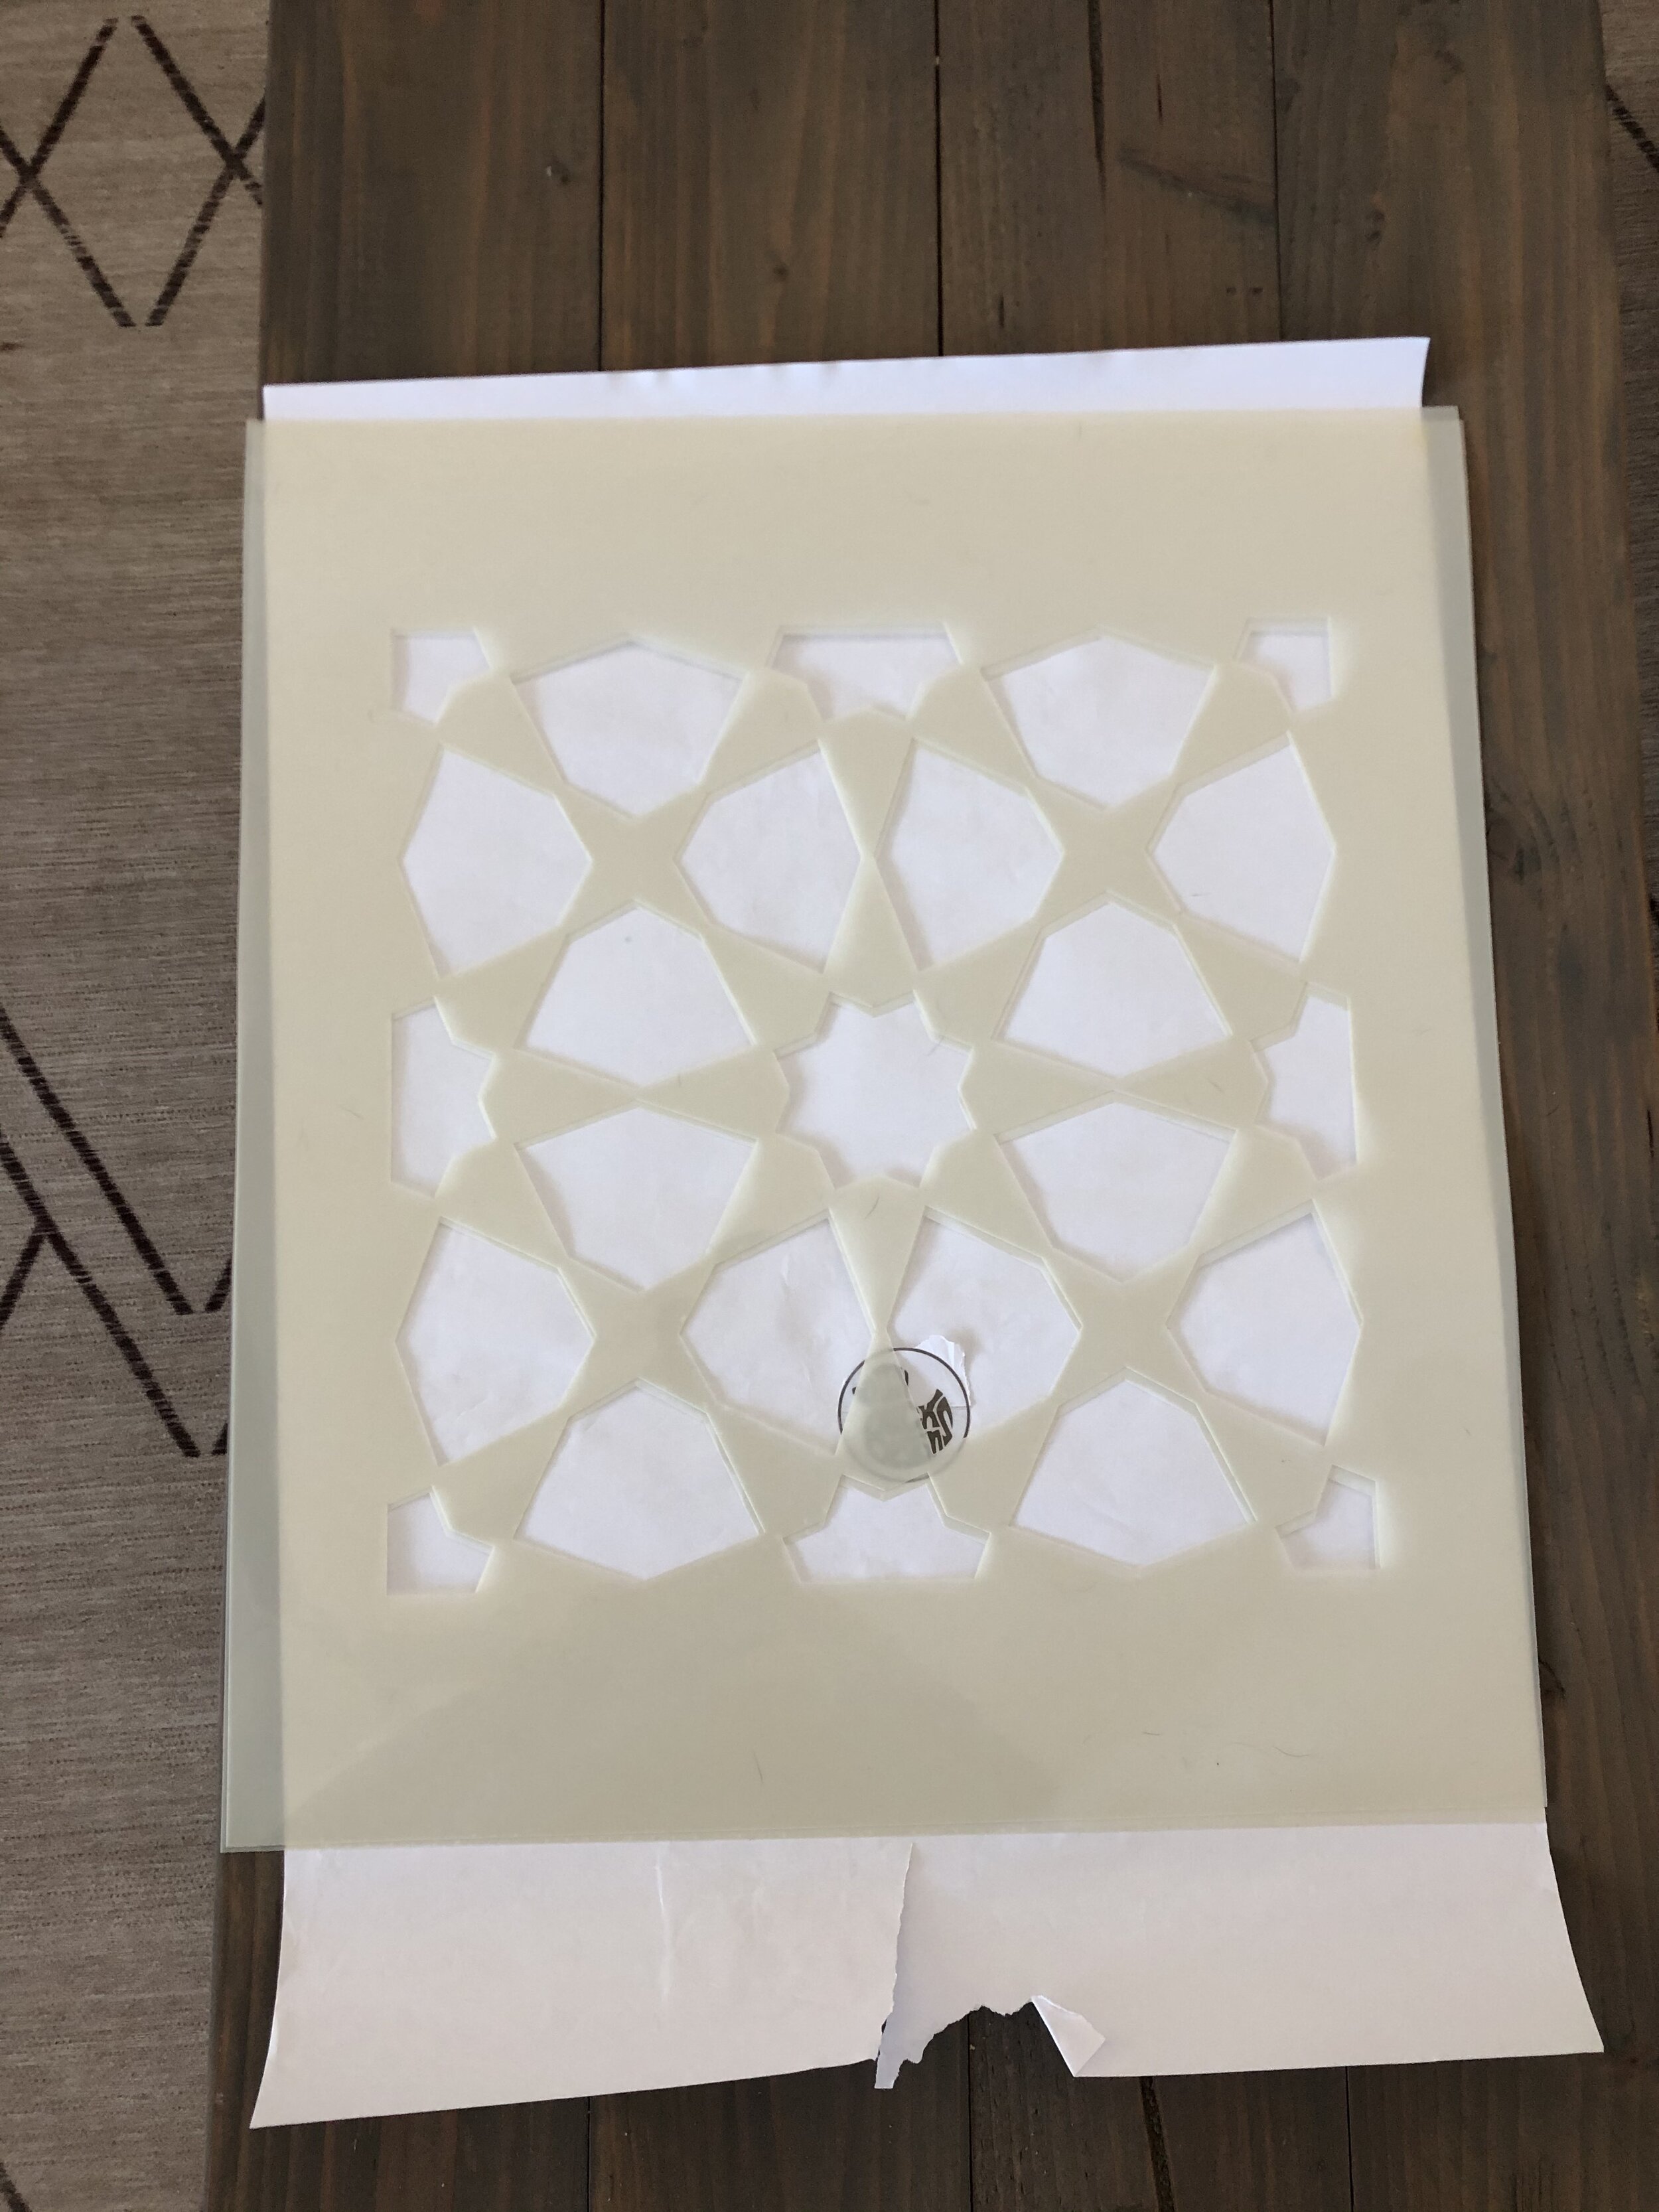
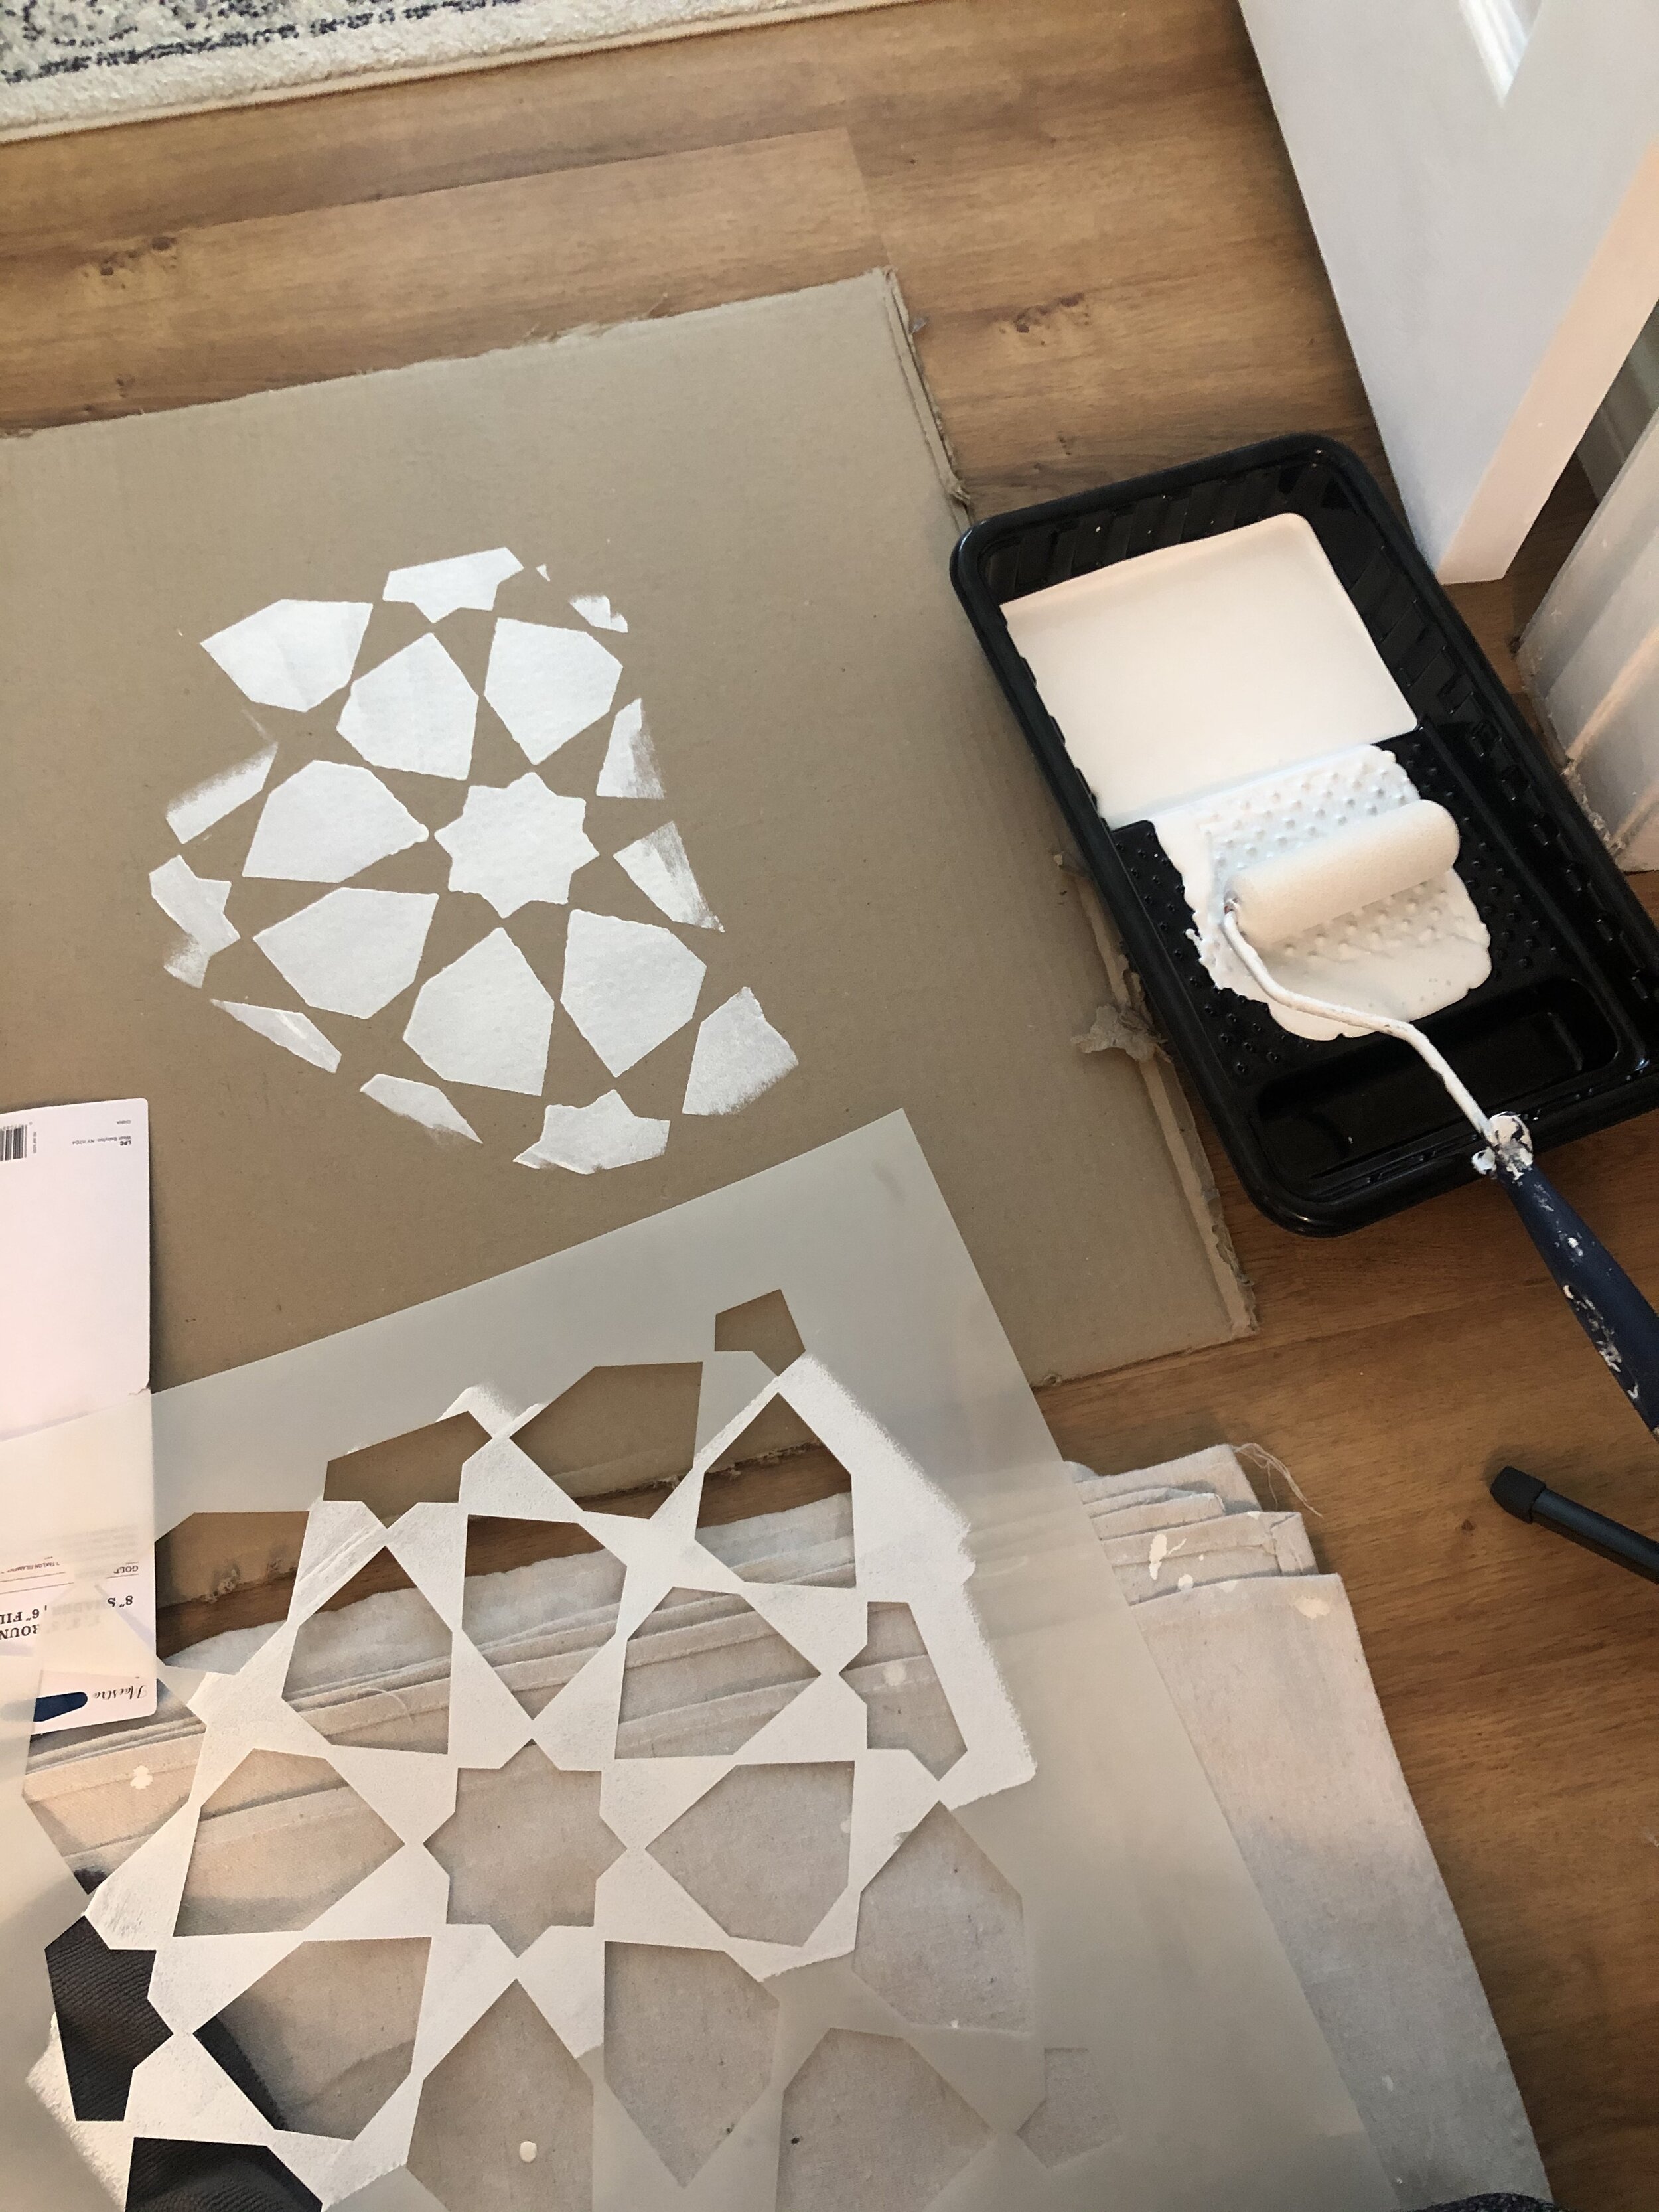
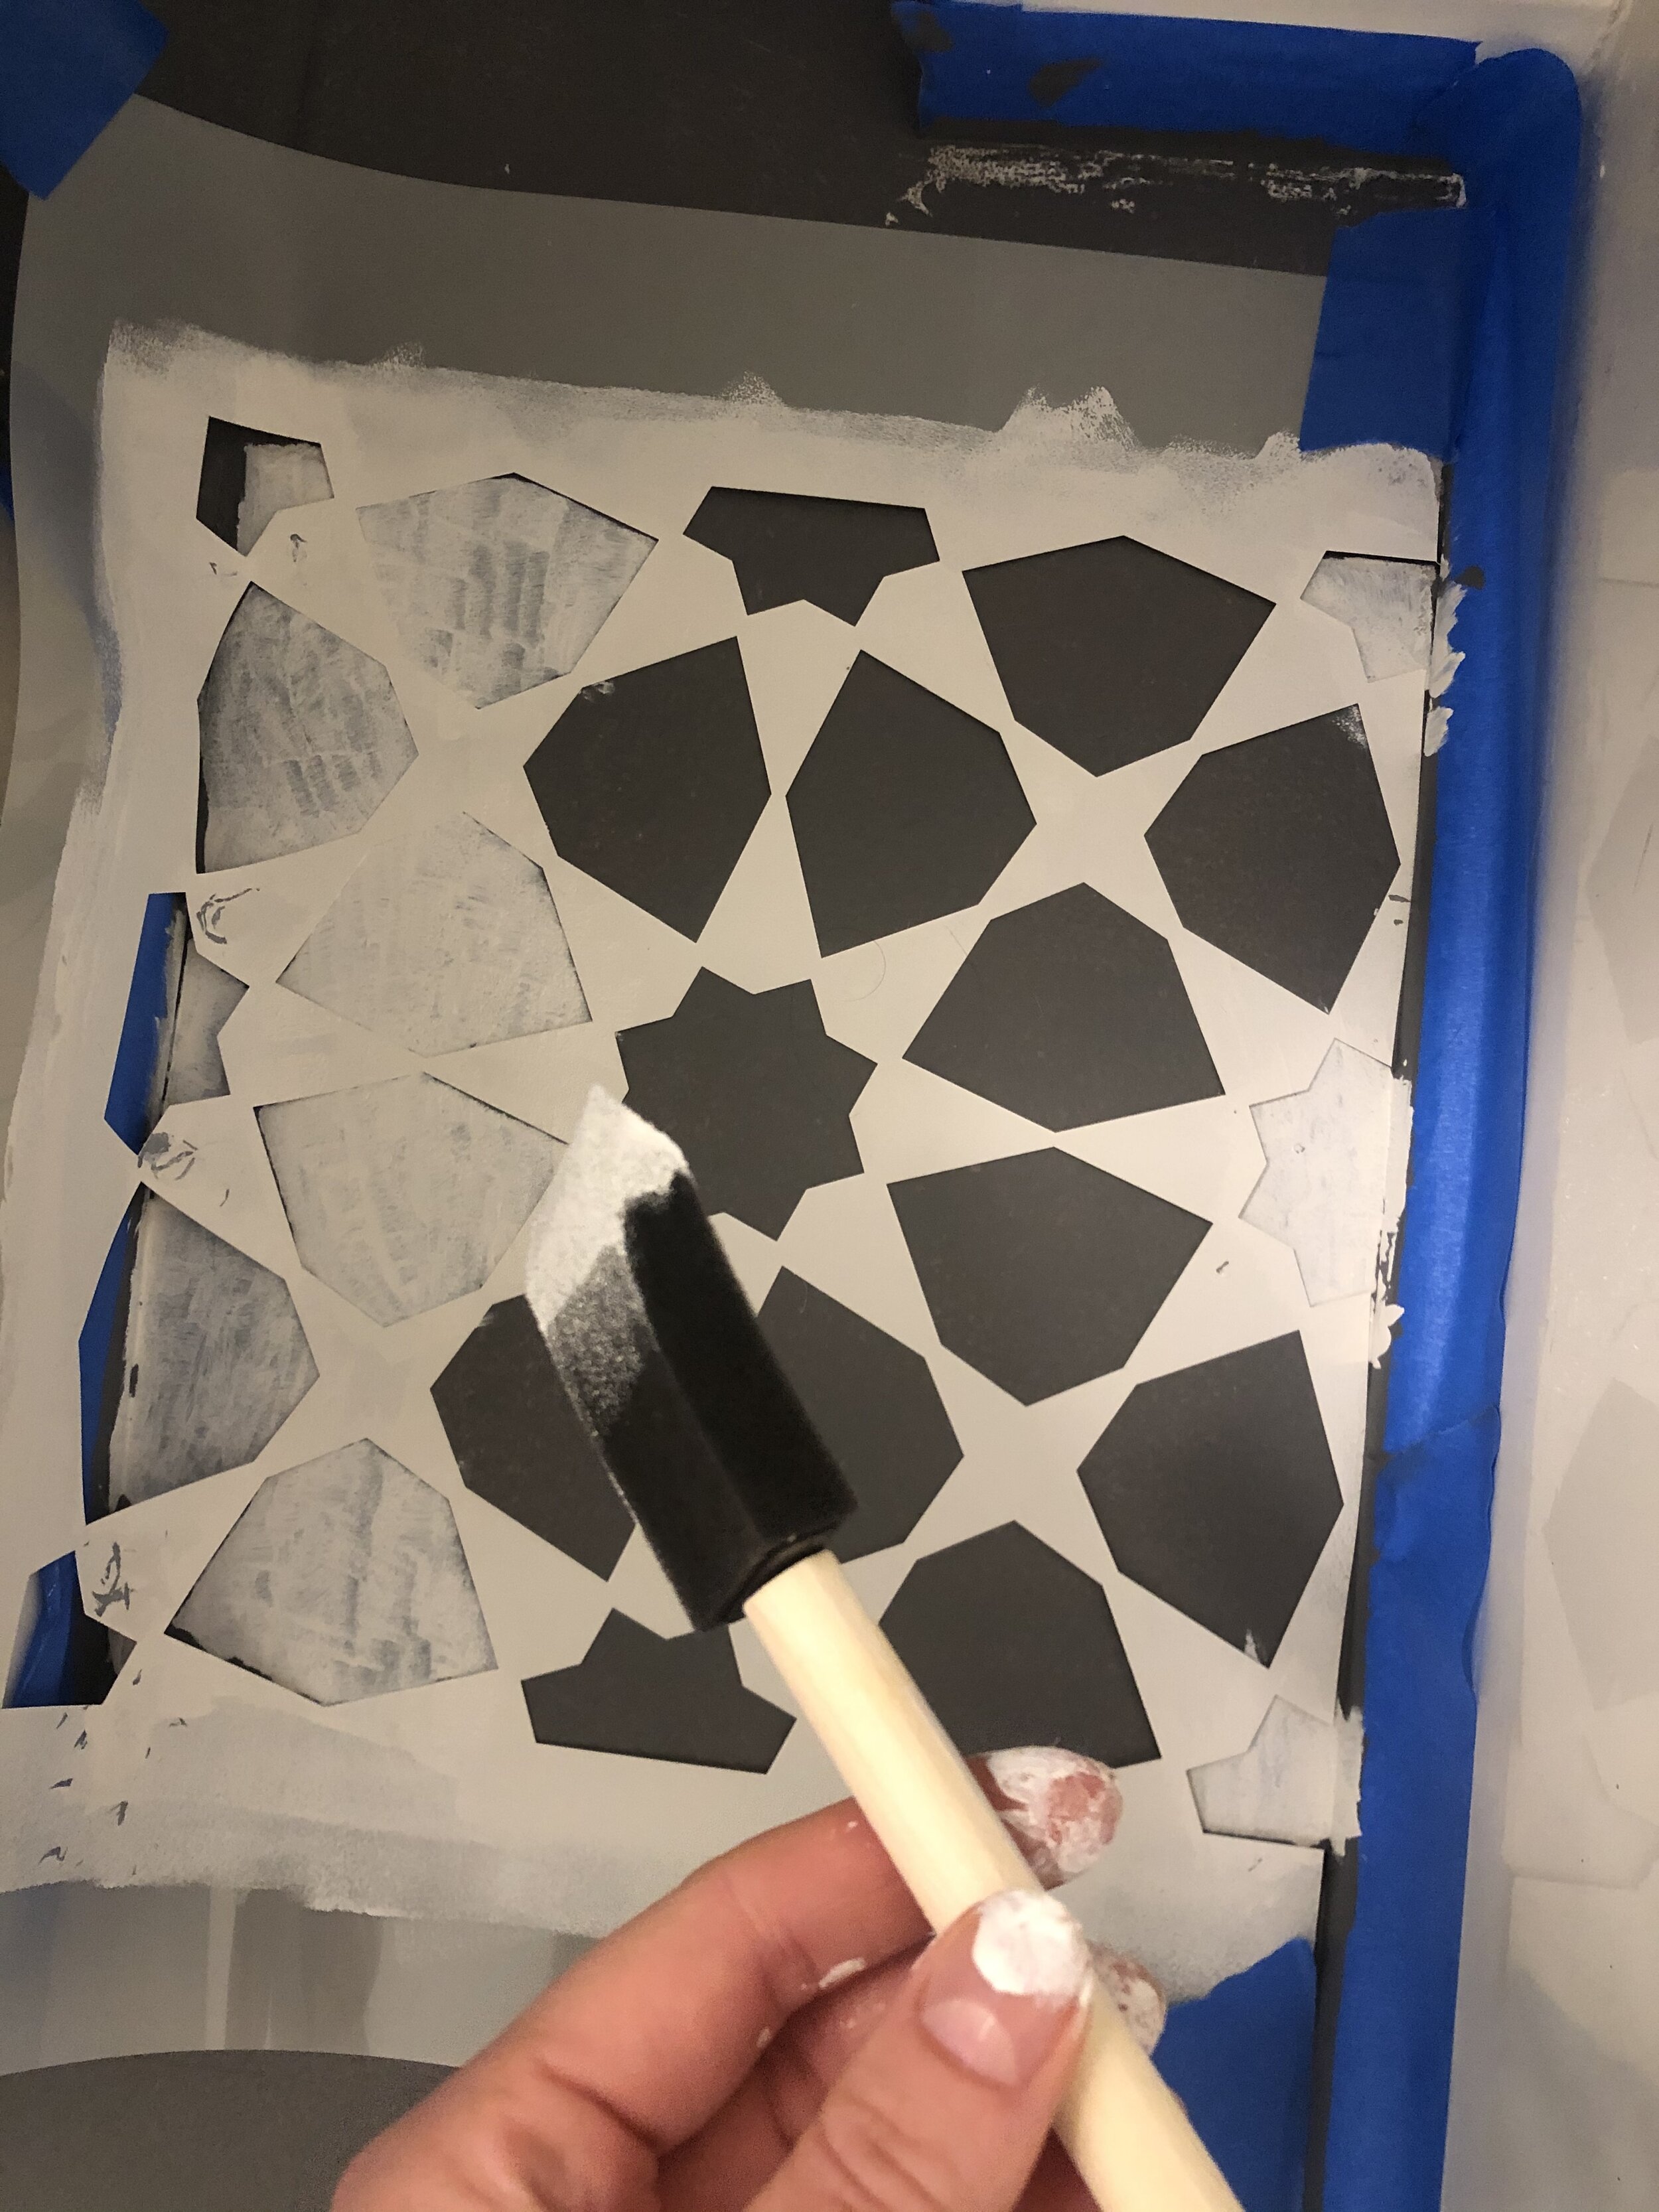
5. PRACTICE your stenciling. I cannot stress this enough. Using your 4 inch foam roller, use very light coats to stencil.
6. Begin stenciling your whole tiles first. You will have to cut the stencils to fit awkward areas, so get the neat parts out of the way first. Again, use thin coats and use the hair dryer in between coats to speed up the drying process.
7. Work slow and steady. This DIY takes a while because at times, you have to let tiles dry before moving on to the next.
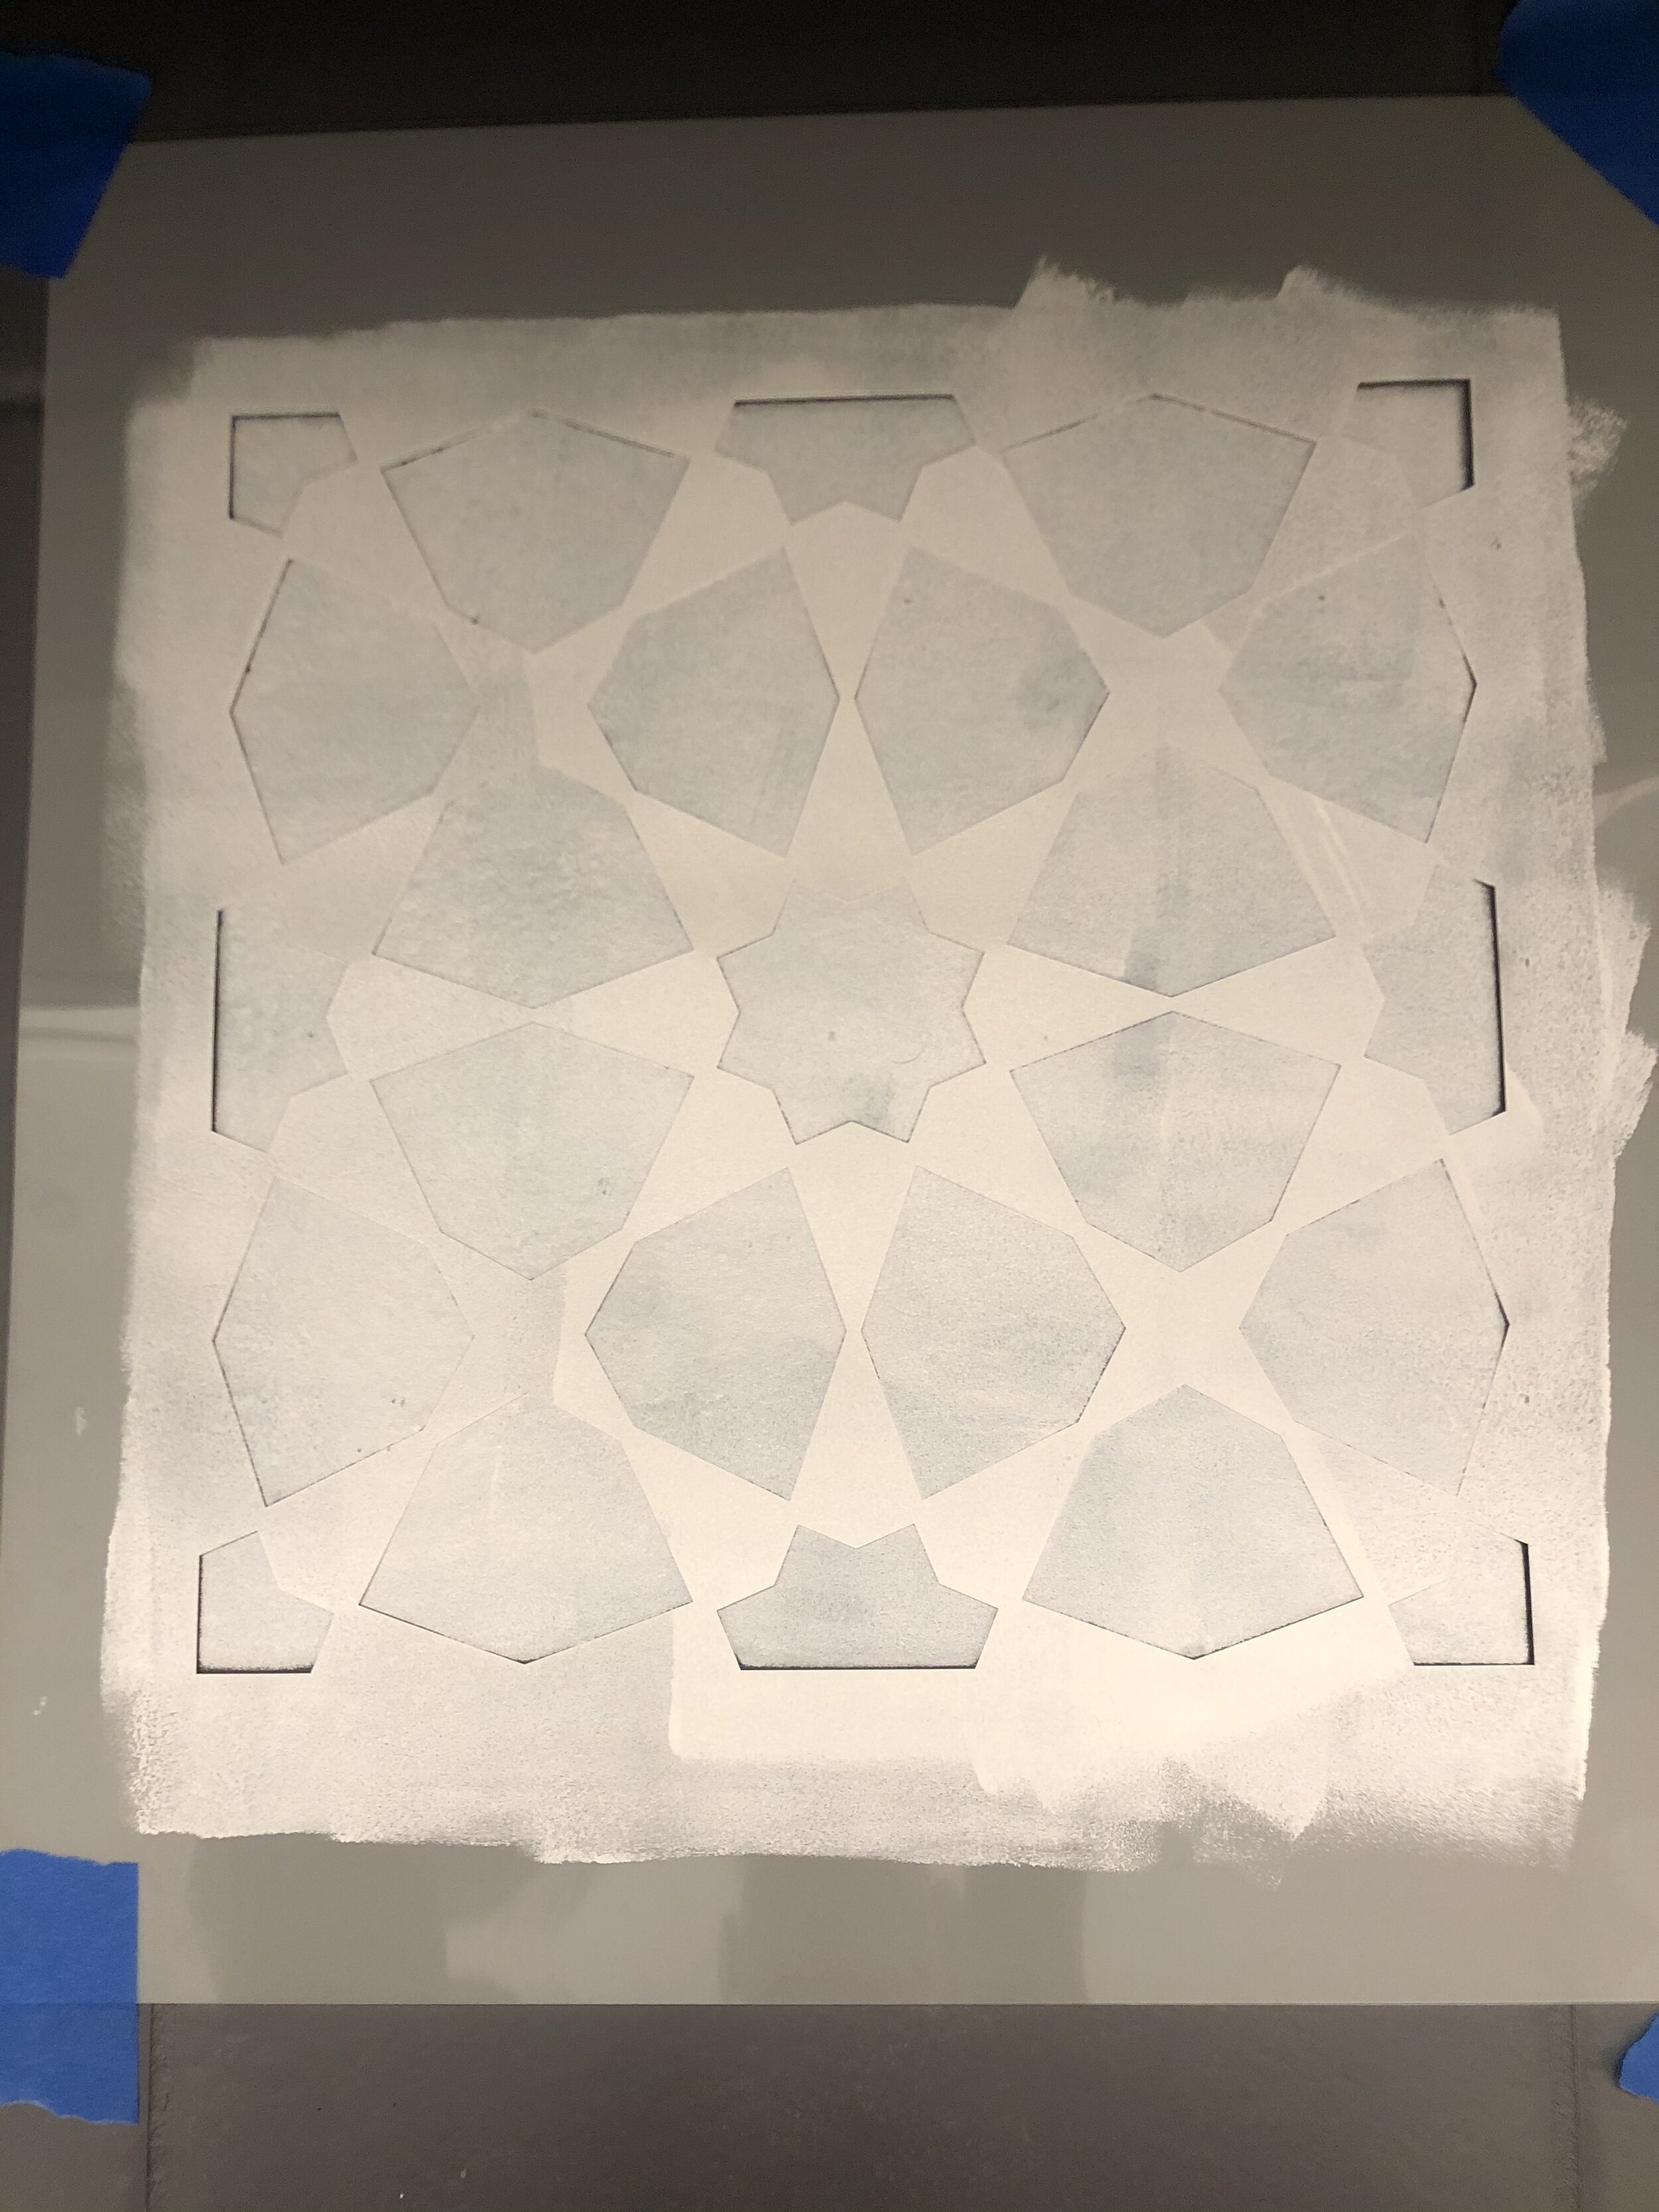
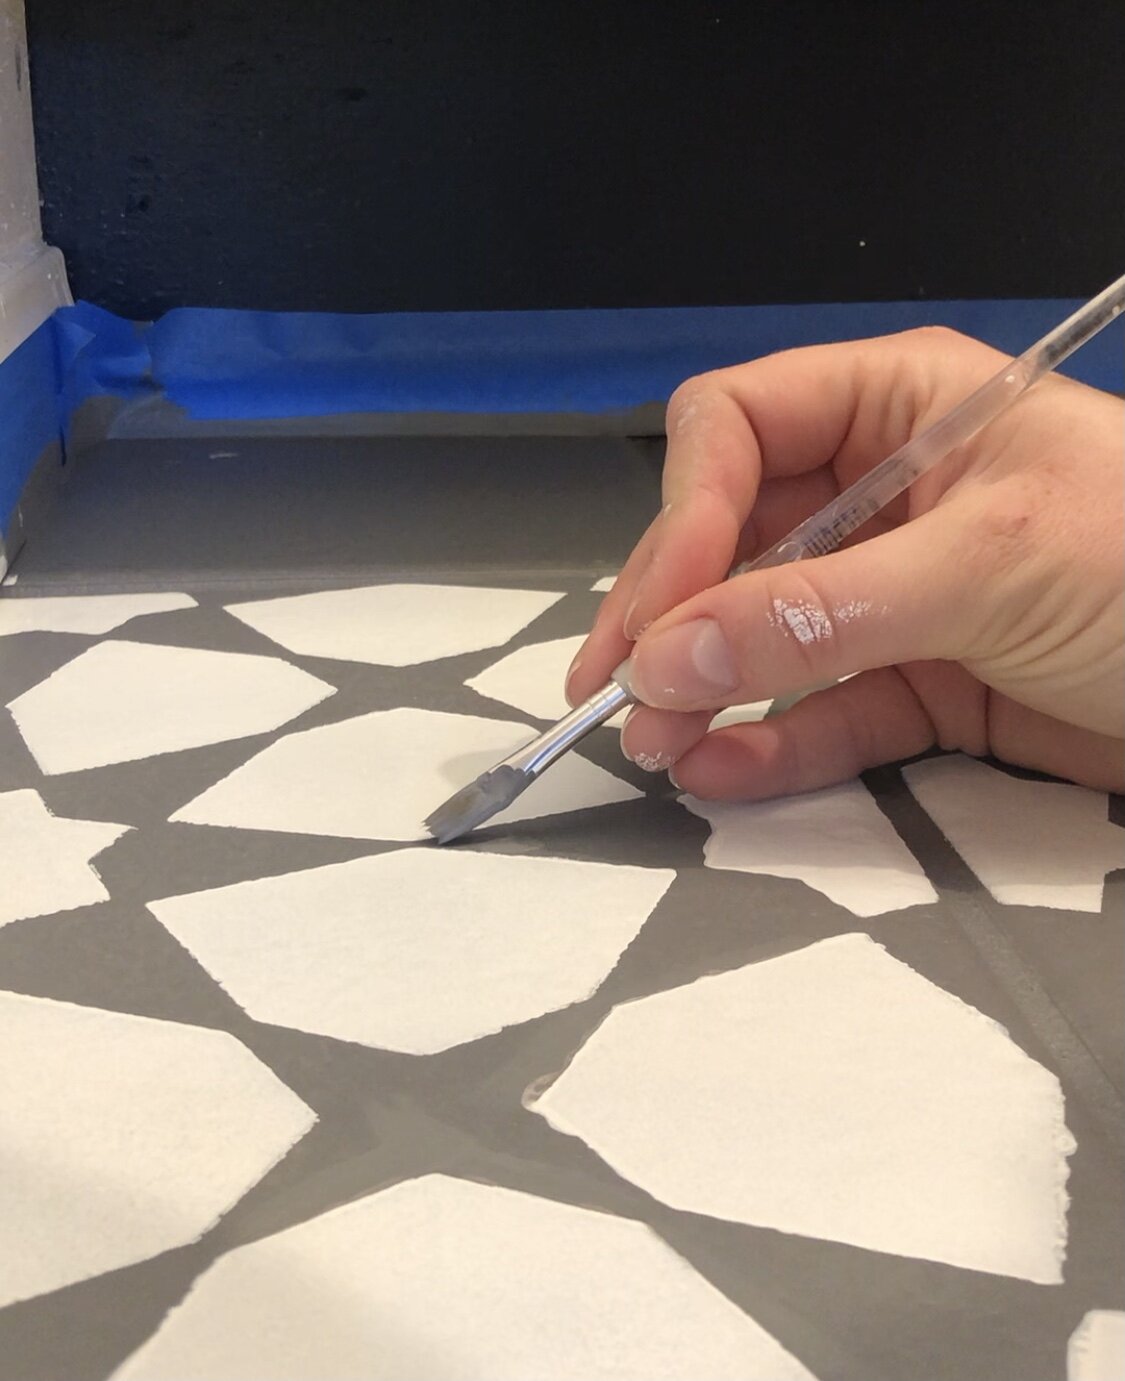
8. After you finish all the stenciling, use a small artists brush to touch up details and sharpen lines that may have bled.
9. After waiting the recommended time, apply the top coat. I applied two thin coats.
10. WAIT – don’t fall for the temptation to start using your bathroom right away. Let that top coat cure.