
Refacing a Kitchen: All the Details (Including Cost)
When we purchased our home, we didn’t realize how many issues there were with the kitchen. In the excitement of becoming homeowners, all I saw was extra storage and blue paint!
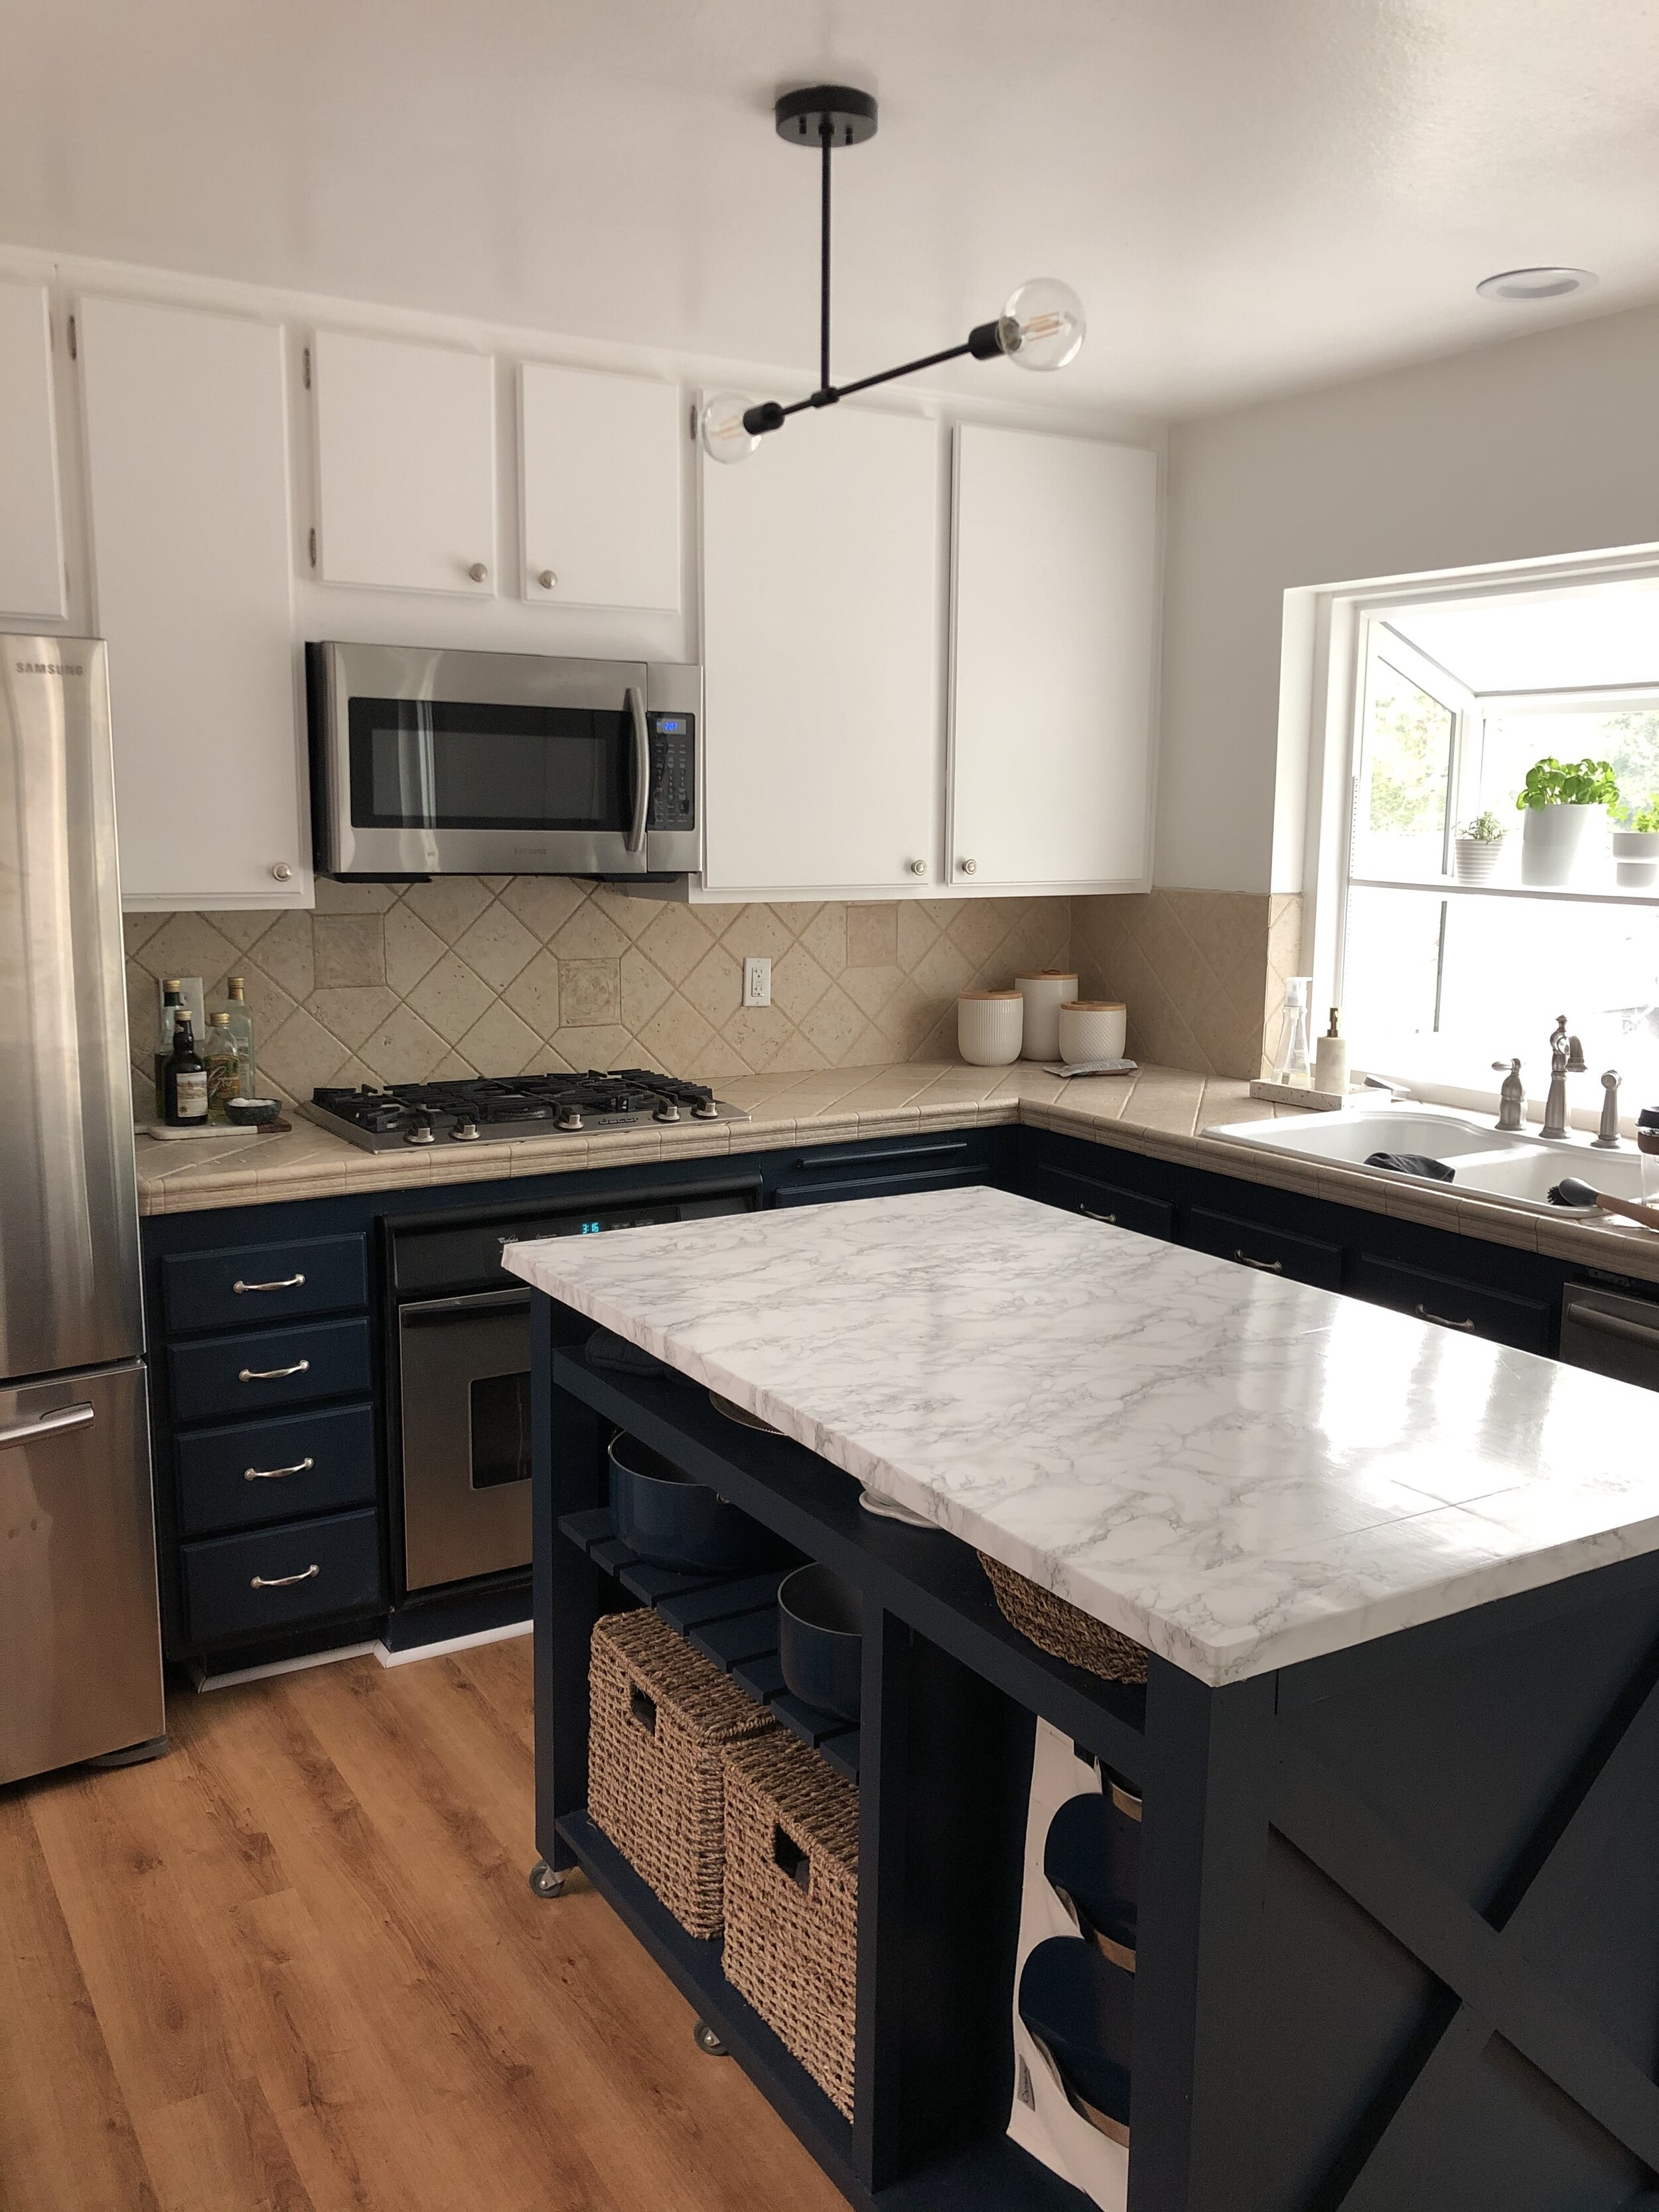
After moving in, I quickly discovered many details I strongly disliked:
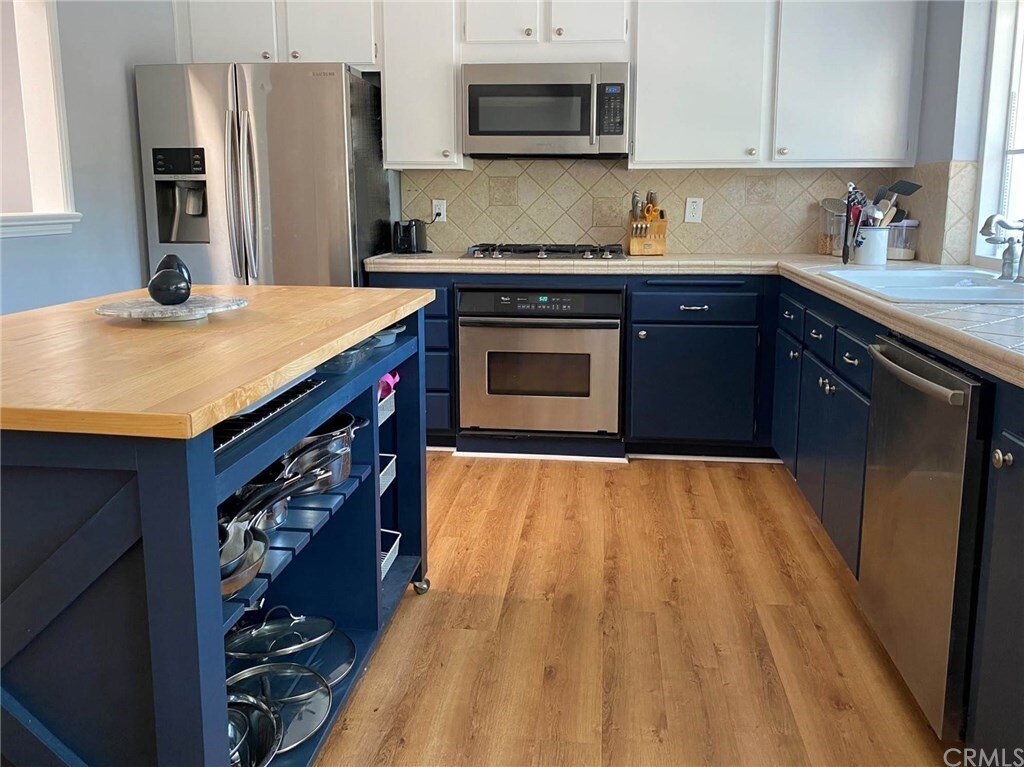
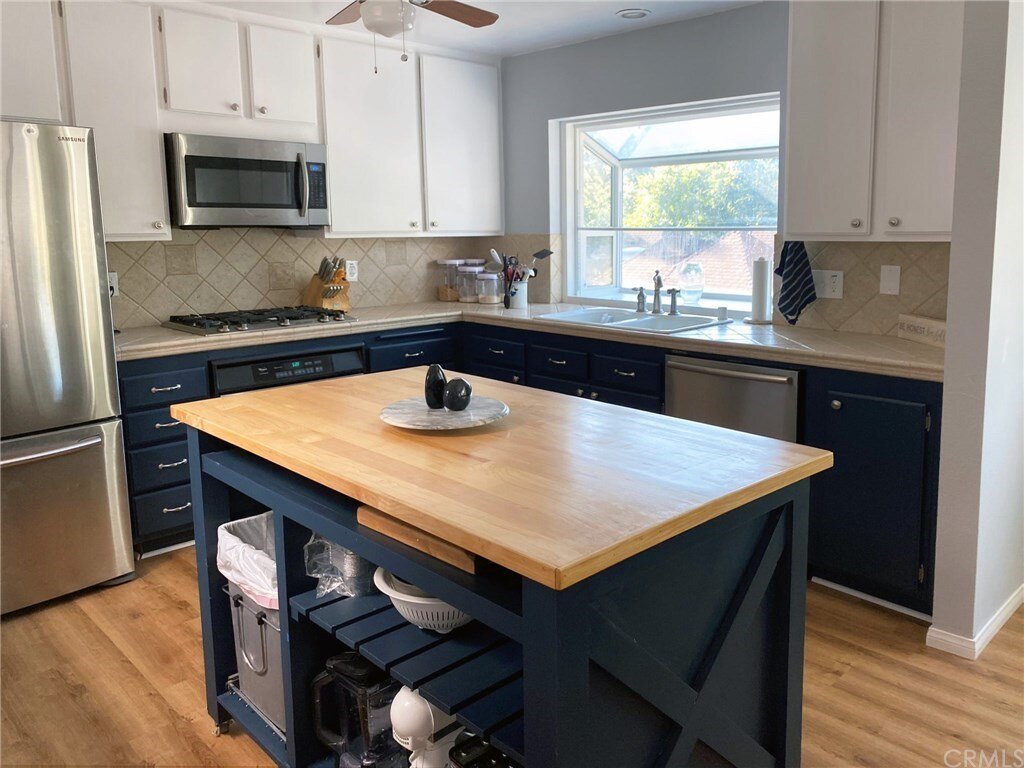
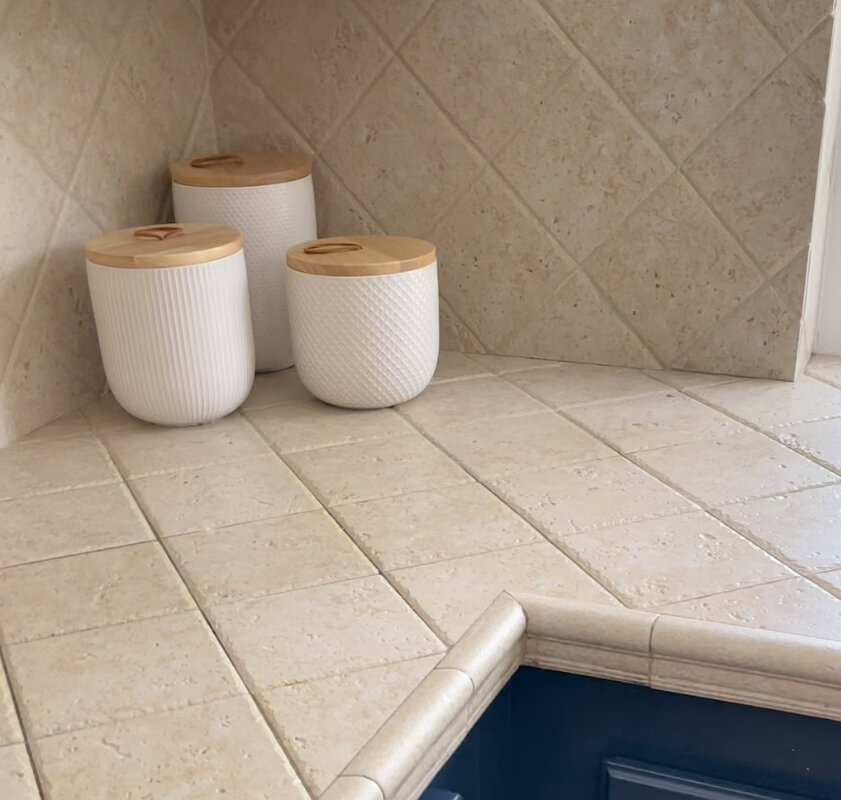
Tile countertops and backsplash – I have a bone to pick with whoever thought textured tile counters were a good idea
Drawers were falling apart and shelves needed some TLC
The lack of closed storage – I love the island, but the fact that it didn’t have doors put limitations on what I could store in it
Ceiling fan – just, why?
Sink – the two bowls were incredibly impractical for us and the white was absolutely impossible to keep clean
Microwave above range – the huge microwave took up so much visual space and was way too close to the cooktop
I could go on…
Phase 1: Budget Improvements
We immediately made a few cosmetic updates on a budget, like painting the walls Benjamin Moore Simply White, replacing the ceiling fan with a modern pendant and adding bamboo drawer inserts. I also applied marble contact paper to the wood island top. You can read all about that here. I toyed with the idea of swapping the knobs and pulls and getting a new sink, but ultimately decided to wait since I knew we wanted to a more comprehensive update.
To Gut or Not to Gut?
I started to look into options to remodel our kitchen and was pretty set on going with new IKEA cabinets. But the thought of demoing everything was holding me back. I wasn’t sure what issues we would run into, how long it would take and how much it would really add up to. Then I learned about refacing.
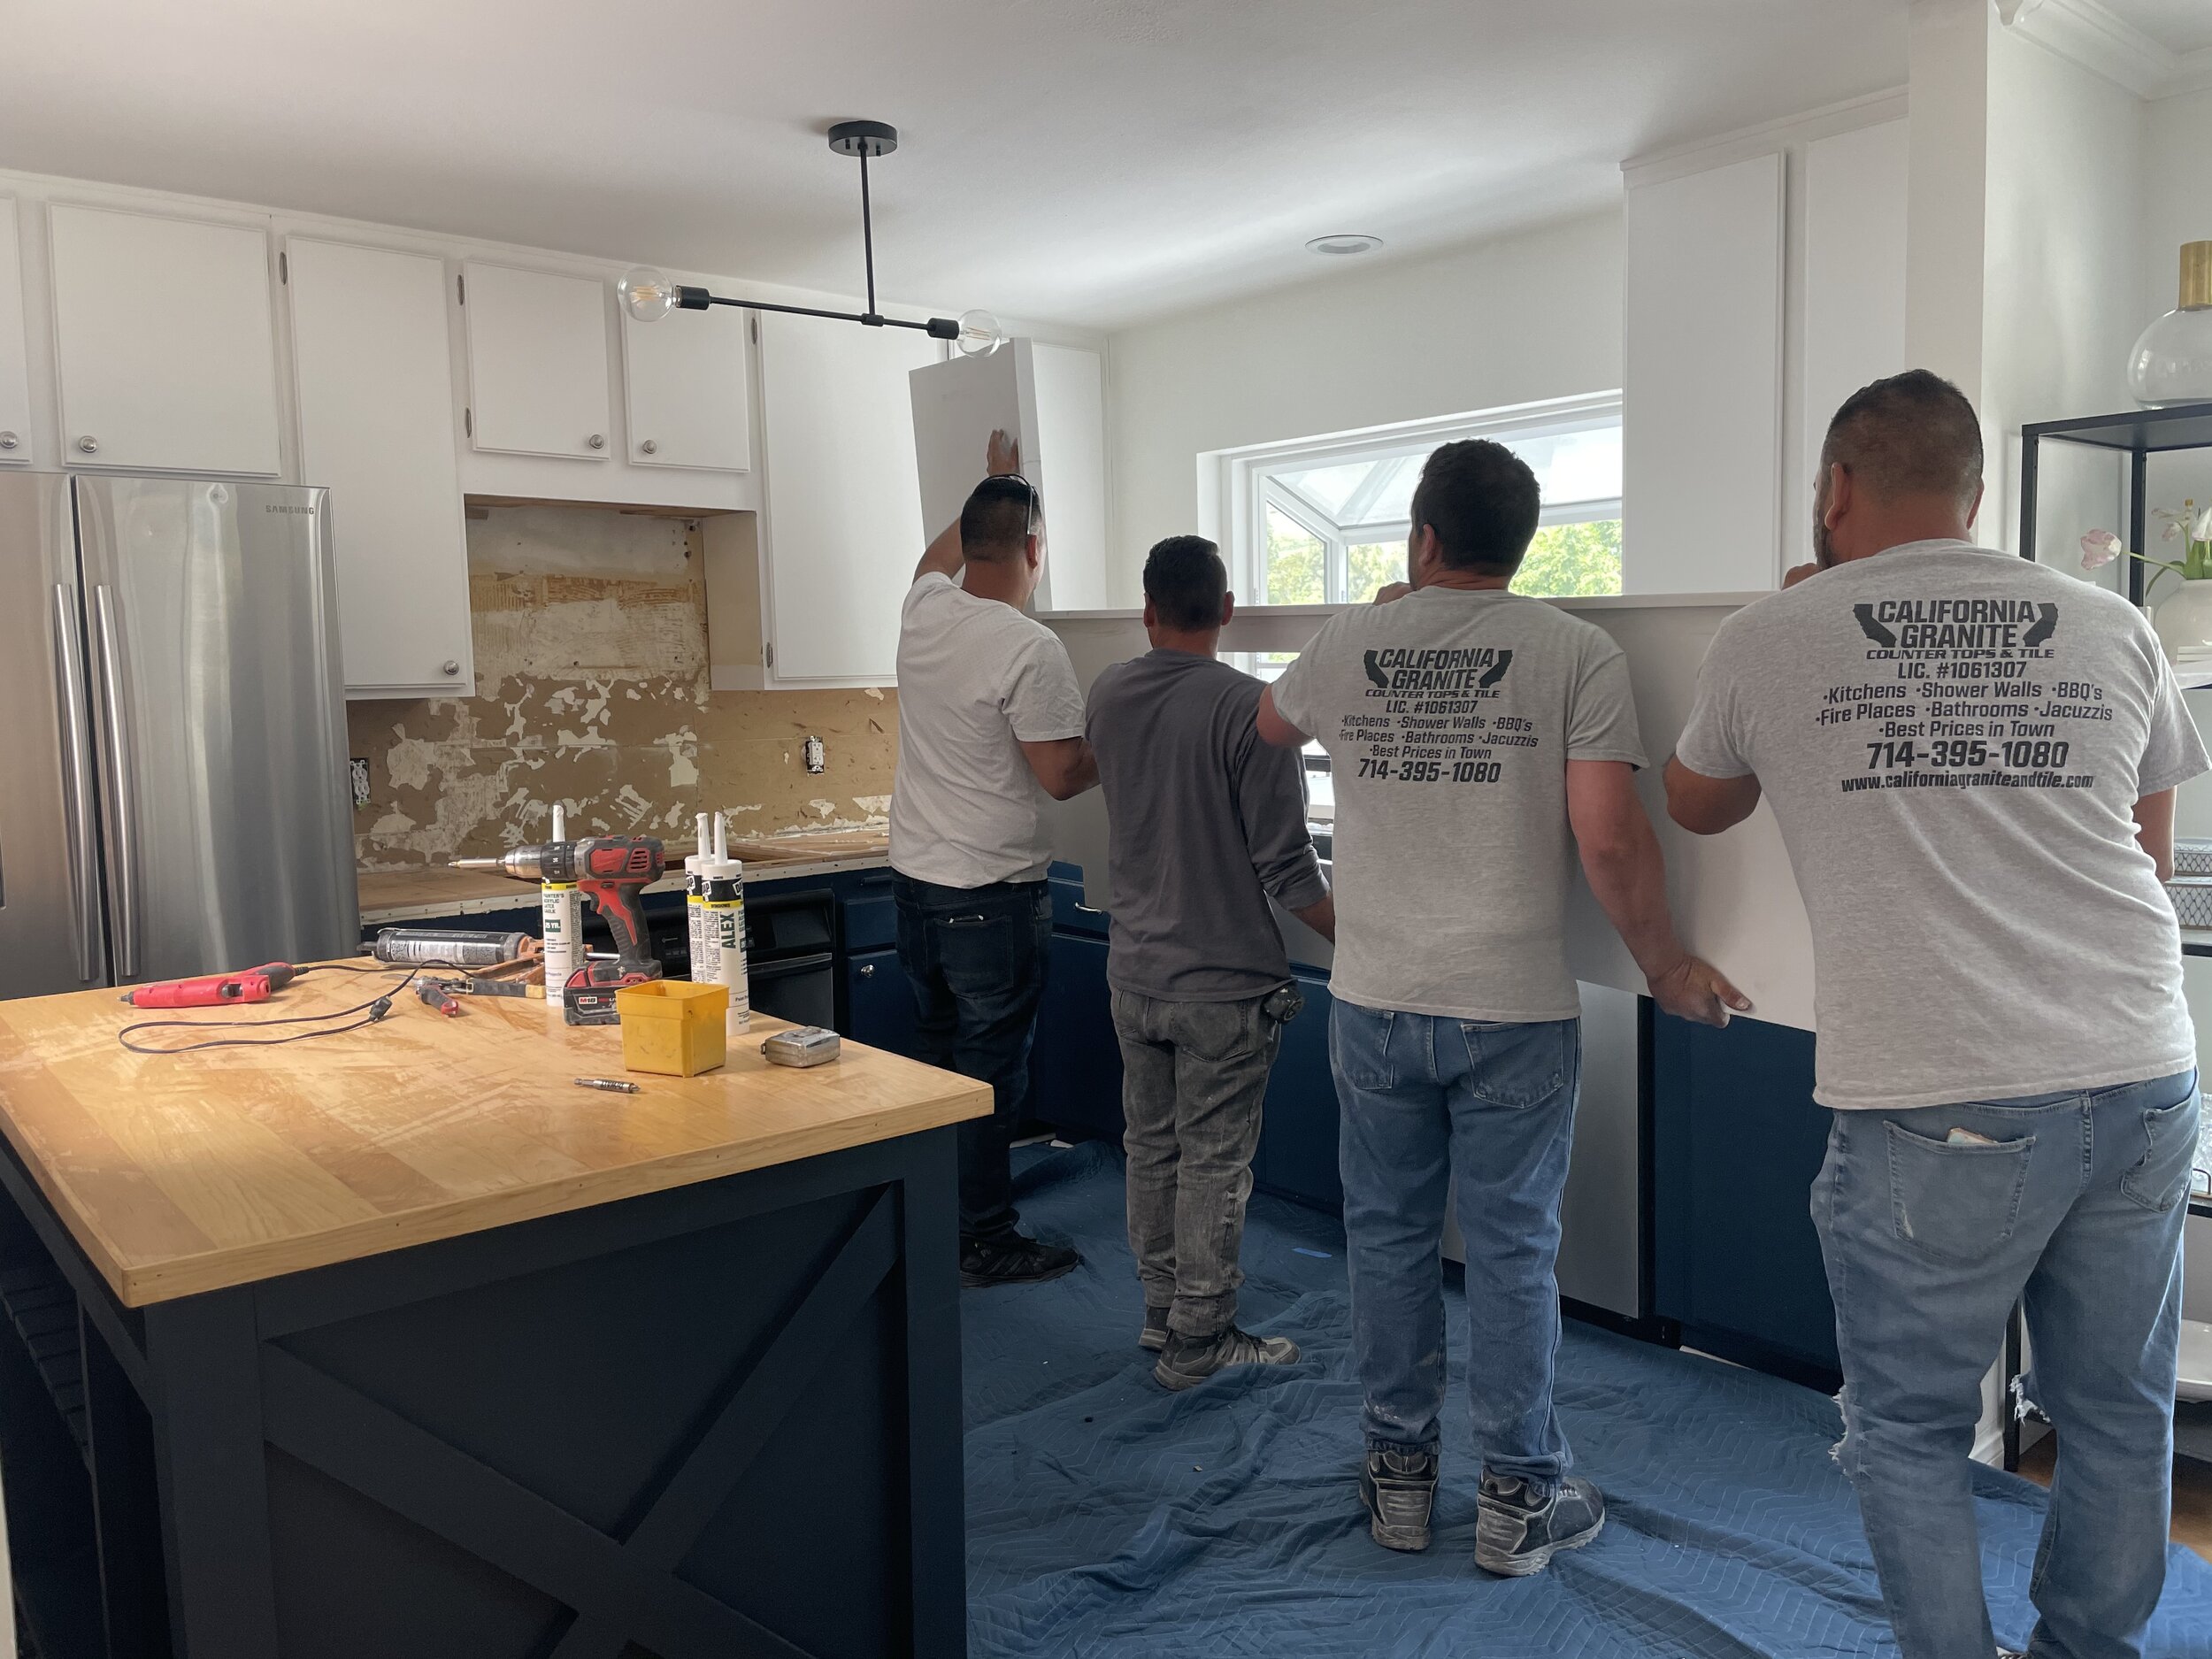
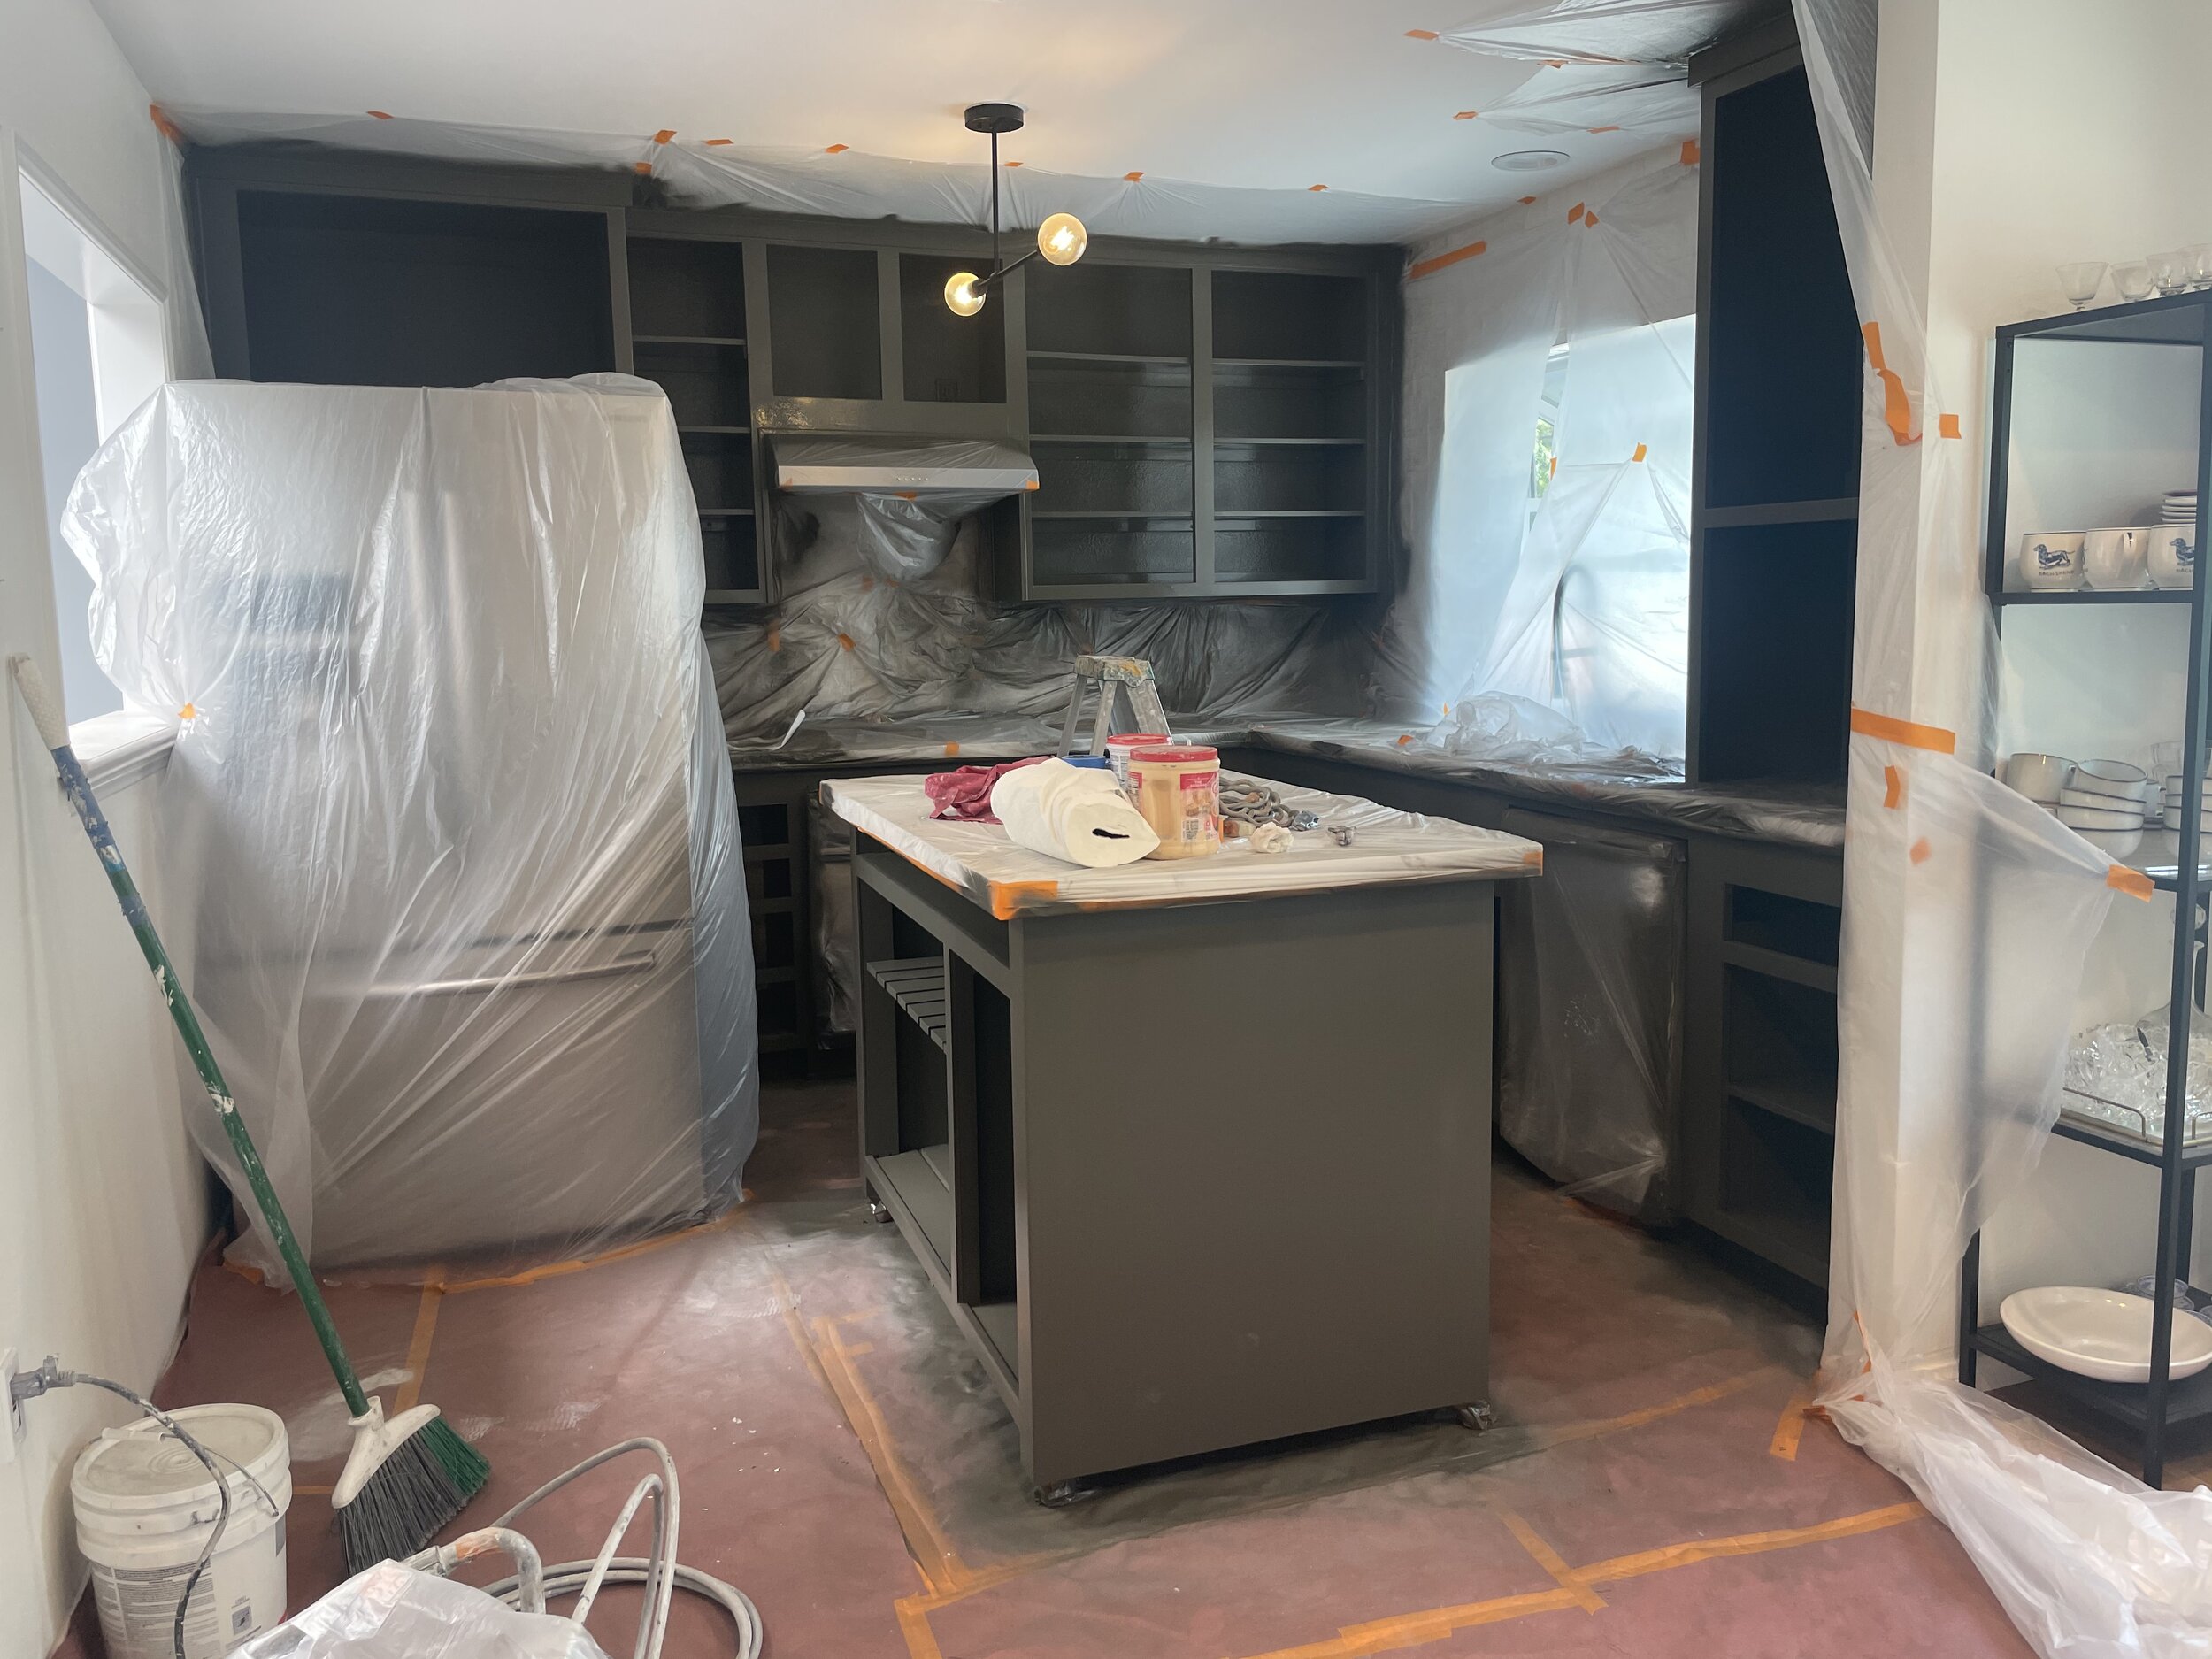
The Refacing Process
From the first phone call, the company I worked with made the process easy. I was assured our boxes were in sound condition and that everything would look brand new. They walked me through the process and order of operations:
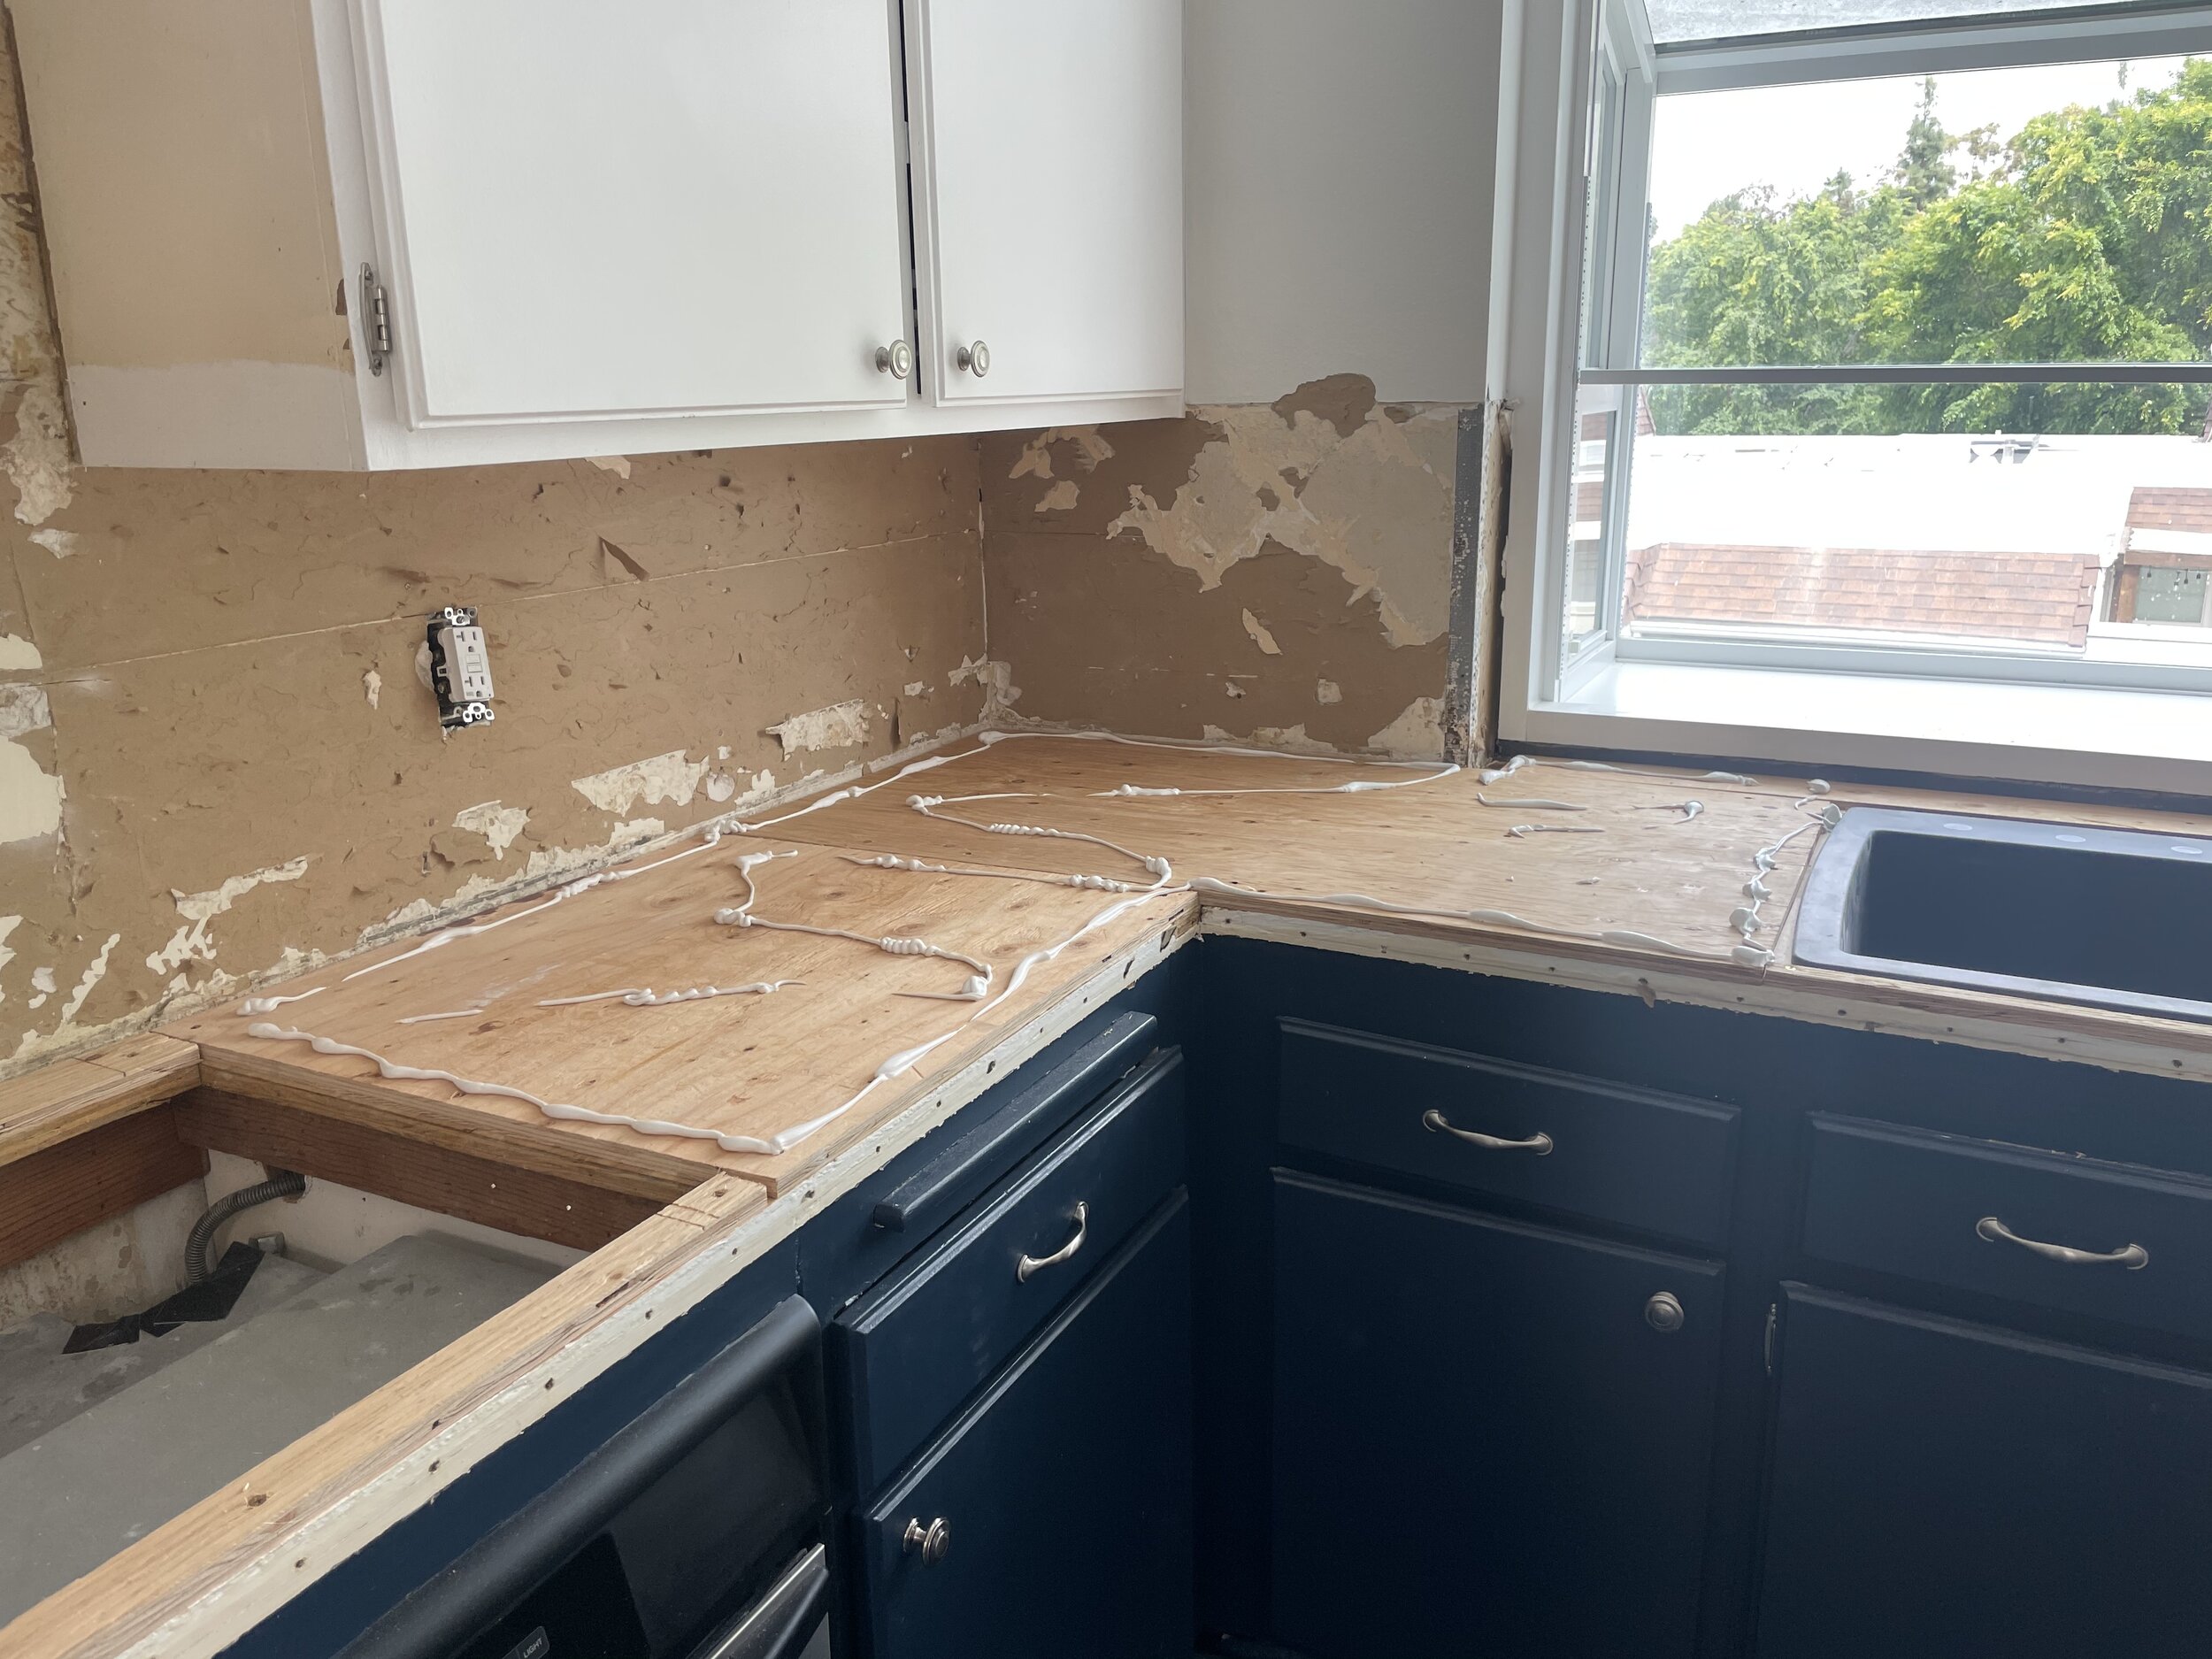
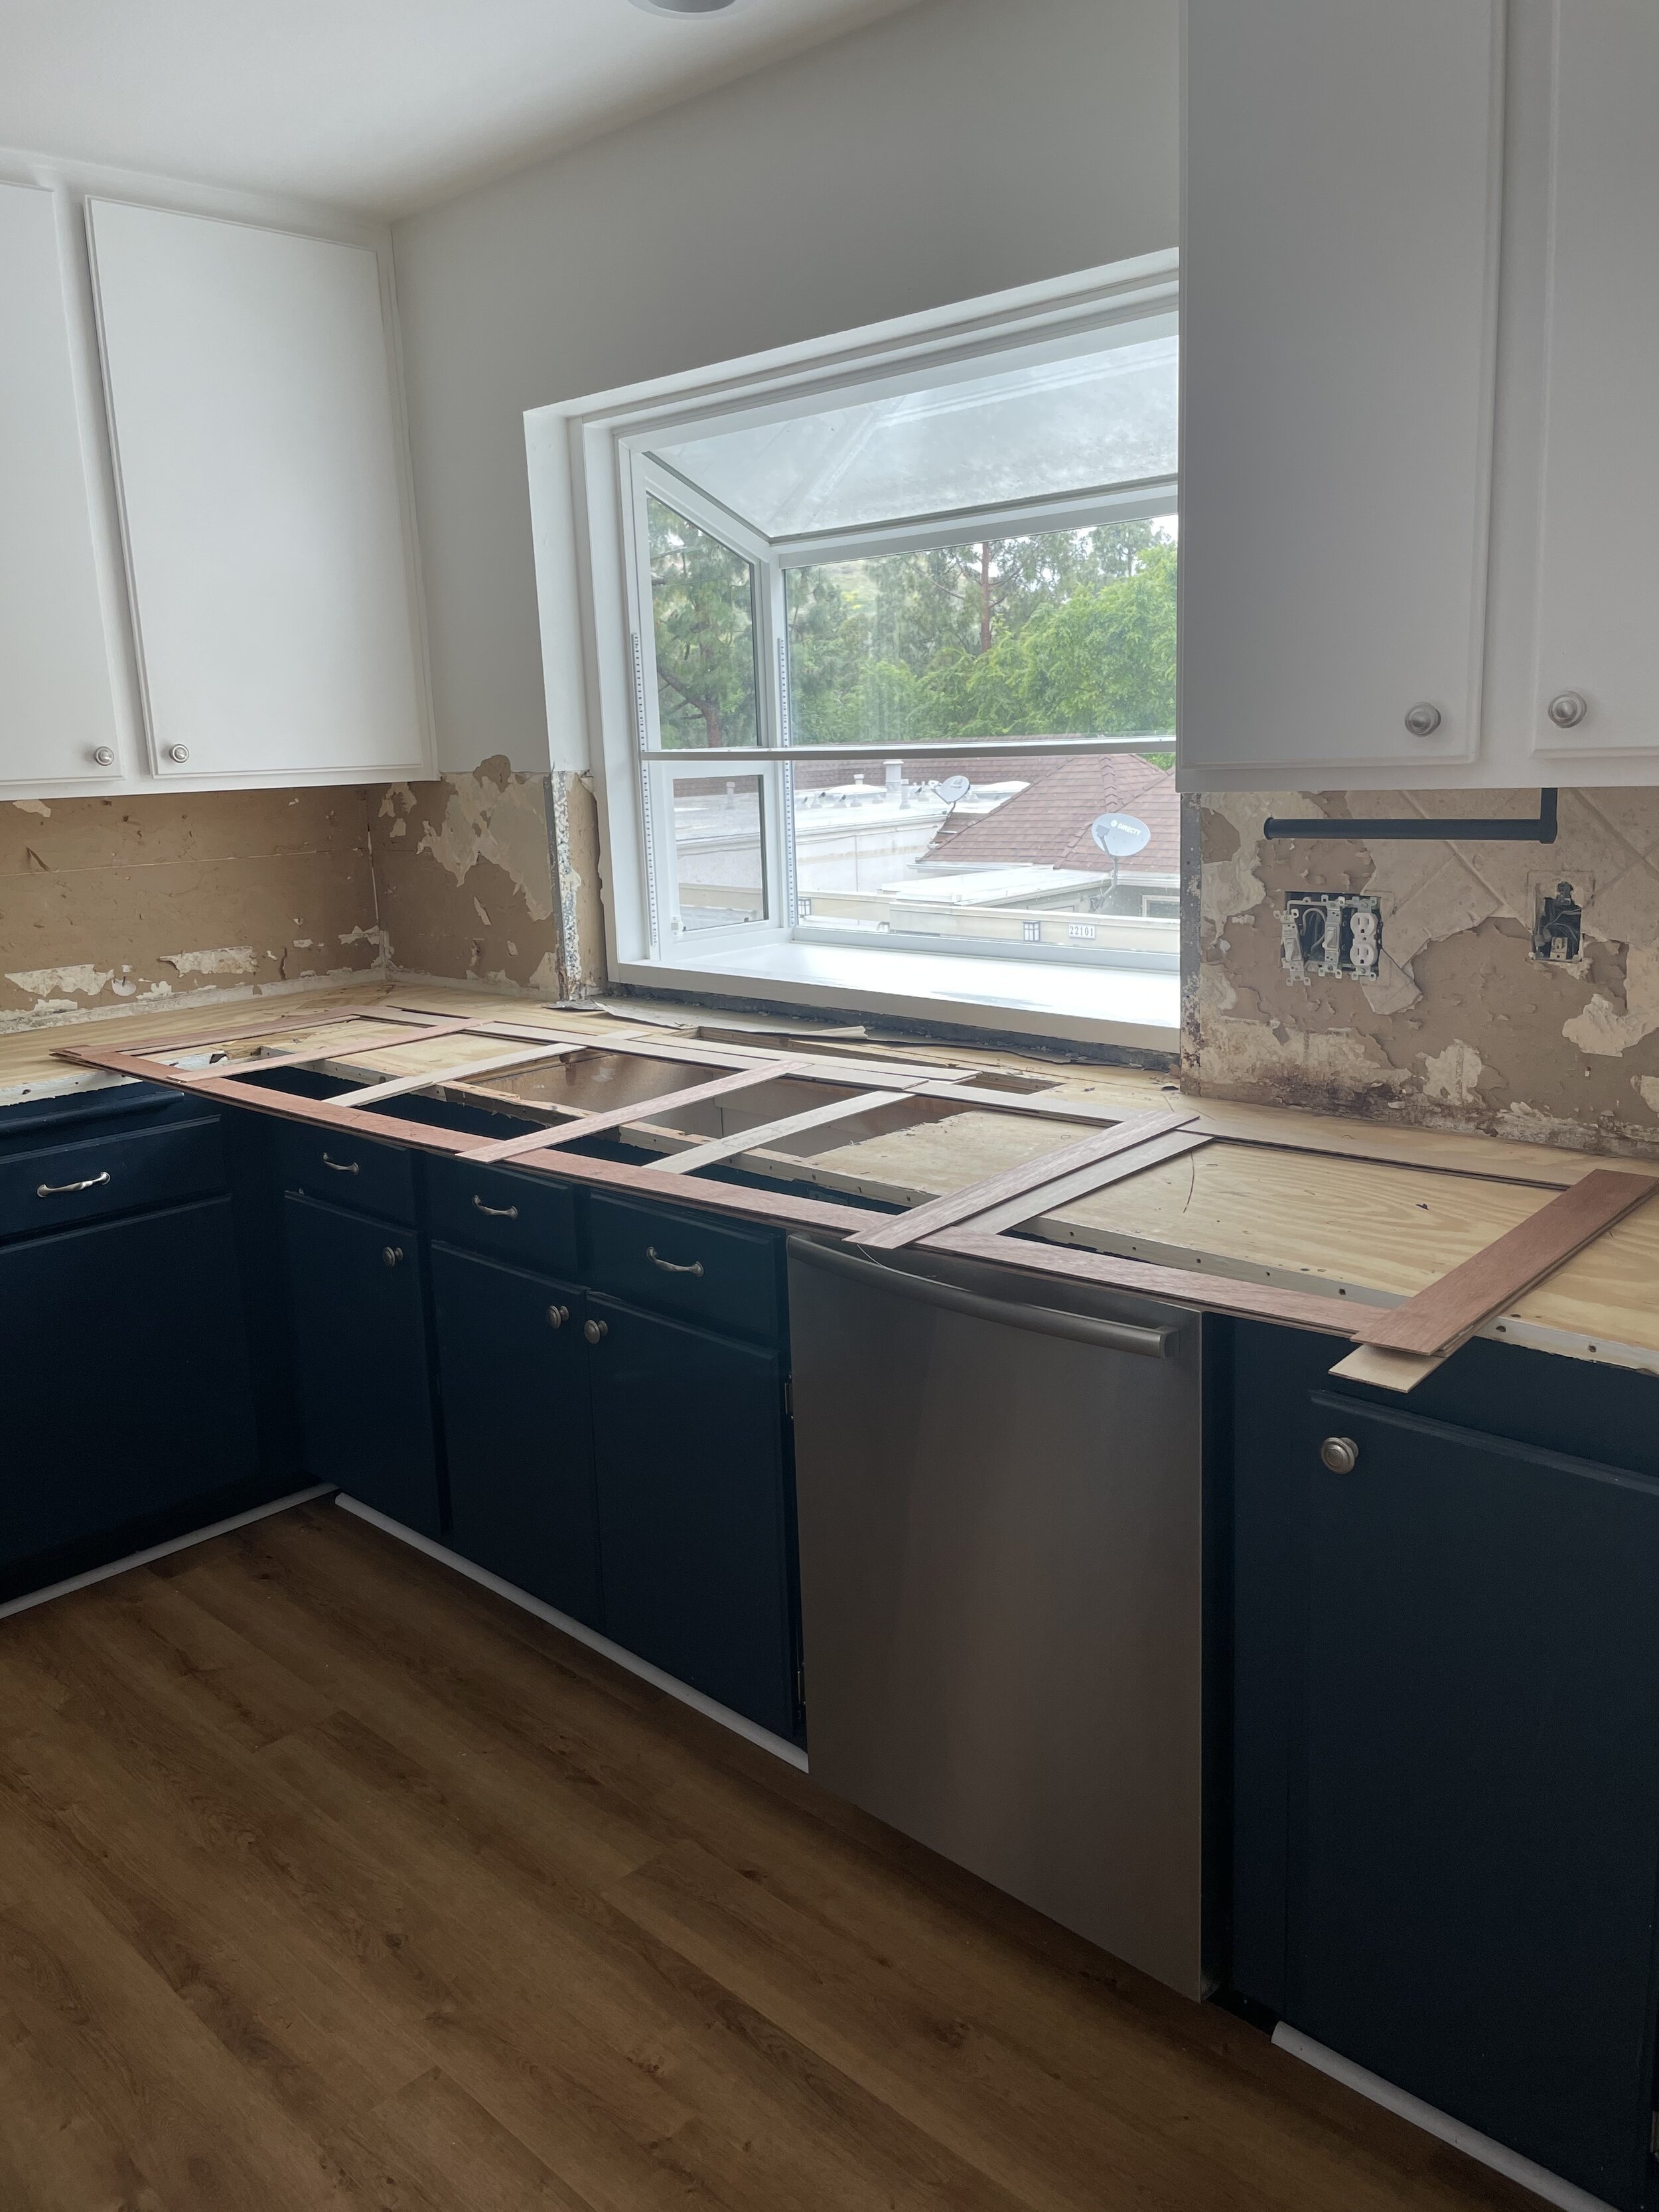
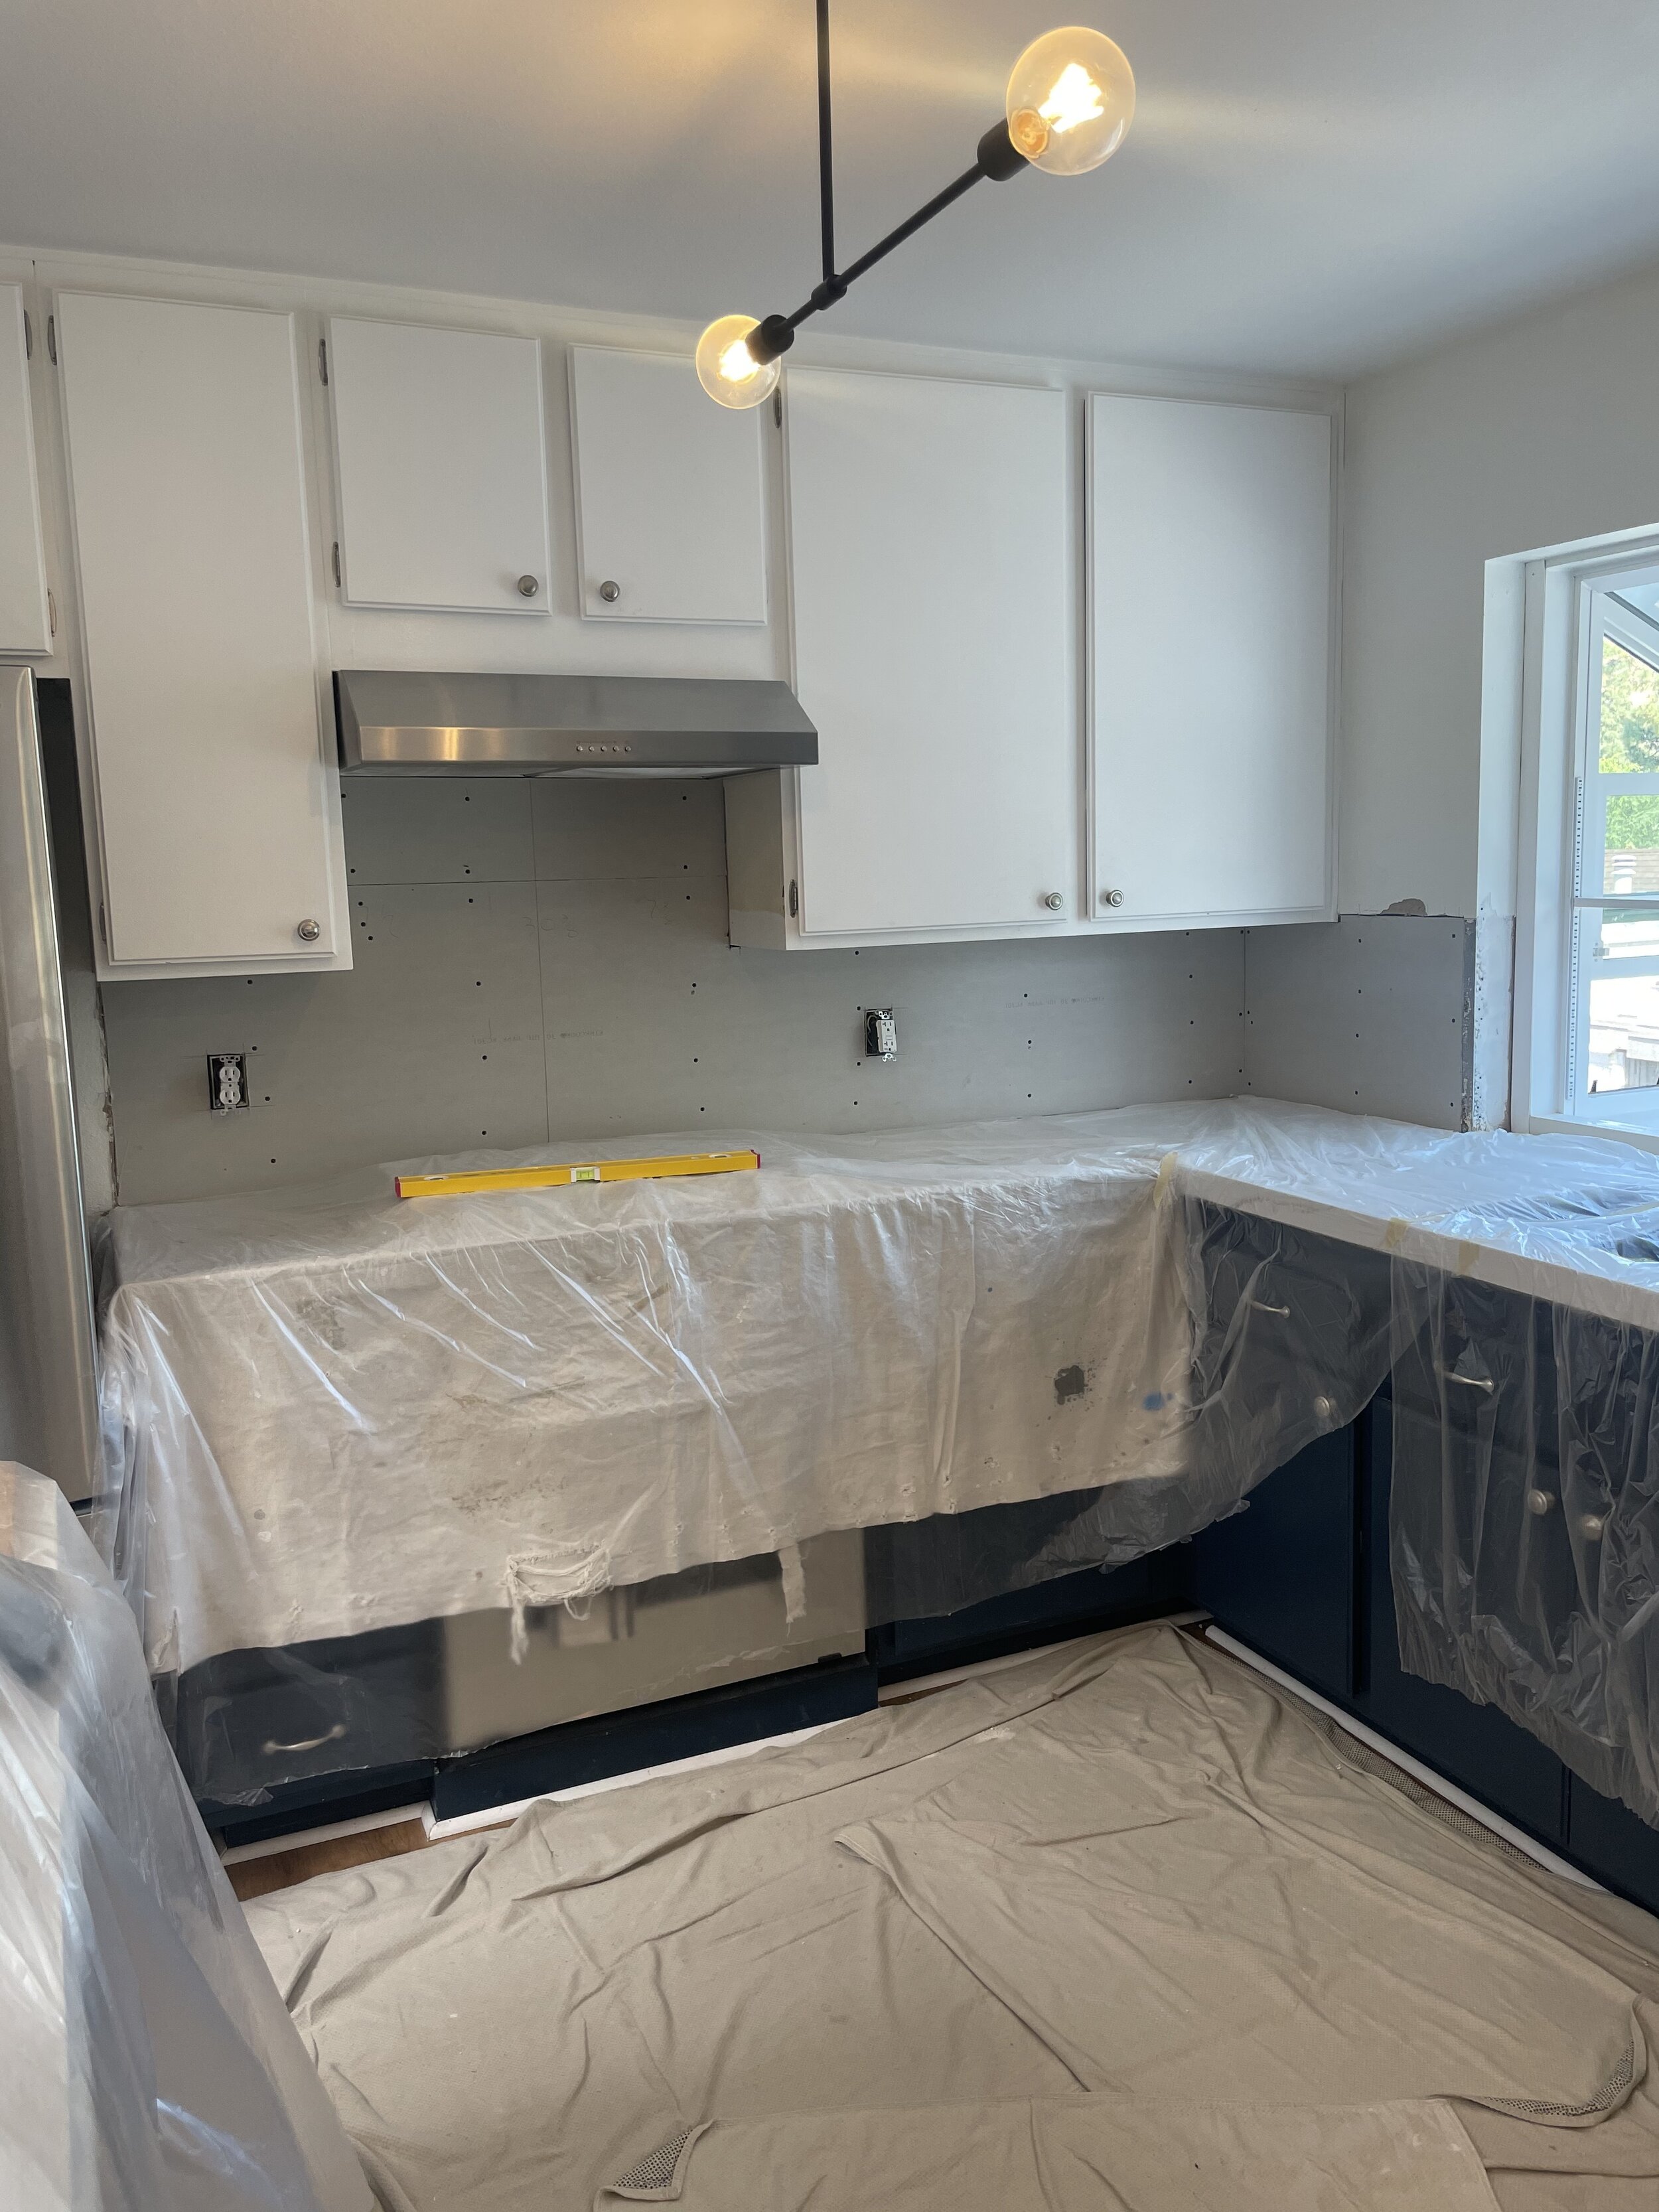
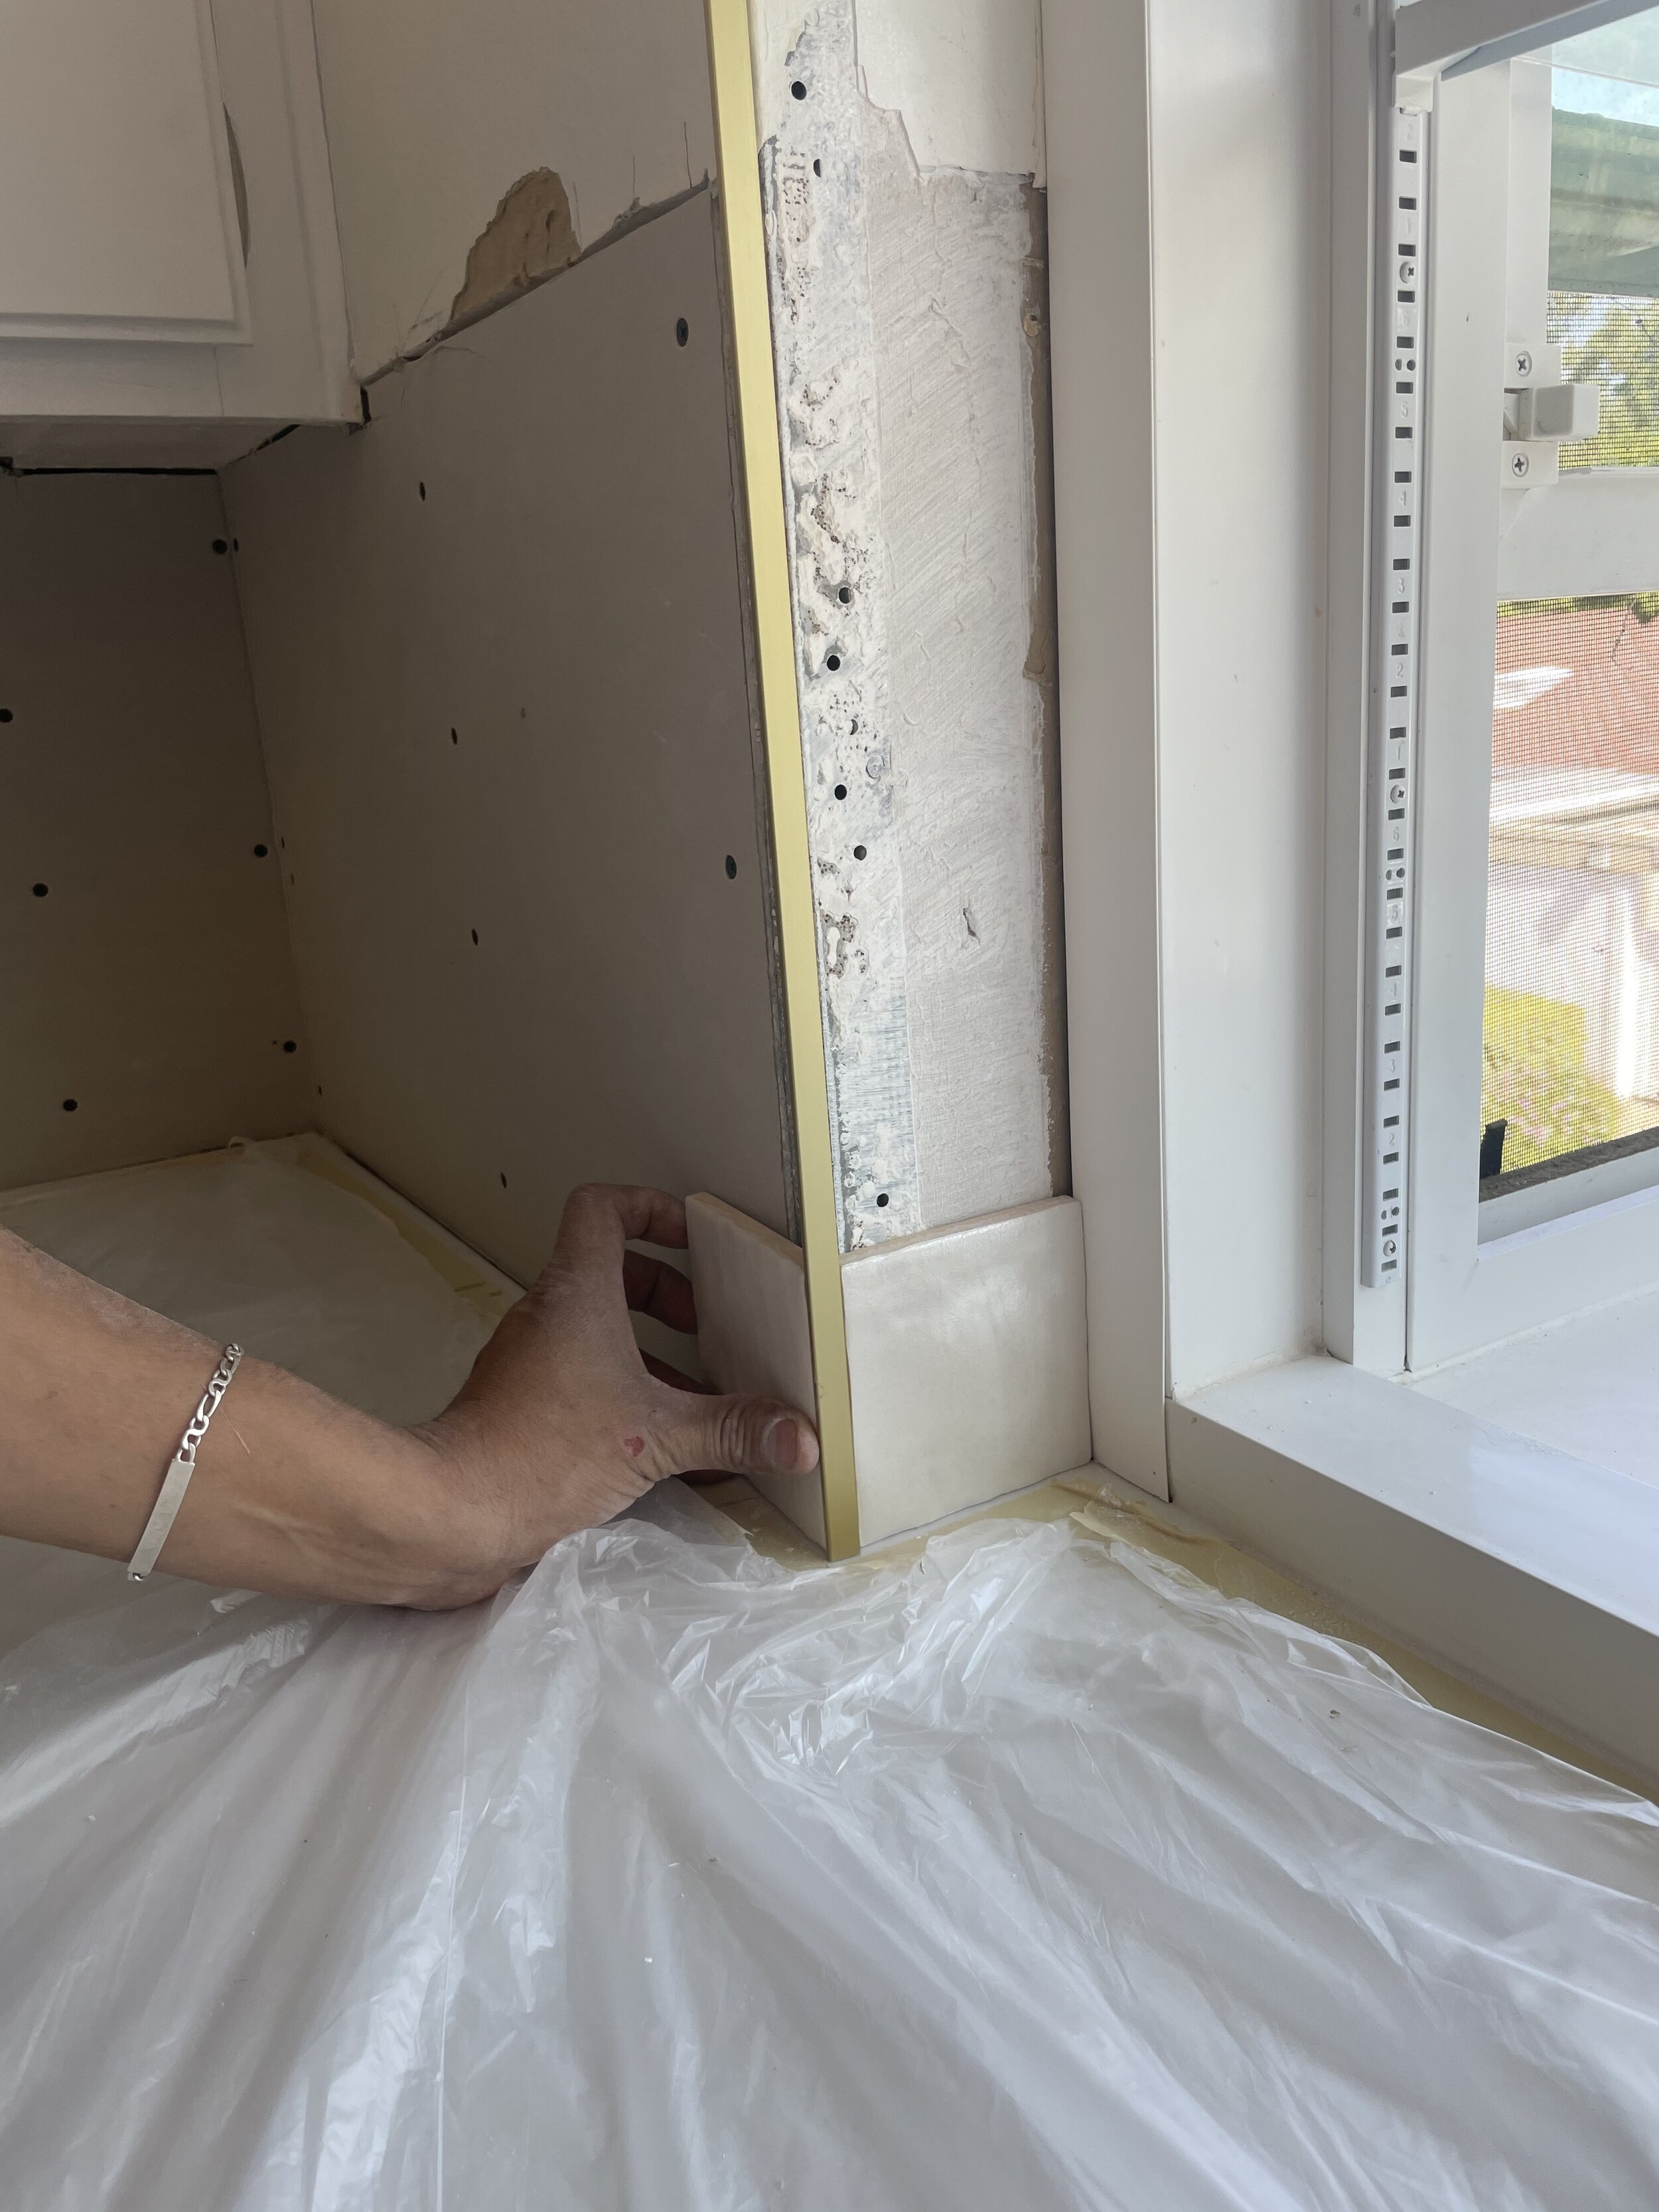
Demo countertops and backsplash
Replace countertop and sink
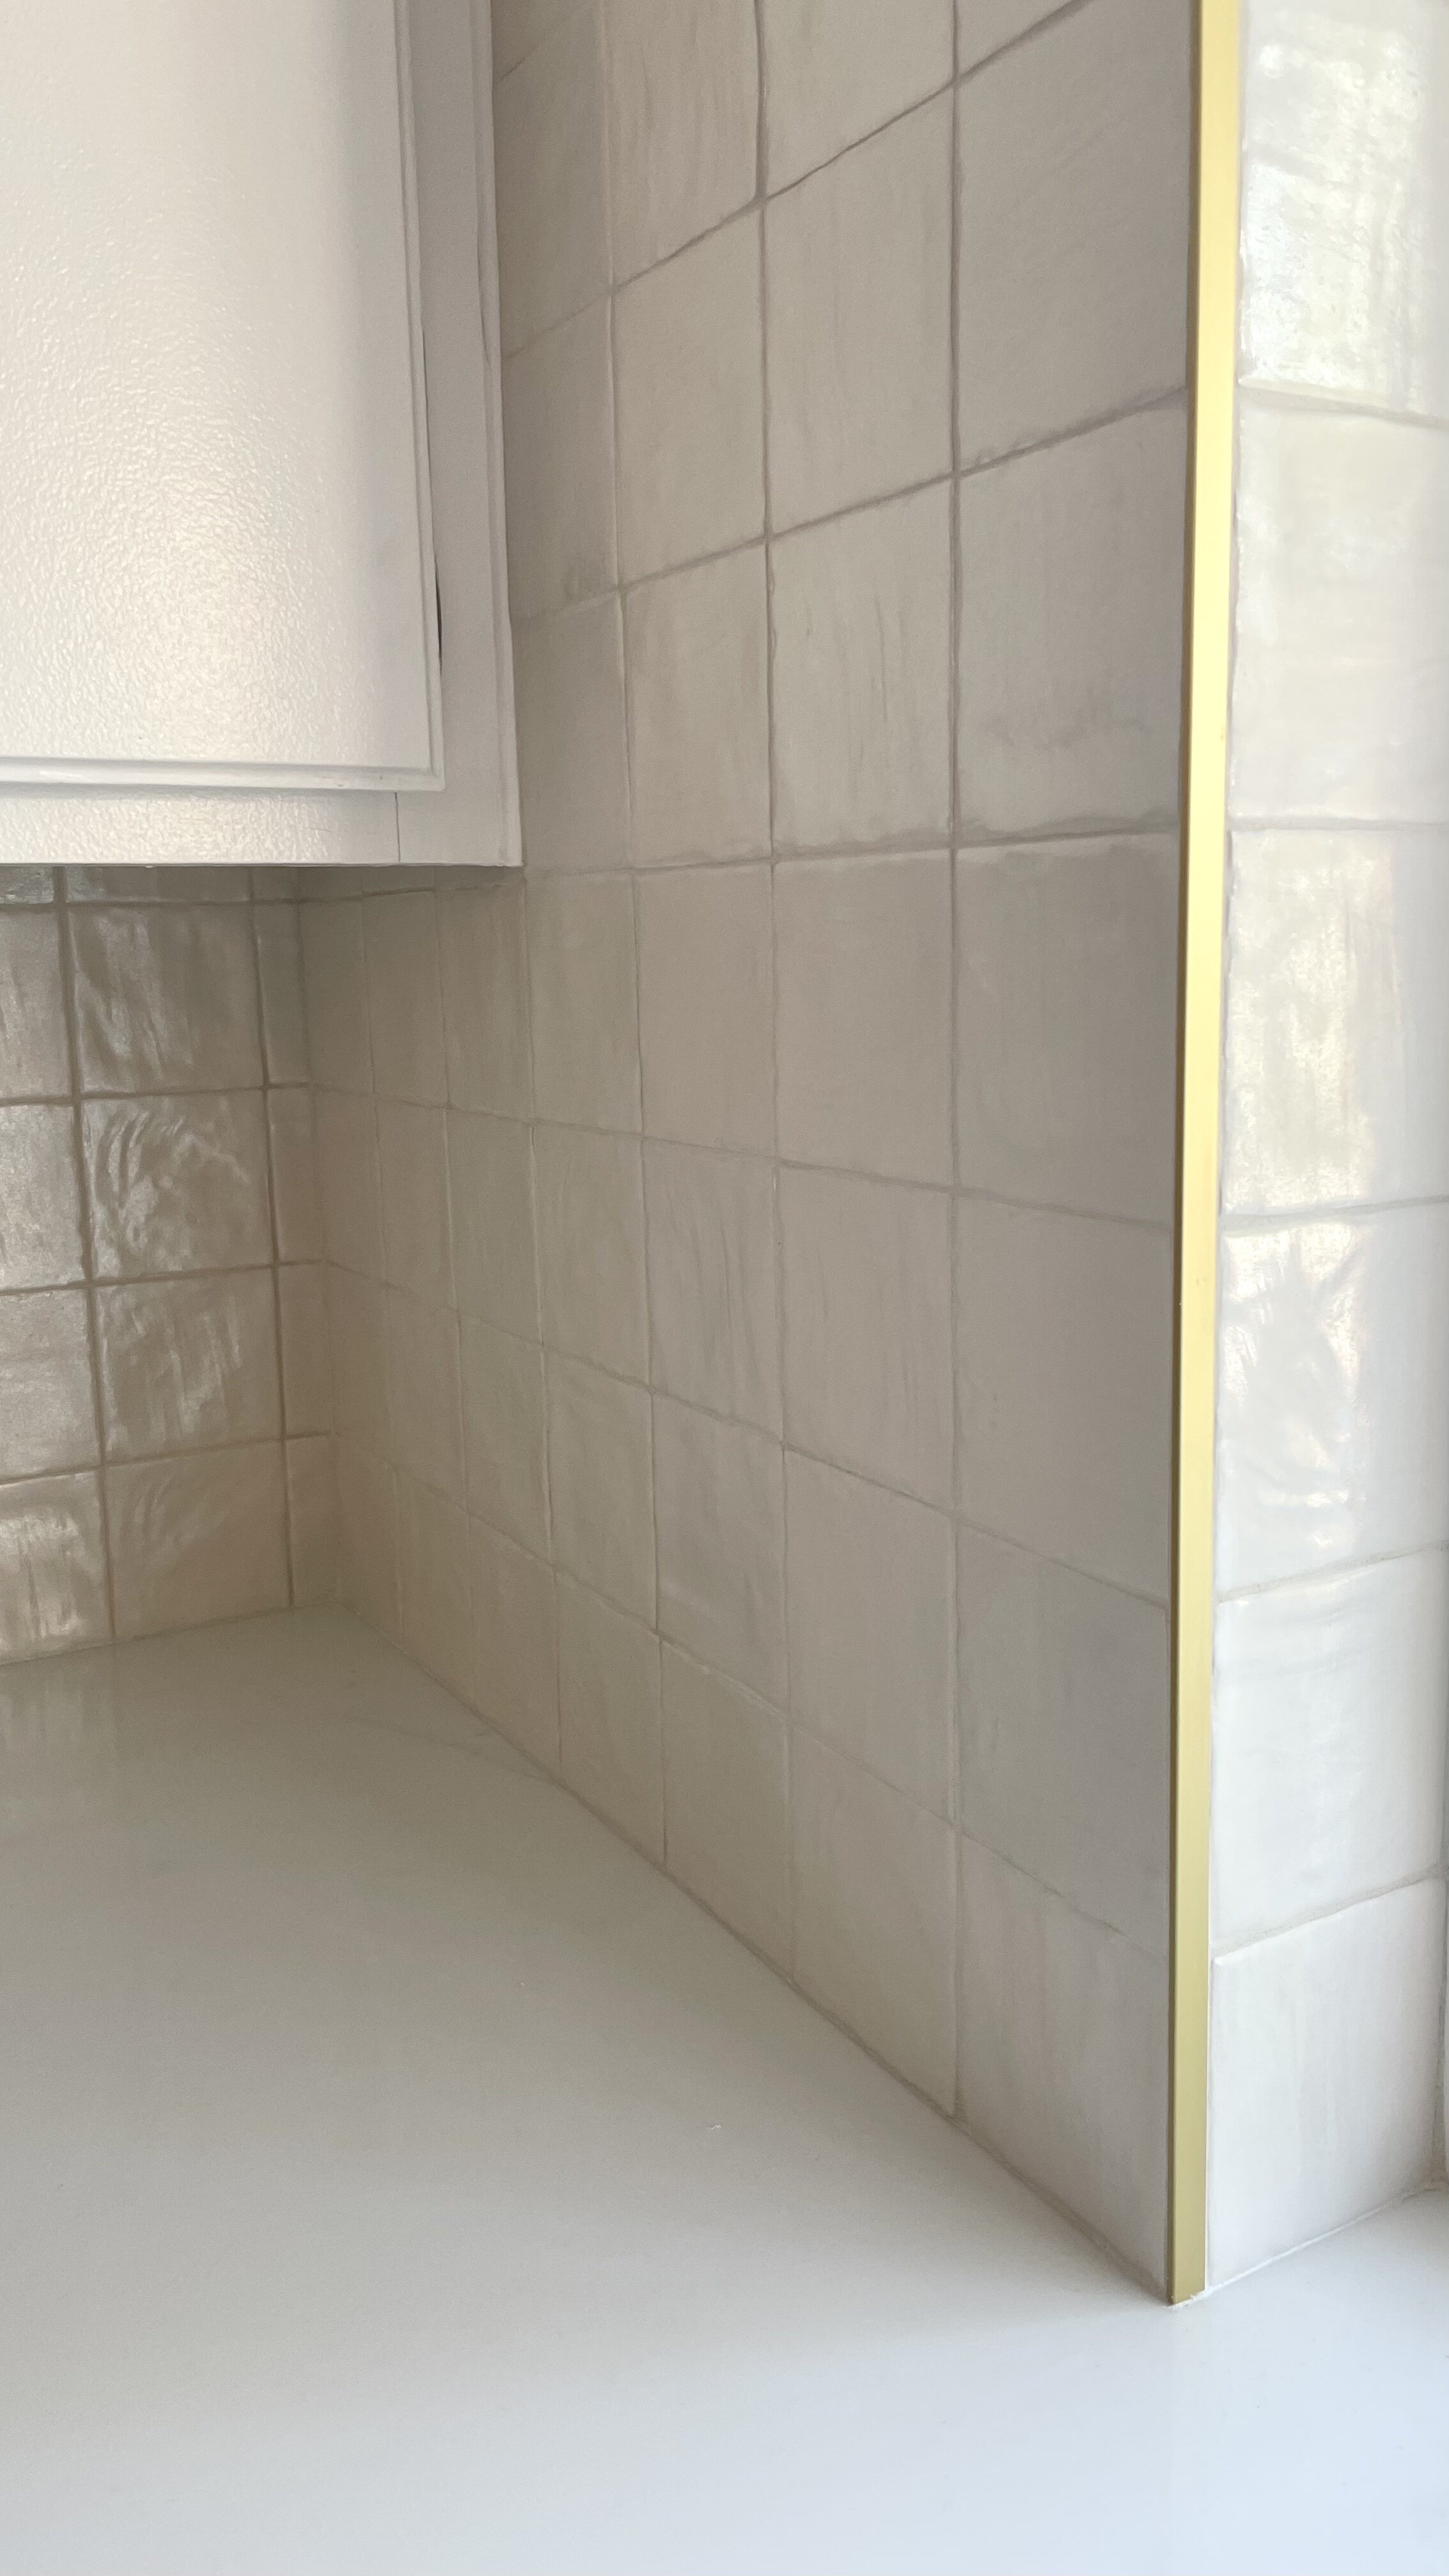
Tile backsplash
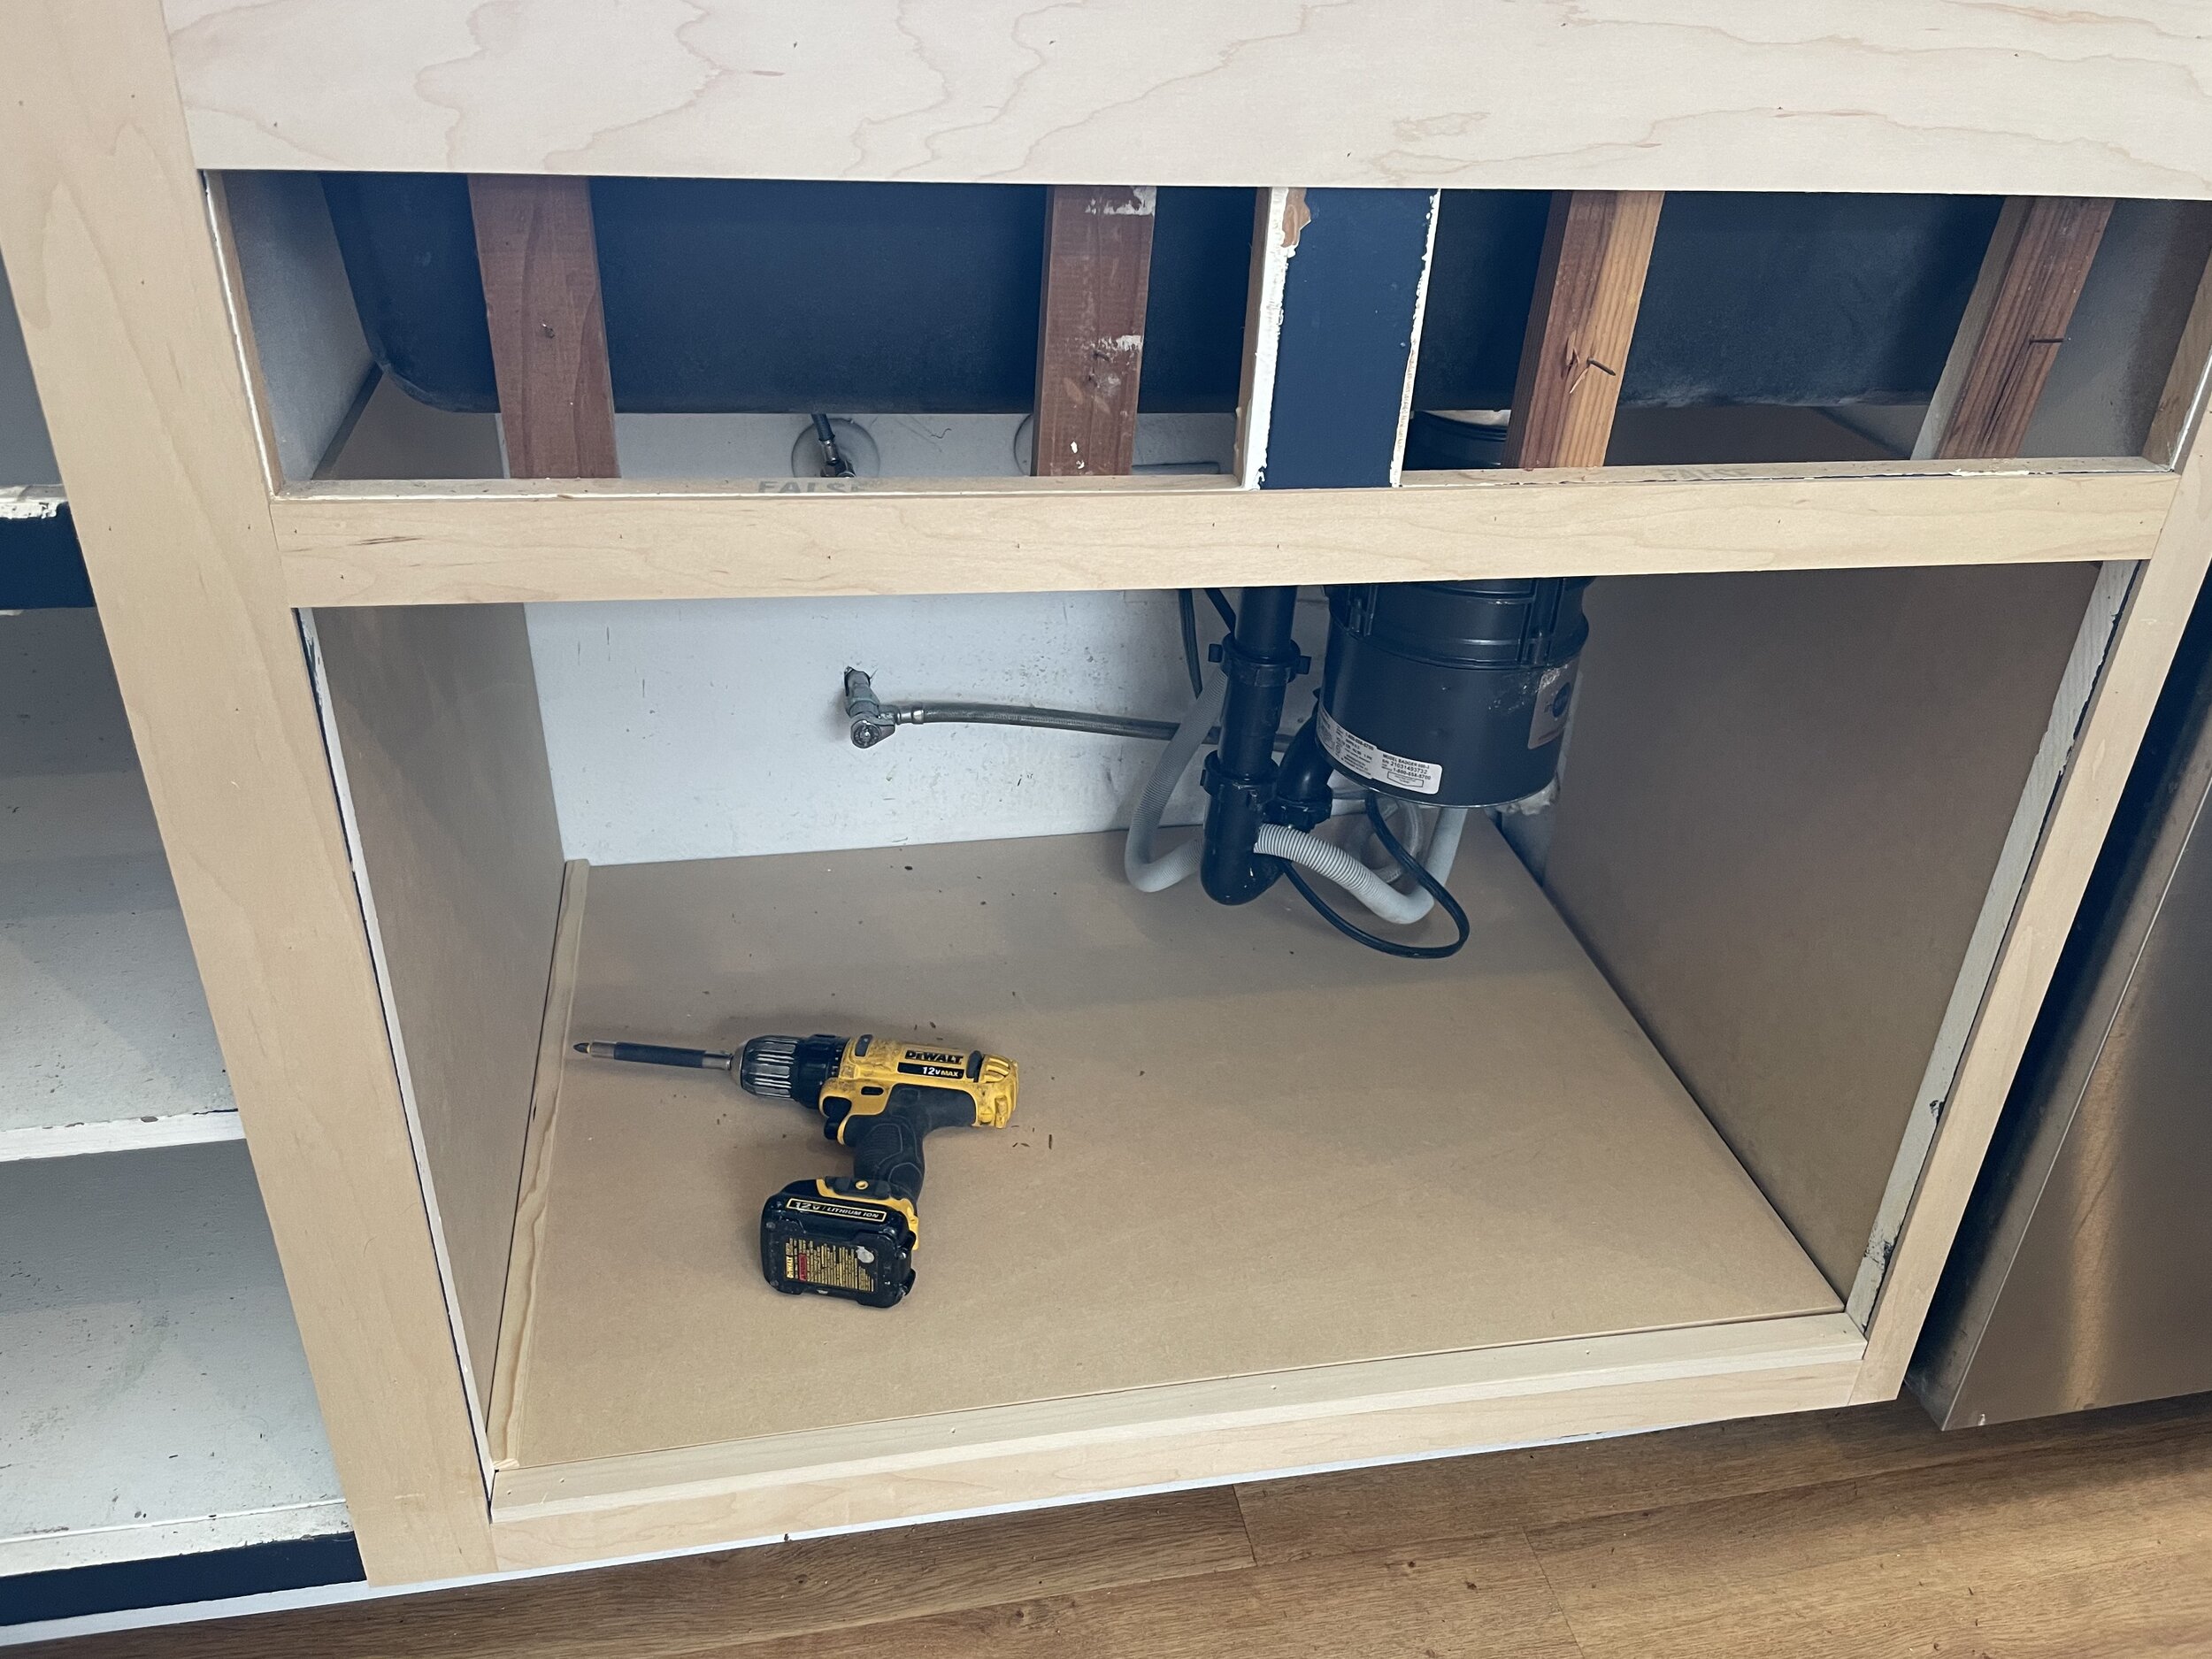
Remove all cabinet doors and drawers
Build custom solutions, apply trim and molding
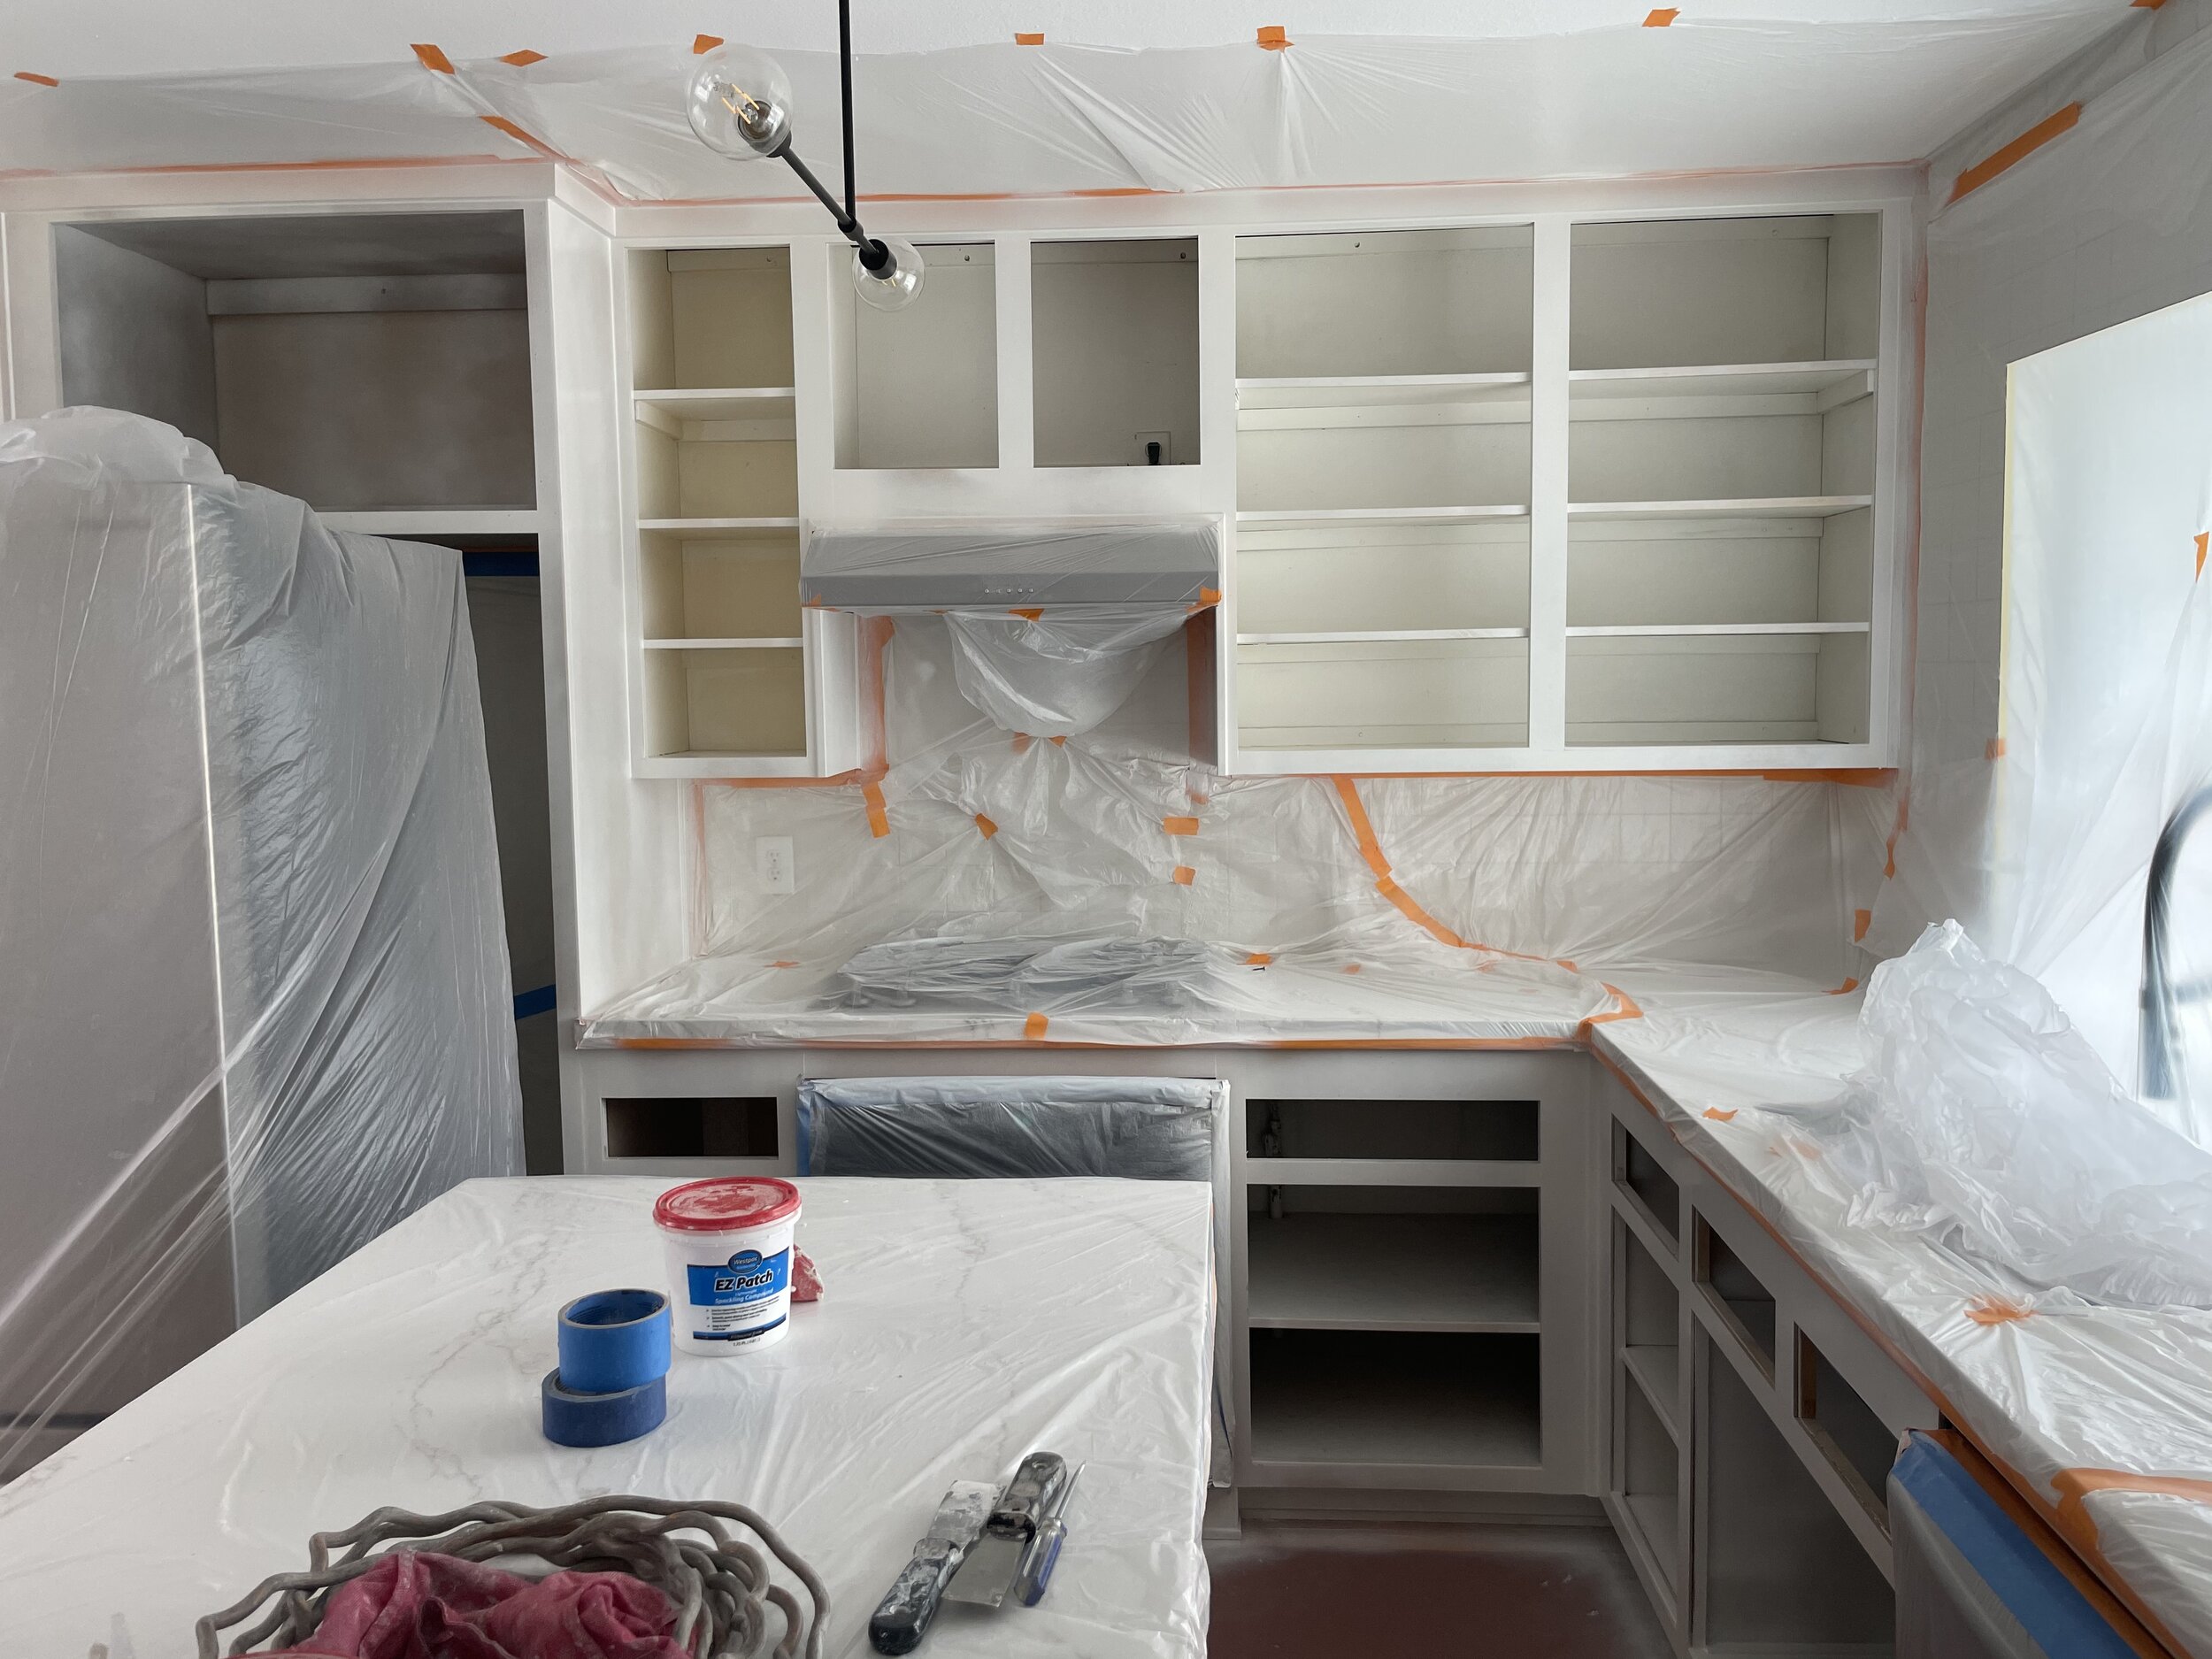
Spray cabinet boxes
Install new drawers, drawer fronts and doors
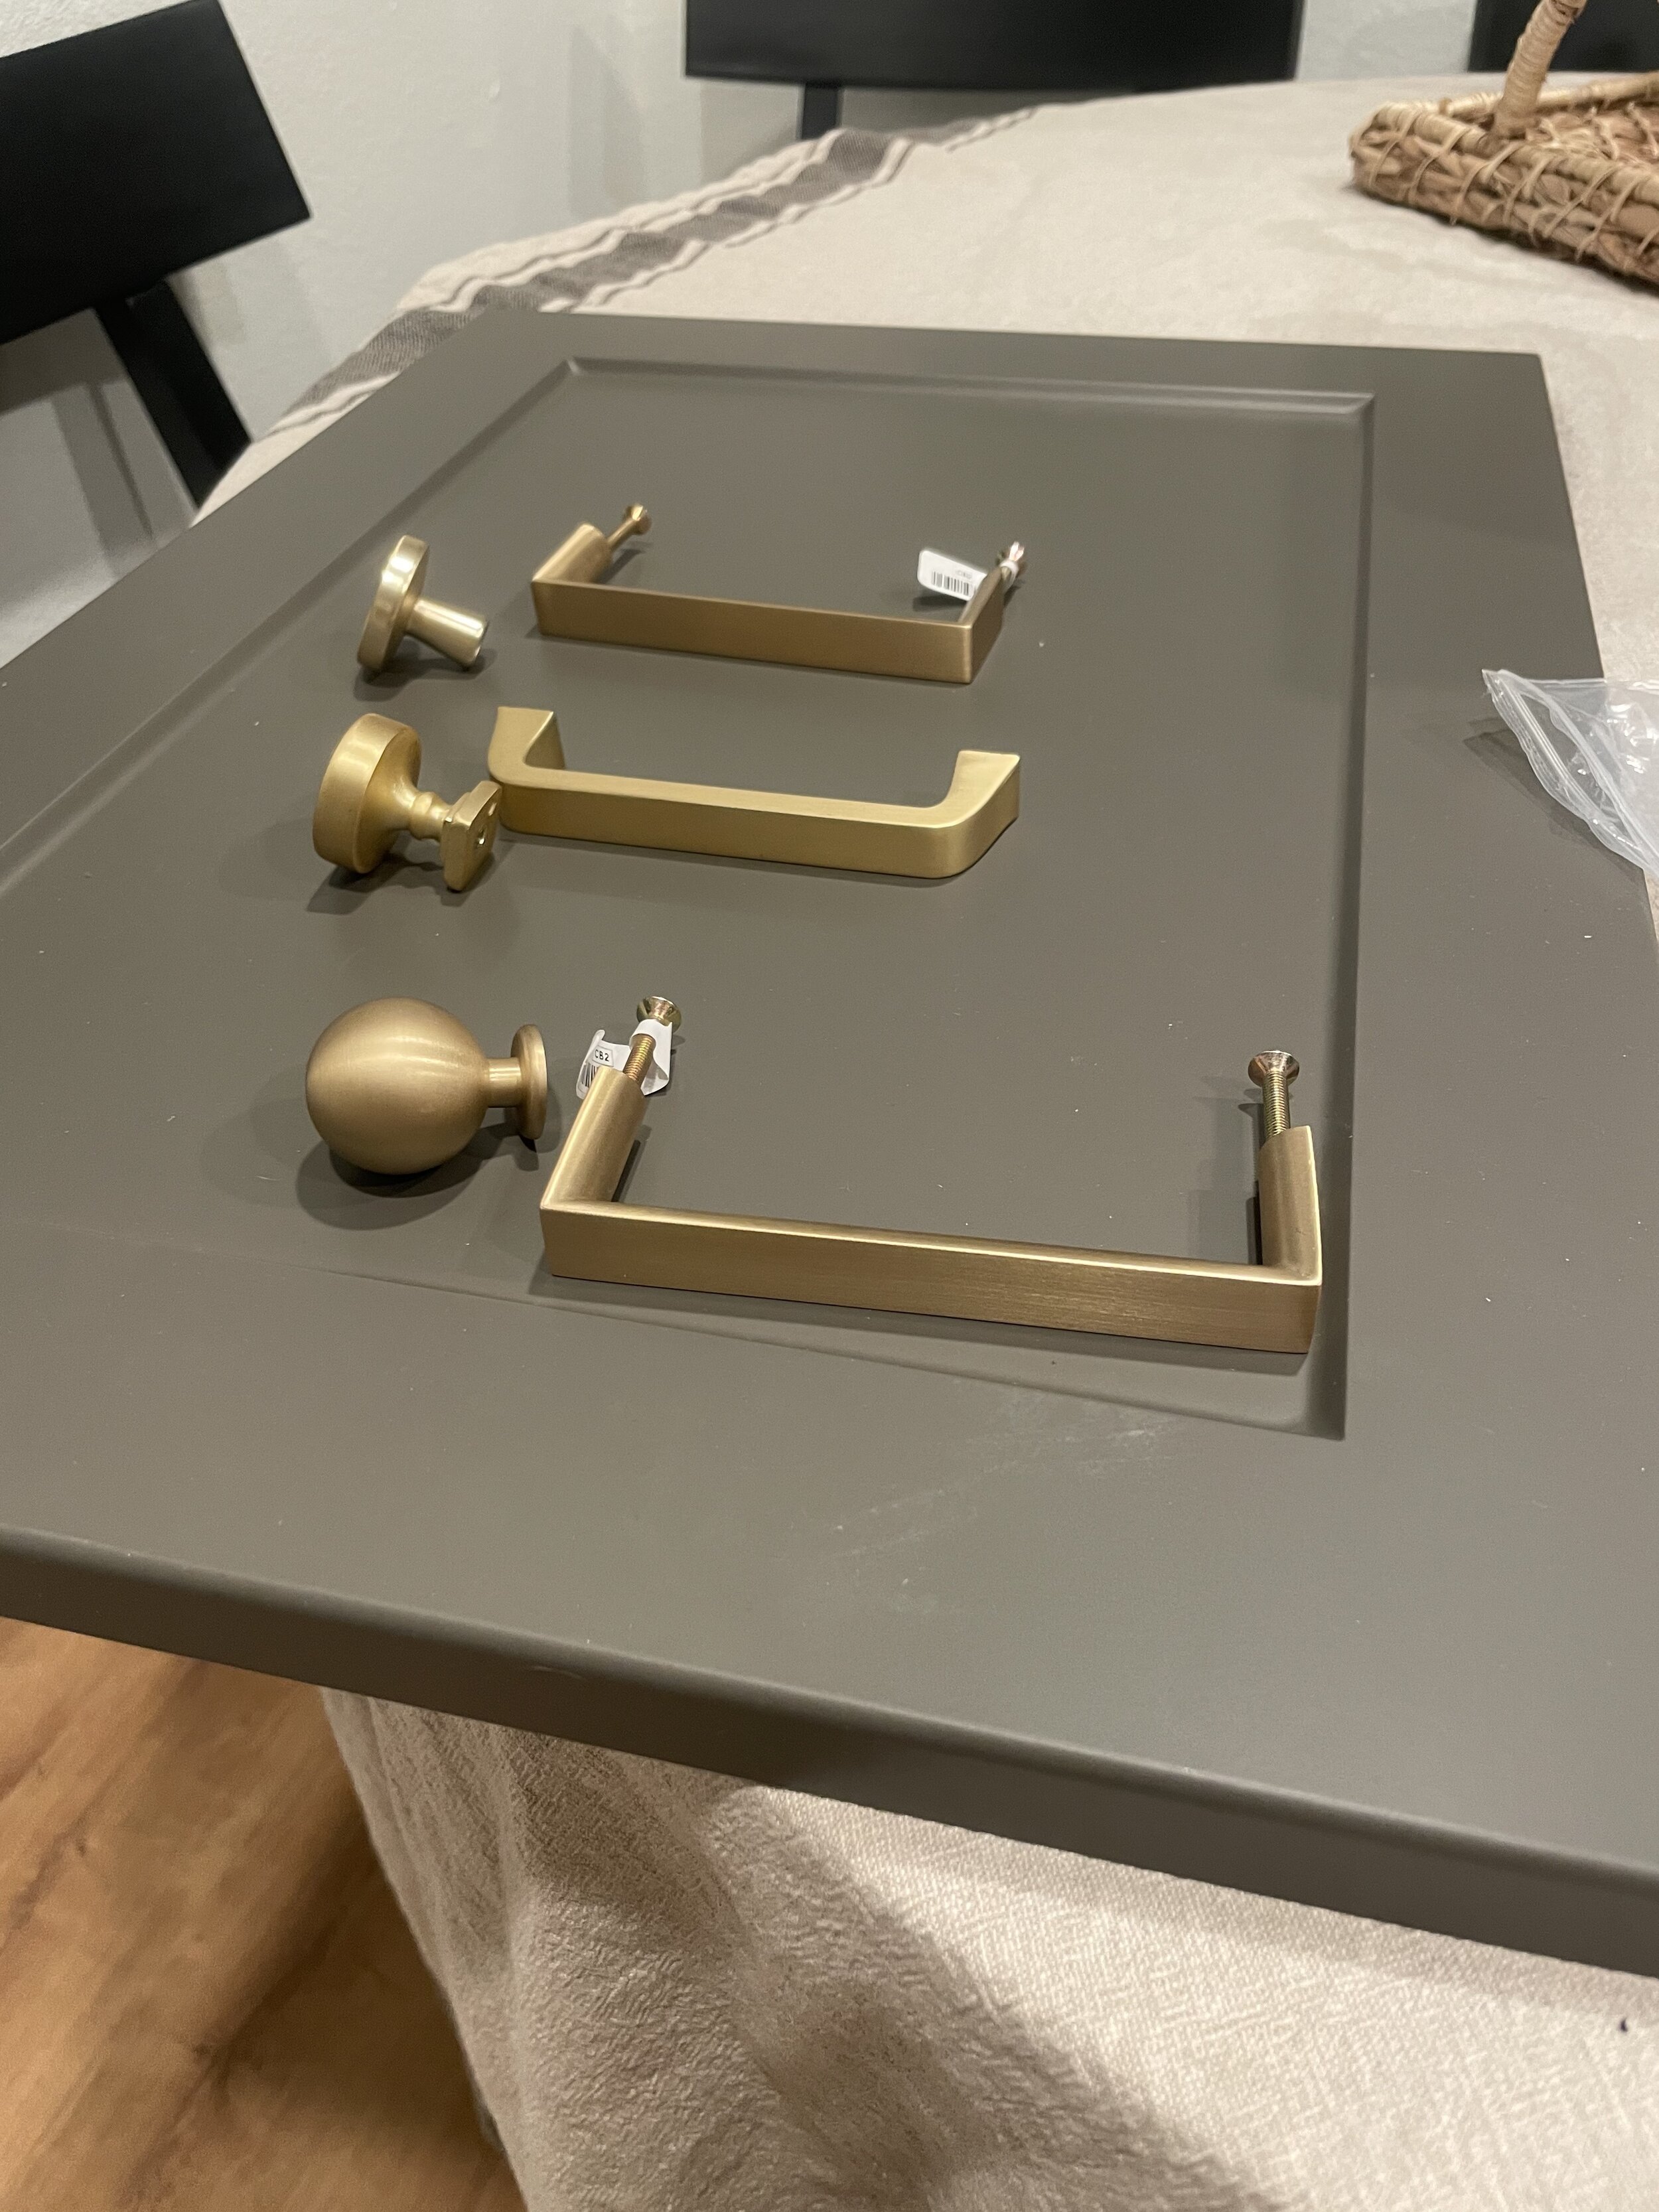
Install knobs and pulls
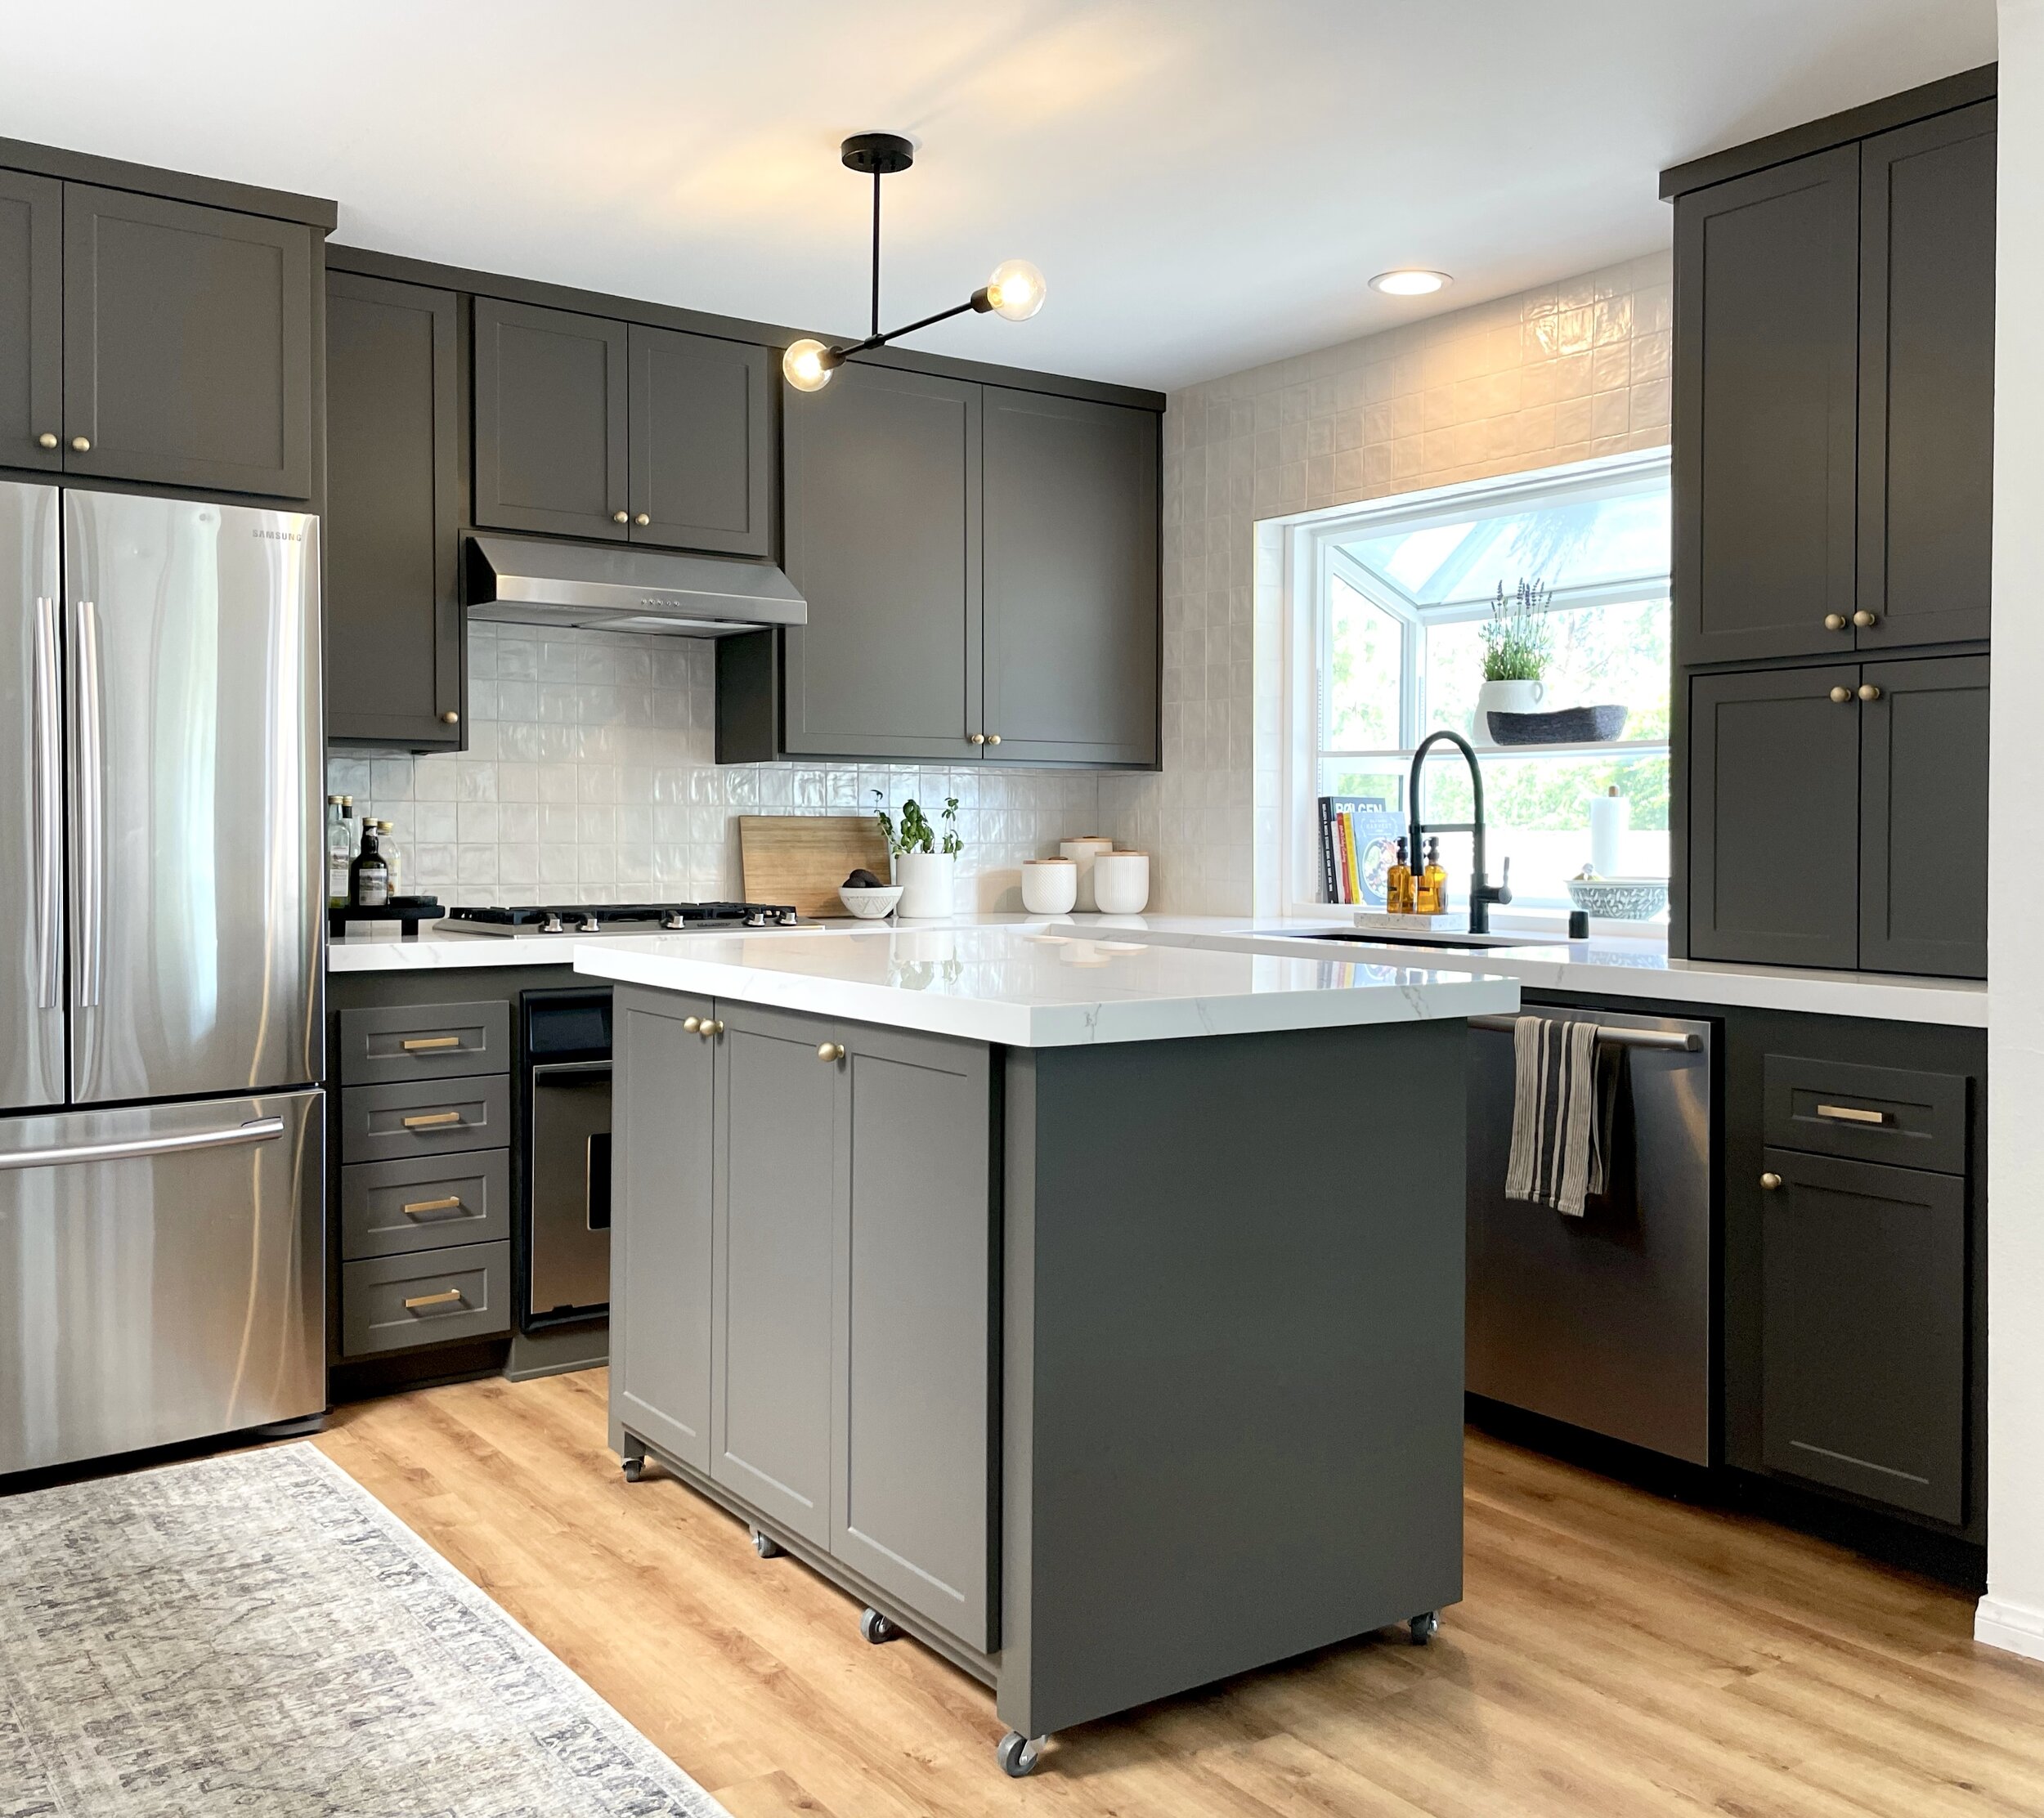
The doors and drawer fronts are ordered from a supplier called Northern Contours. They have a huge selection of styles, color and finishes to choose from. I selected a simple shaker profile in a muddy gray color called “forge.” For the boxes, the company color-matches paint to your cabinet selection.


Custom Updates
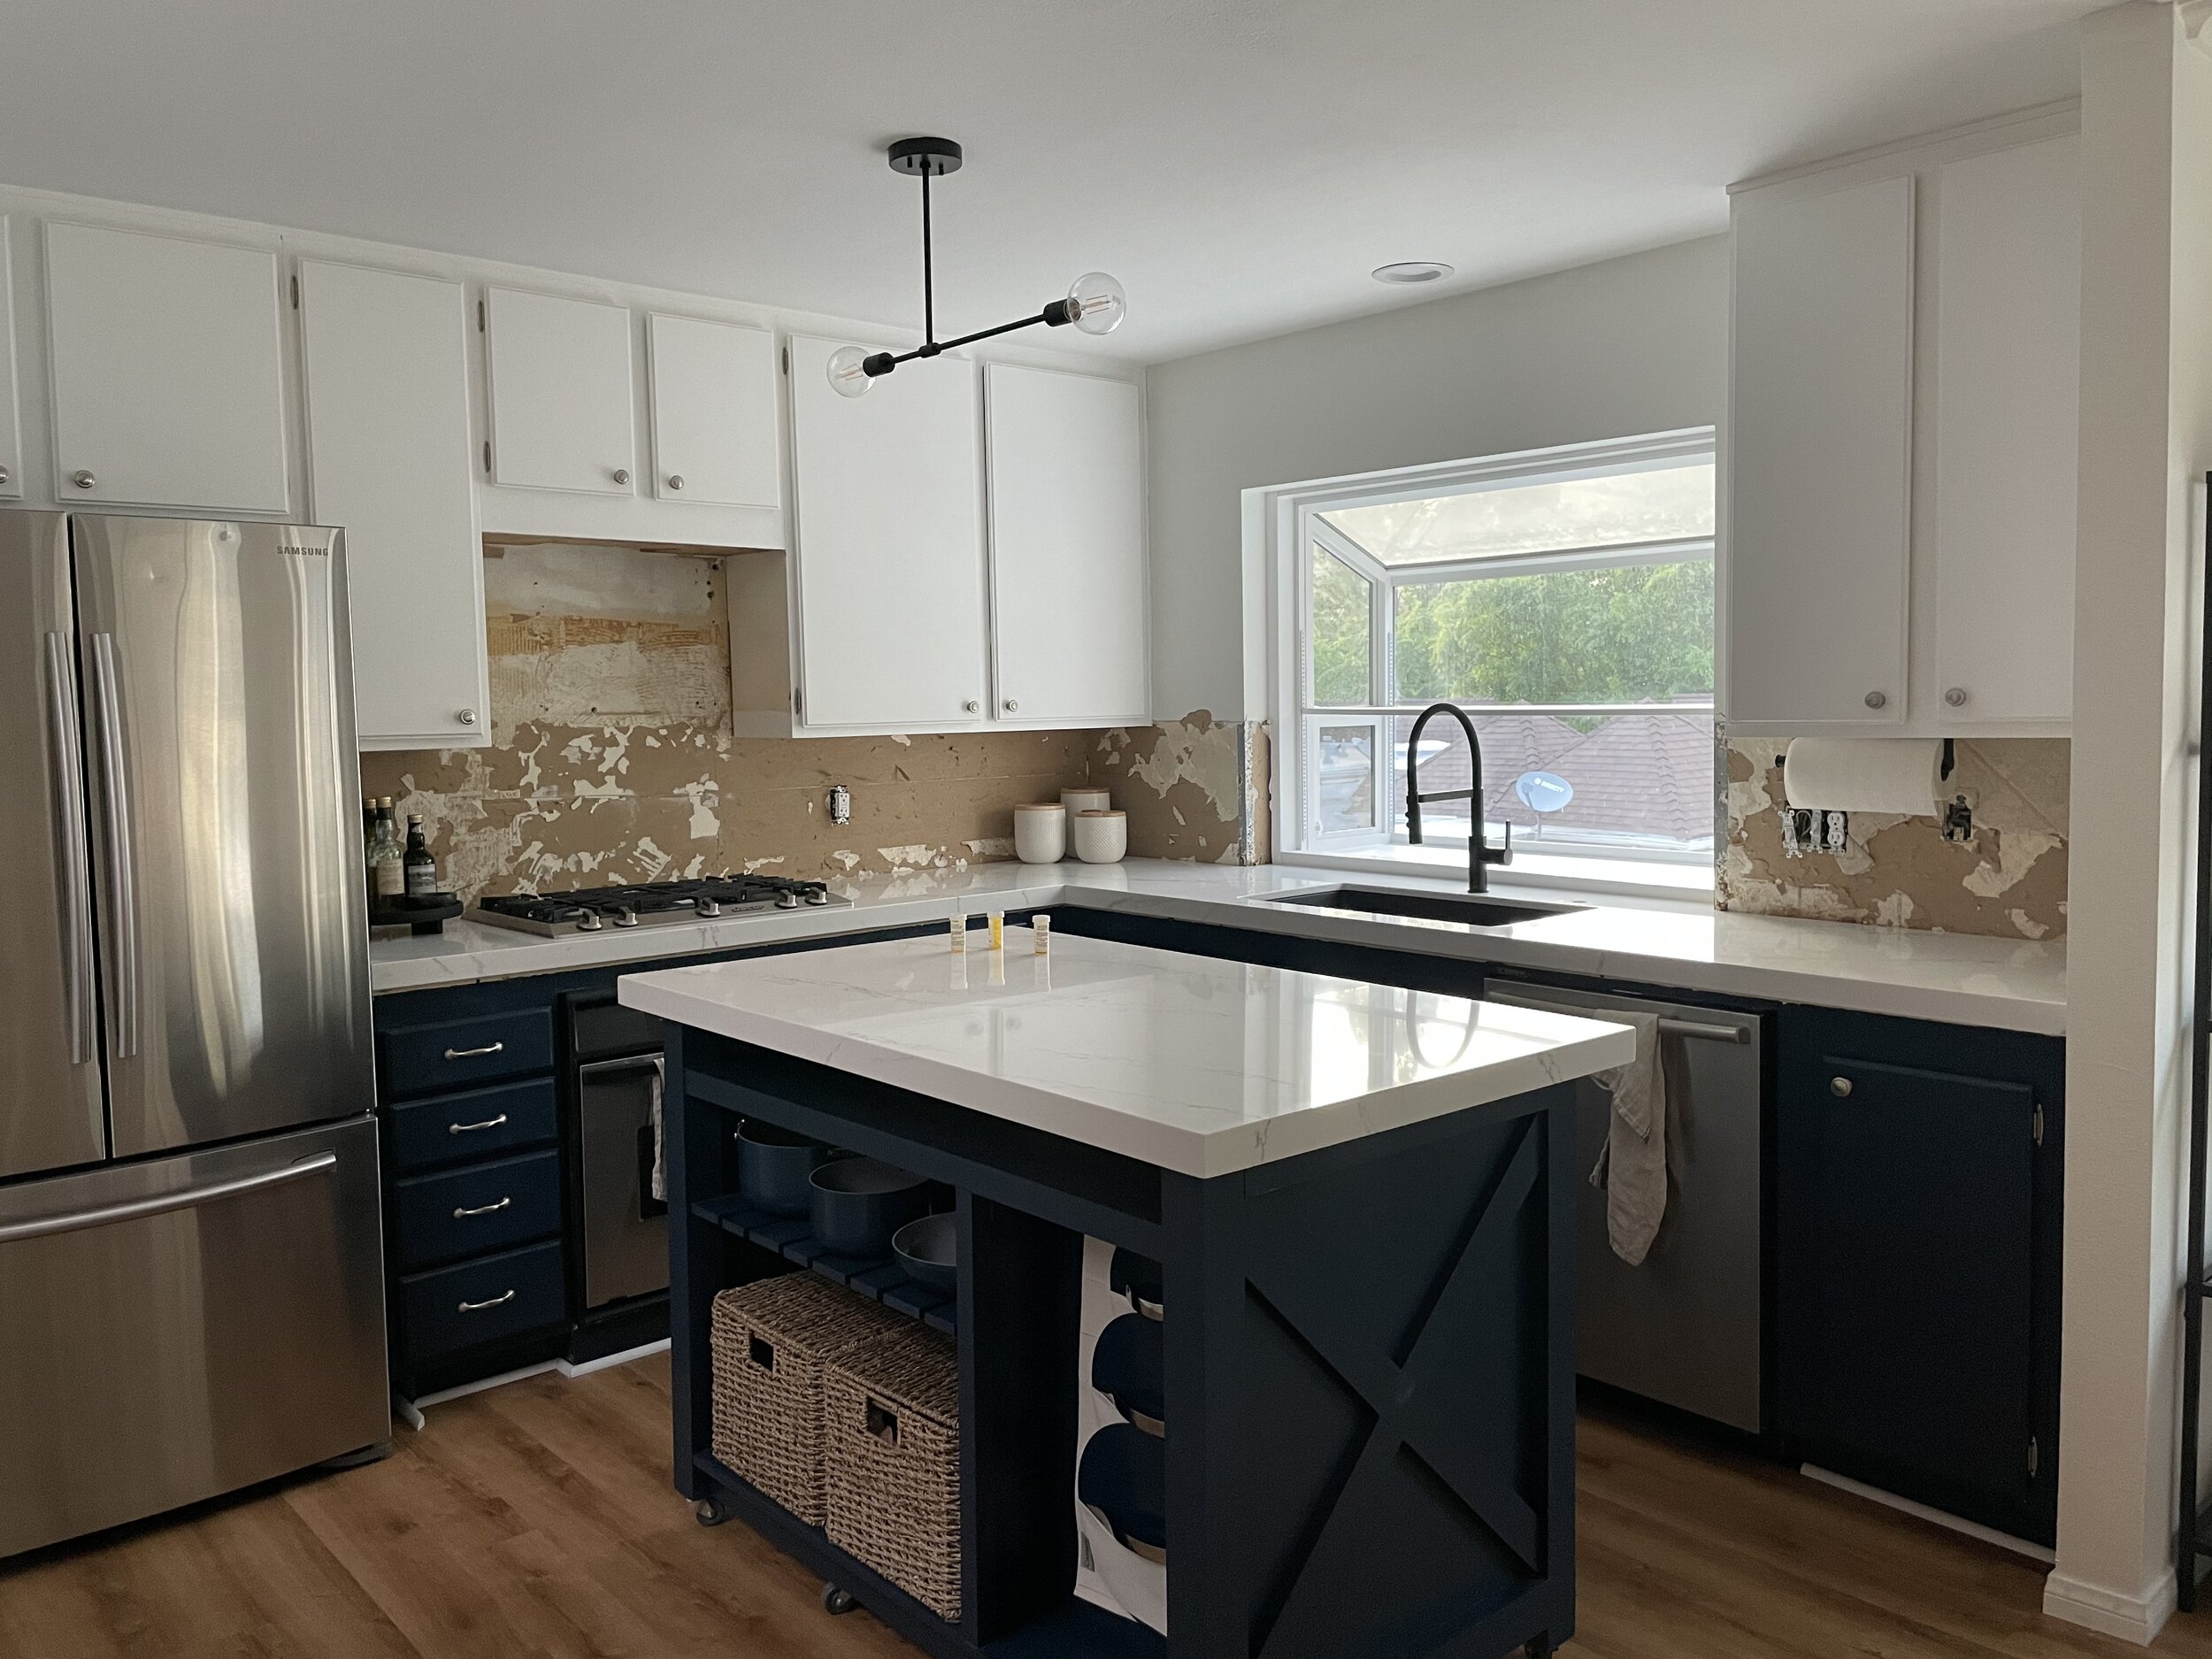
Rather than simply refacing, I knew I wanted to make a few functional updates to our kitchen. The main improvements included:
Building a custom cabinet with pocket doors to house small appliances out of sight on the countertop;
Creating a new pull-out drawer for trash and recycling;
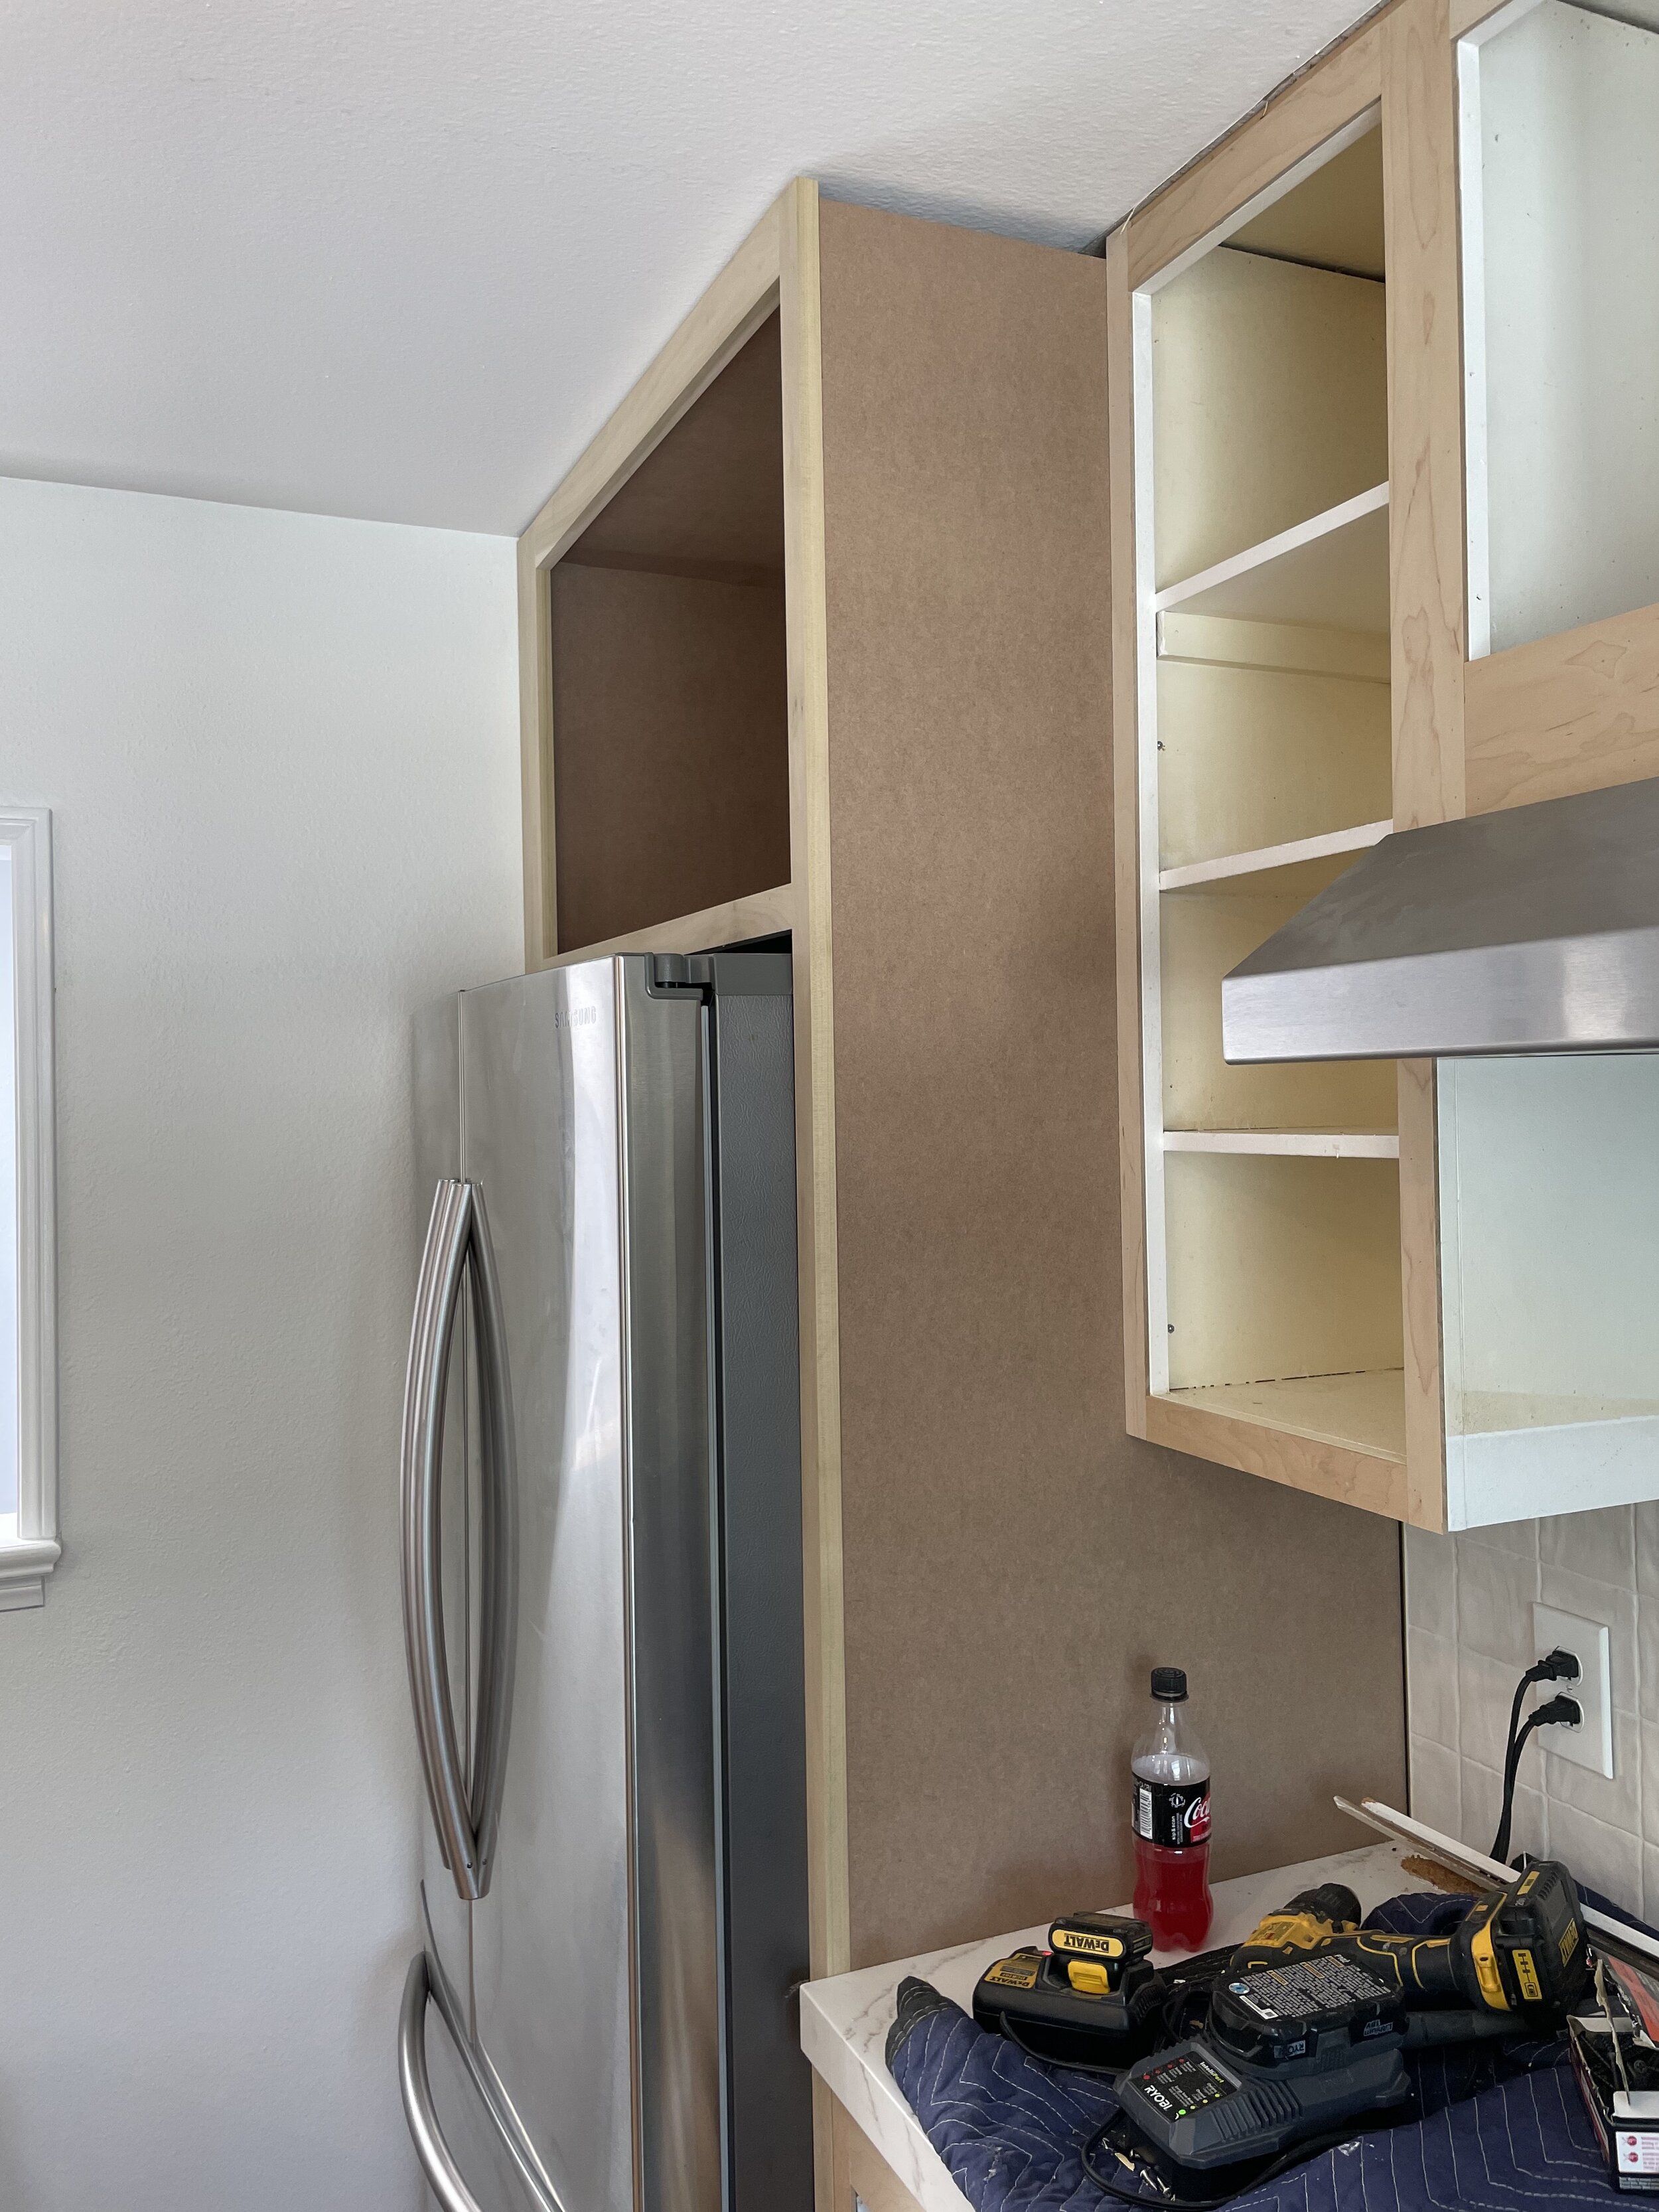
Building a deeper cabinet above the fridge and added a side panel for a built-in look;
Adding an extra drawer for silverware; and
Building a small compartment on tilt-out hinges in front of the kitchen sink.
Budget and Cost
We had budgeted $14k for this project, and am happy to report I didn’t go over!
Cabinets (demo, material and install): $6,250
Countertops (demo, material and install): $4,250
Tile (demo, material and install): $1,730
Sink, faucet and garbage disposal (material and install): $895
Cabinet hardware: $195
Range hood: $145
TOTAL: $13,465
My Top-Three Favorite Features
Interior design goes beyond selecting pretty finishes and décor. Some of my favorite functional changes in this space include:

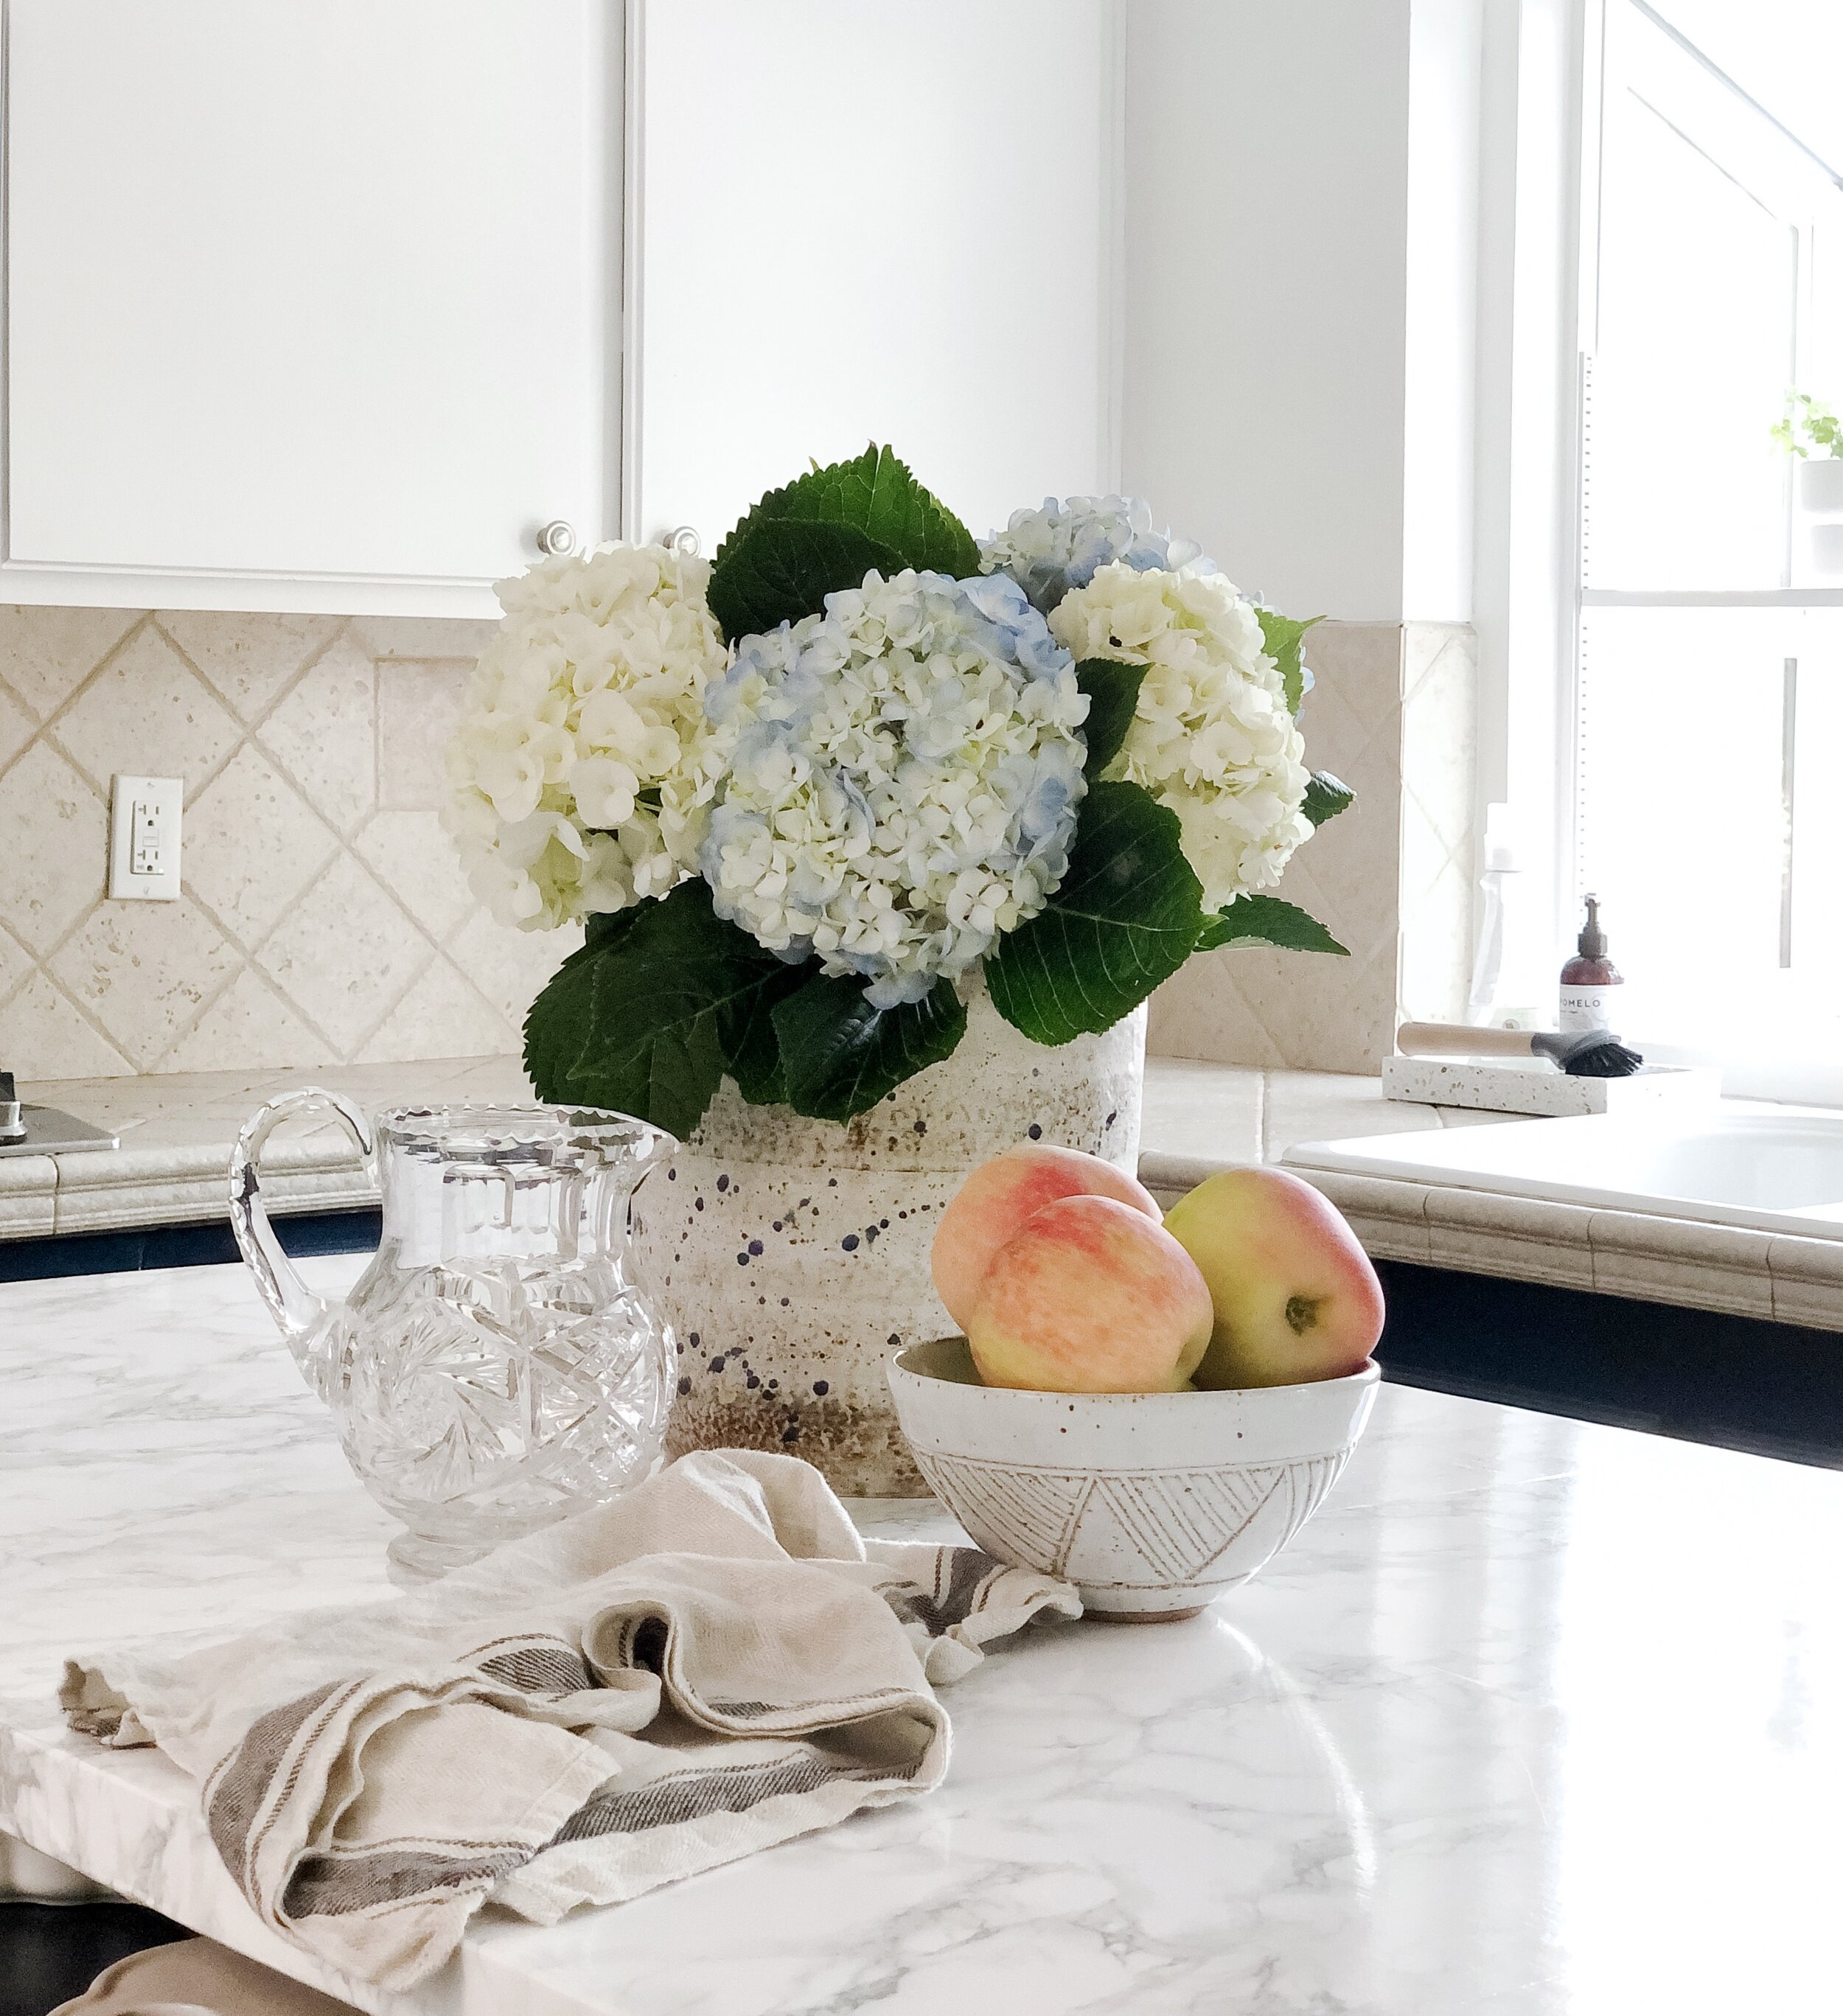
The undermount single-basin sink with an offset drain: This sink is deep enough to where you don’t easily see dirty dishes piling up. The off-set drain makes doing dishes a breeze – stacking dirty ones to the left, rinsing to the right and into the dishwasher. I love the granite composite material and the nearly black color. It was also important to me to have an undermount sink, so that any mess on the countertop can be wiped straight into it without catching on the lip.

Adding doors to the island: The island was built by the previous owner and provides such a great surface to cook on. Now that we have doors, I can utilize the storage much better - no longer worrying about everything being visible and perfectly styled.
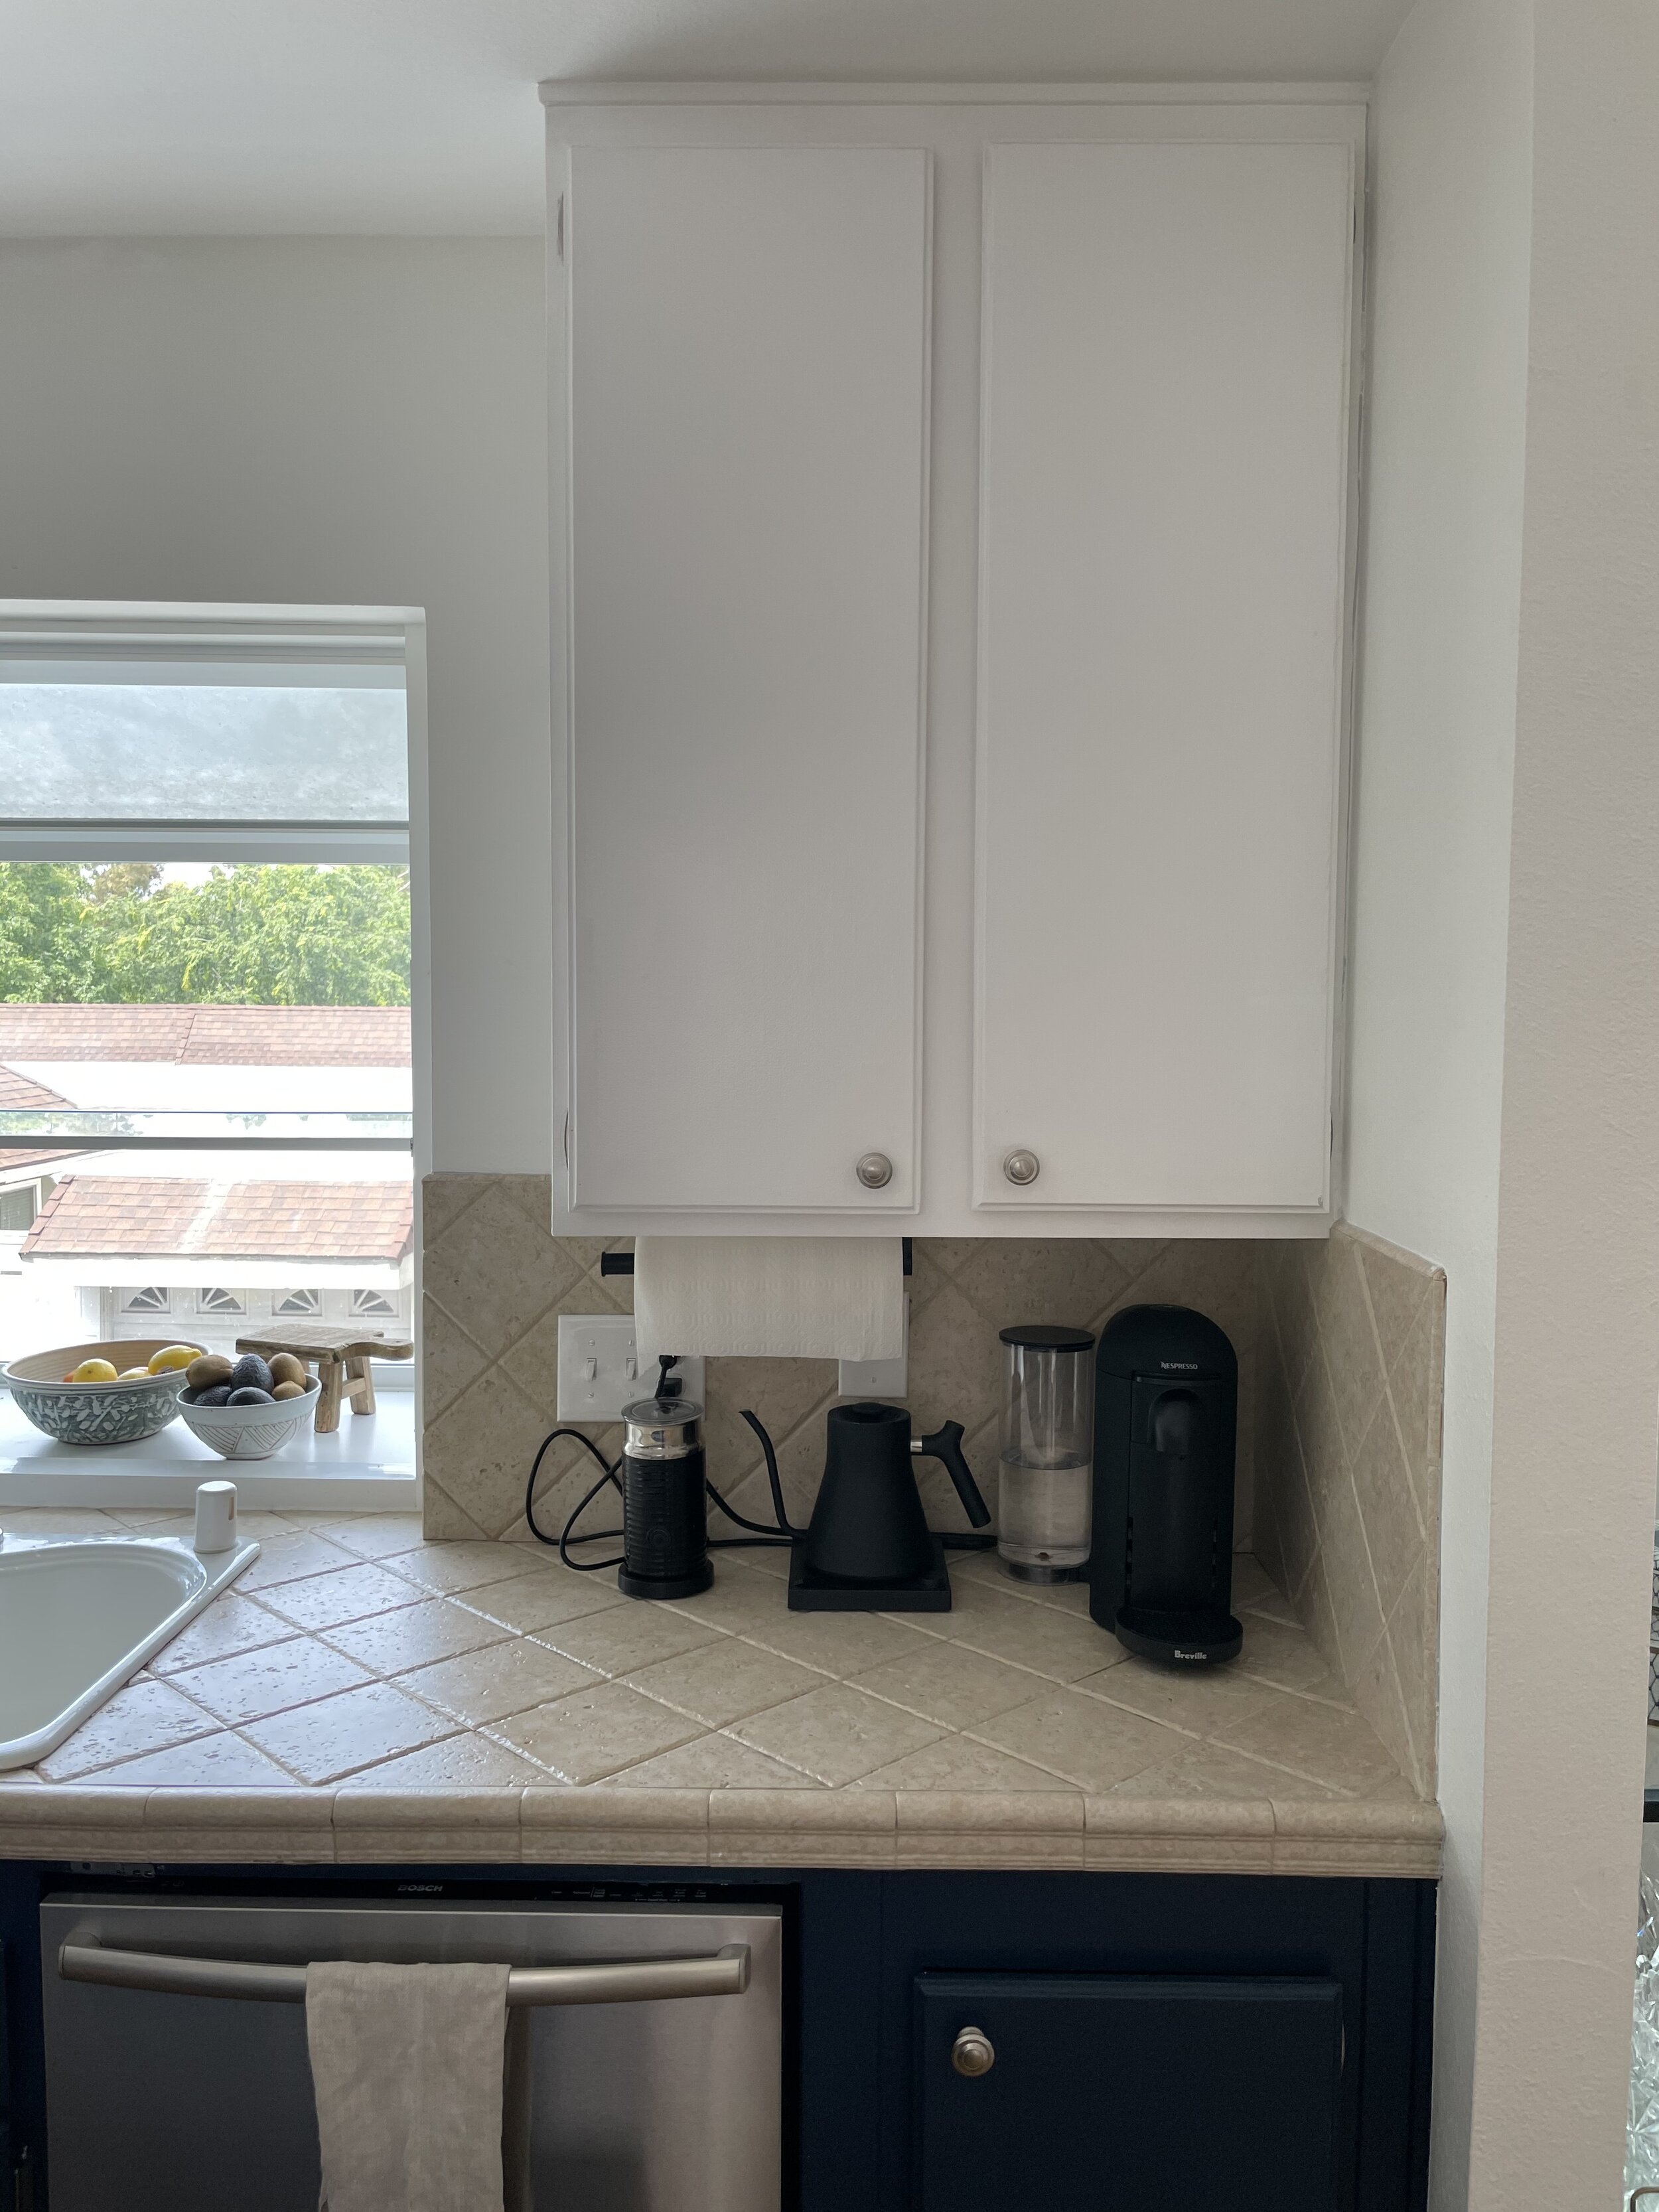
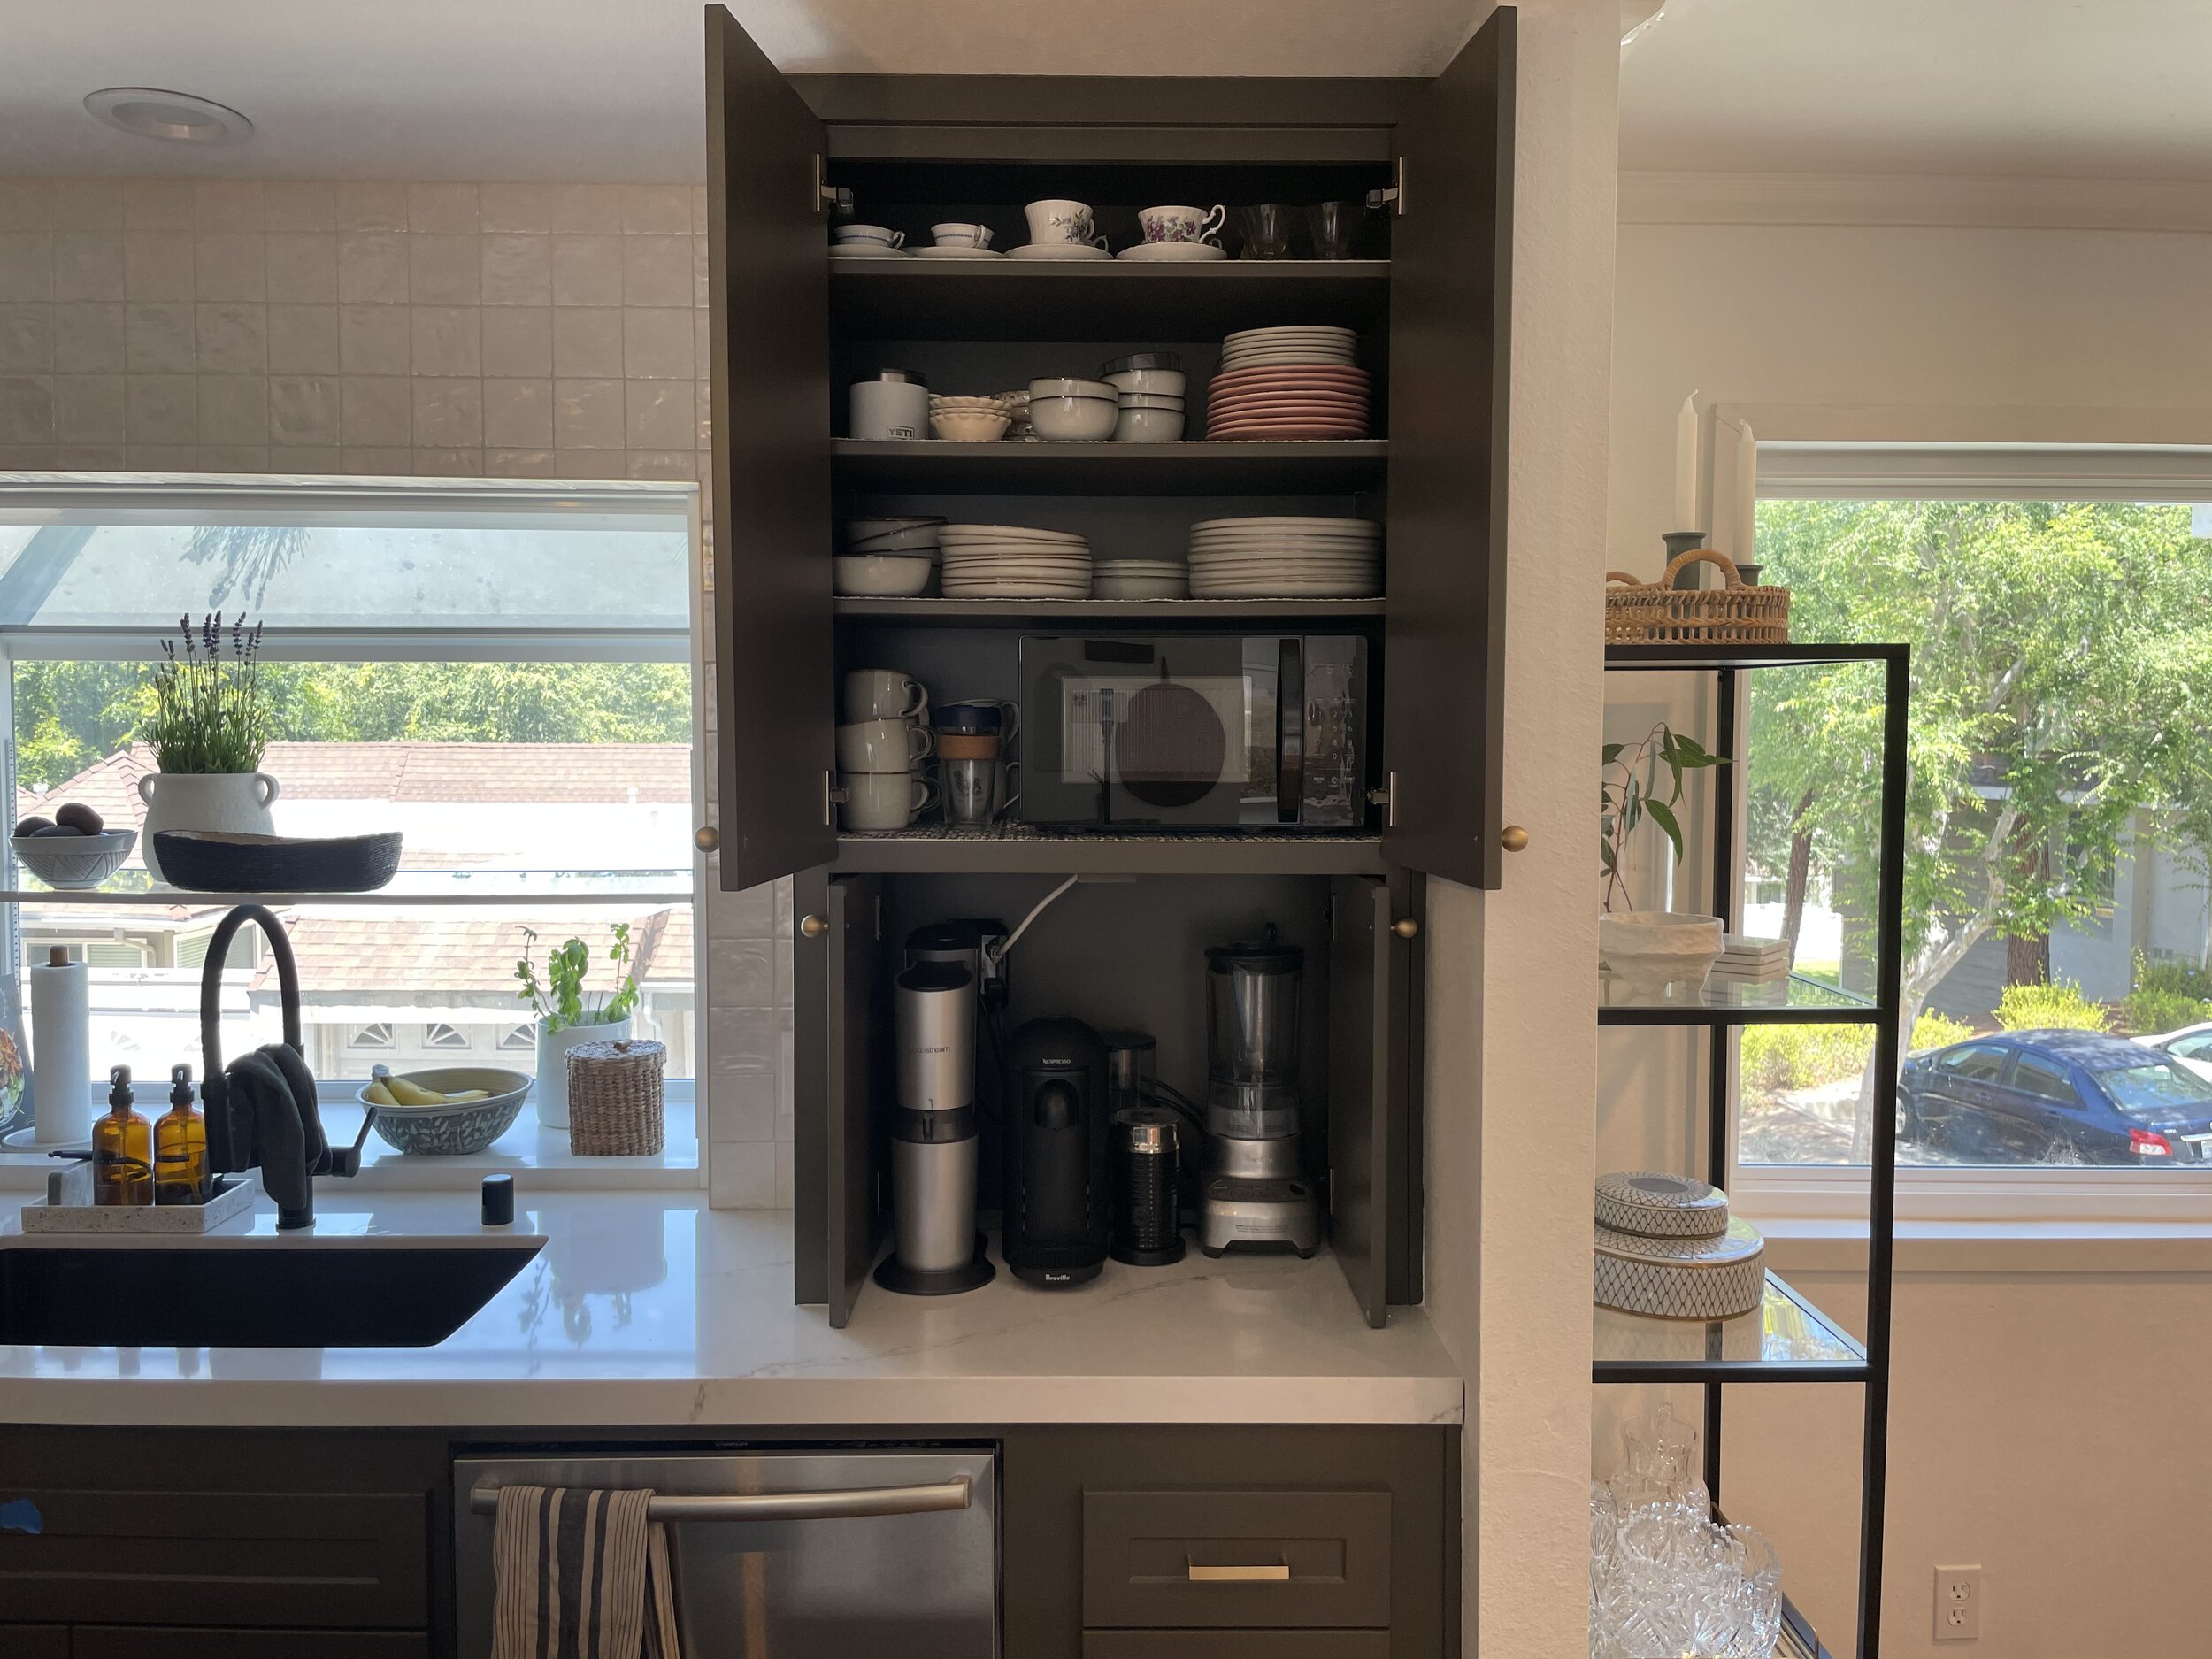
The hidden appliance cabinet: Last, but certainly not least – having a cabinet atop the countertop with an outlet and pocket doors has been a dream of mine since I first discovered it was a “thing.” I hate cluttered countertops, but realize certain appliances are necessary (hello Nespresso), so this was a perfect solution for us. We were even able to fit a small microwave on the shelf above!
Overall, I am in love with our new kitchen, cosmetic and functional improvements alike.
Do you have questions about this process or the result? Drop them in the comments!

Selections and Finishes
Cabinets: Northern Contours Shaker in “Forge”
Countertop: MSI Calacatta Arno Quartz
Backsplash tile: Amagansett White Zellige
Sink: Blanco Silgranit Dual-Mount
Faucet: Glacier Bay Statham Single Handle
Range hood: Broan-NuTone Convertible Under Cabinet Hood

Get the Look
